Fusion 360 Exercise 5
Updated: 2026-05*
This article was written before 2020. It is kept here as an archive — the content is outdated and some links may no longer work.
Making an Iron Skillet
In this exercise, we will create an iron pot modeled after the oil pan designed by Sori Yanagi. Rather than replicating all aspects of Yanagi’s design, this project is intended to serve as a model for our CAD exercises.
This document was written in October 2017. Functionality has been verified in Fusion 360 version 2.037.
Creating a Cylinder Shape
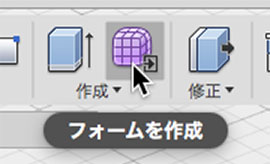
Click the “Create Form” button to enter Sculpt Mode.
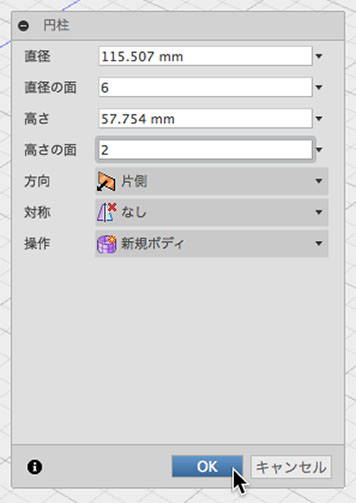
Click Create > Cylinder.
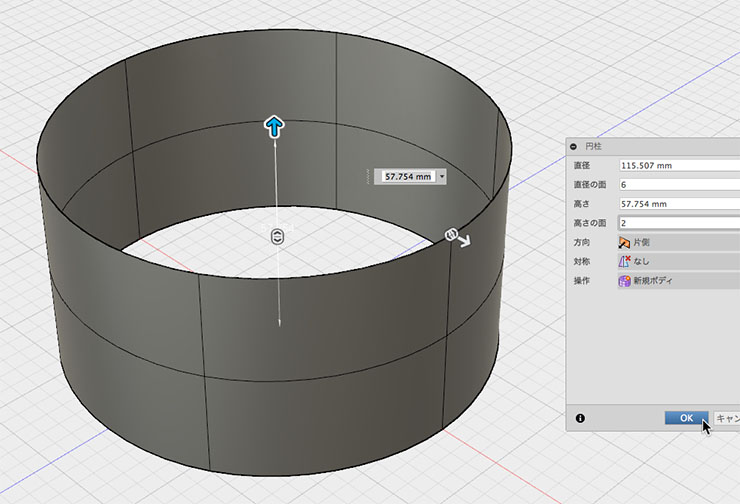
In the Cylinder dialog box, change the diameter to 6 and the height to 2, then click the OK button.
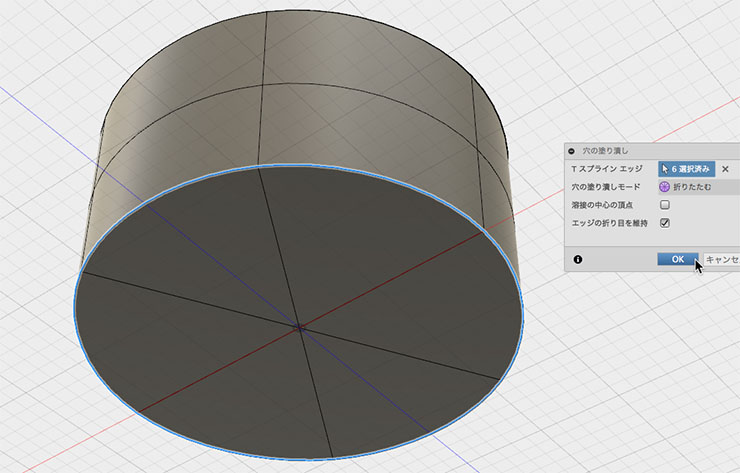
Double-click the bottom edge, right-click, and select “Fill Hole” from the menu.
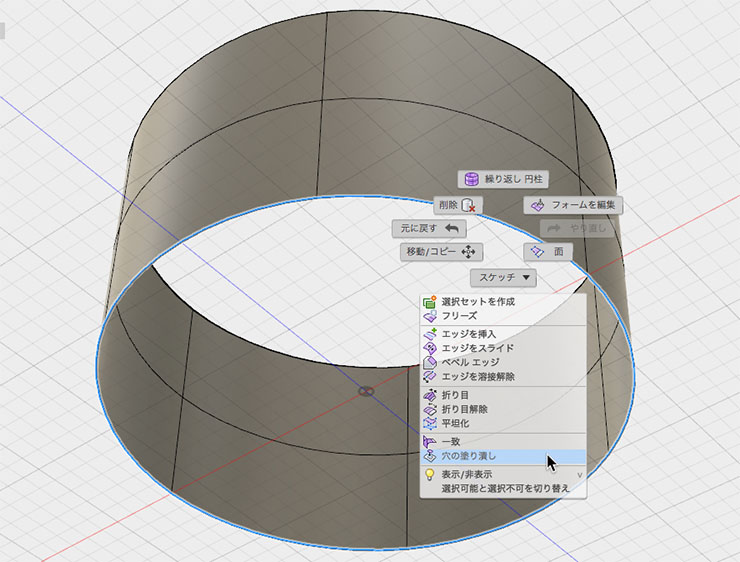
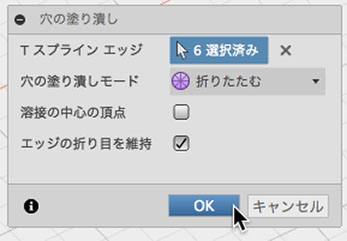
Fill Holes Mode: Check the “Fold” and “Keep Edge Creases” boxes, then click the OK button.
Modifying the Shape
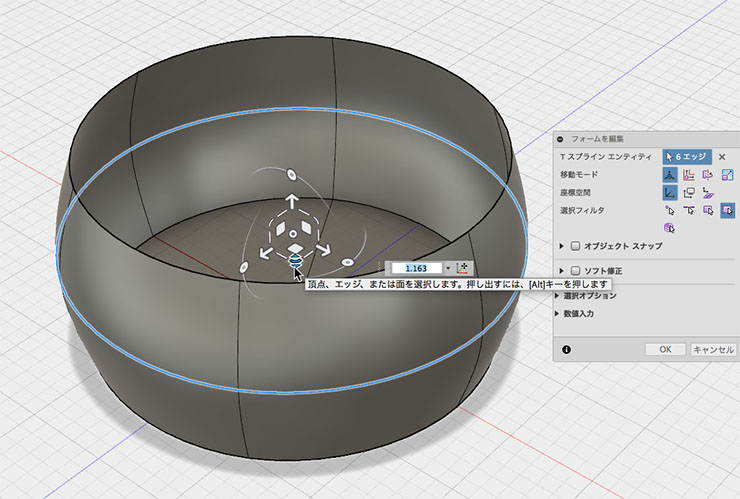
From the “Edit Shape” menu, select the edges in the center or at the top to modify the shape.
Creating the Rim and Handle
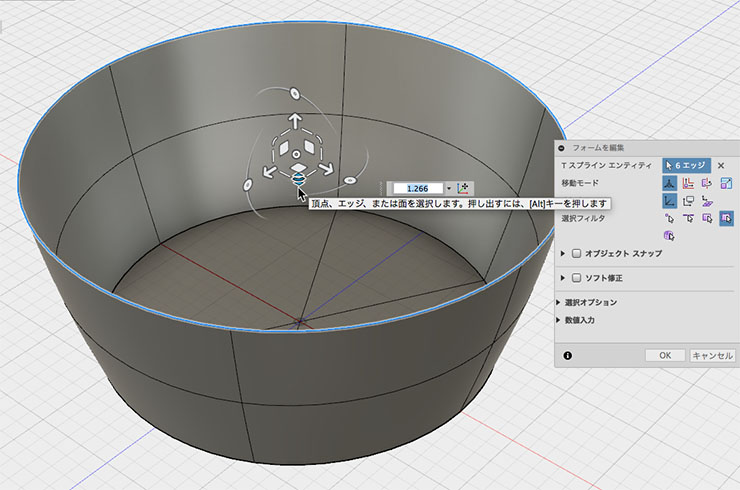
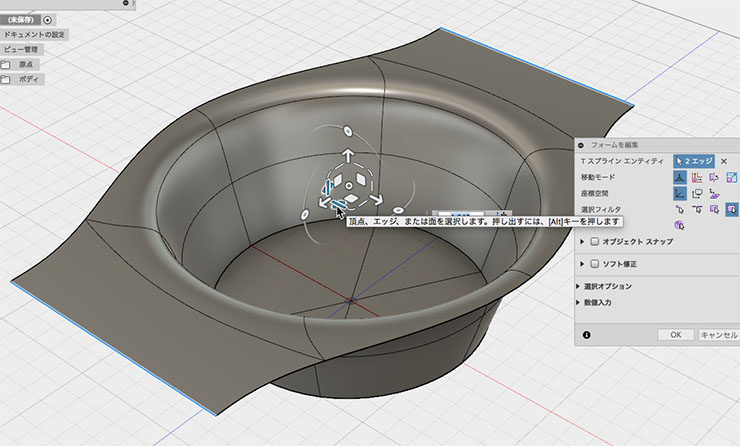
When editing the form, double-click the top edge to select it, then hold down the ALT key and drag horizontally to push out the rim.
In the form editor, select the two areas shown in the figure below, hold down the ALT key while zooming in, and extrude the handle section.
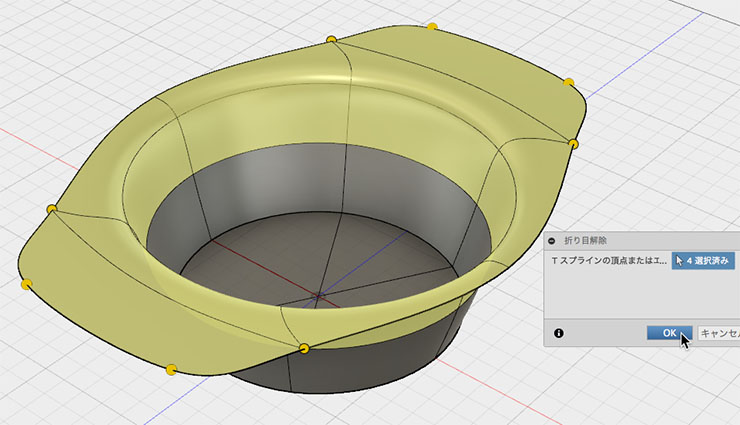
Edit > Unwrap, then select the four handle points and smooth them.
Setting the Thickness and Raising the Base
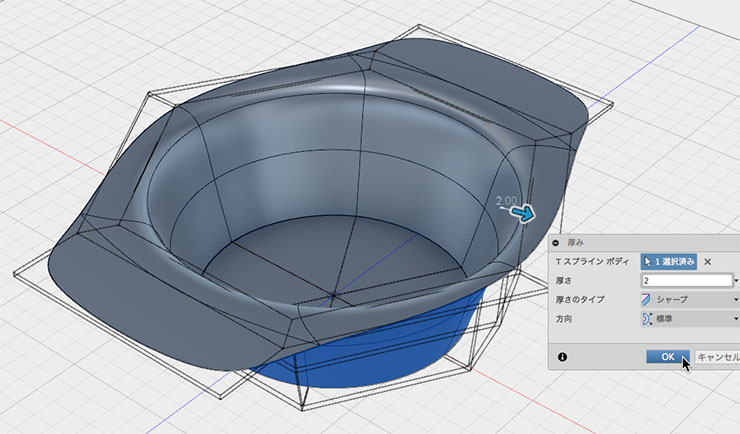
Modification> Select a T-spline body from the Thickness tool and set the thickness. In the figure below, it is 2 mm.
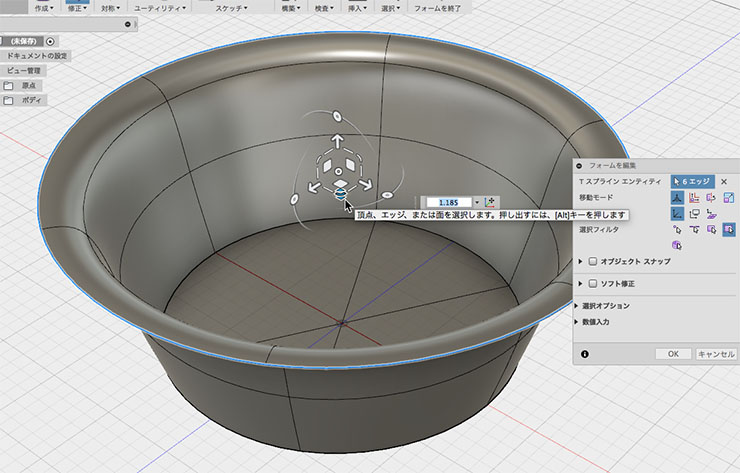
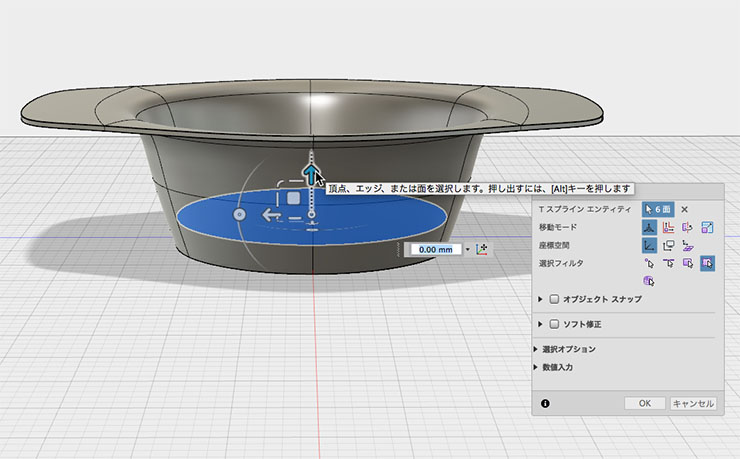
Select the inner bottom surface, right-click, and enter form editing mode.
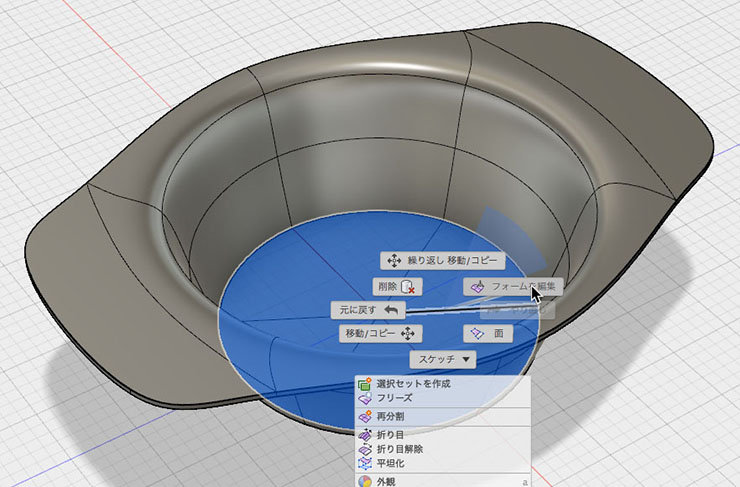
Lift the inner sole.
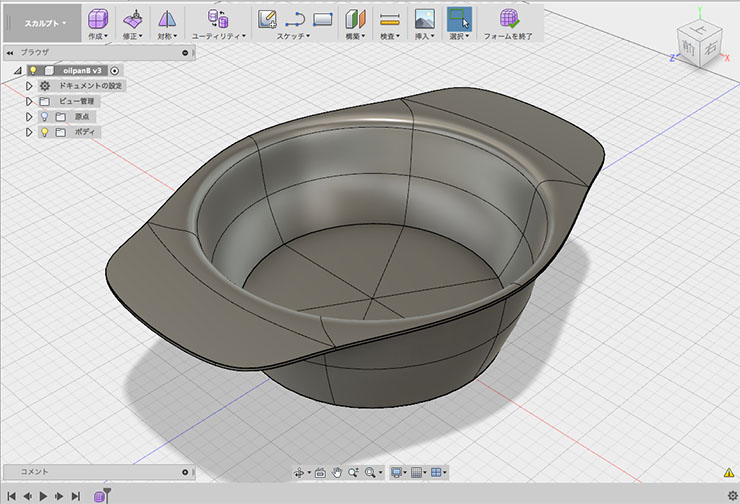
Close the form and convert to NURBS.
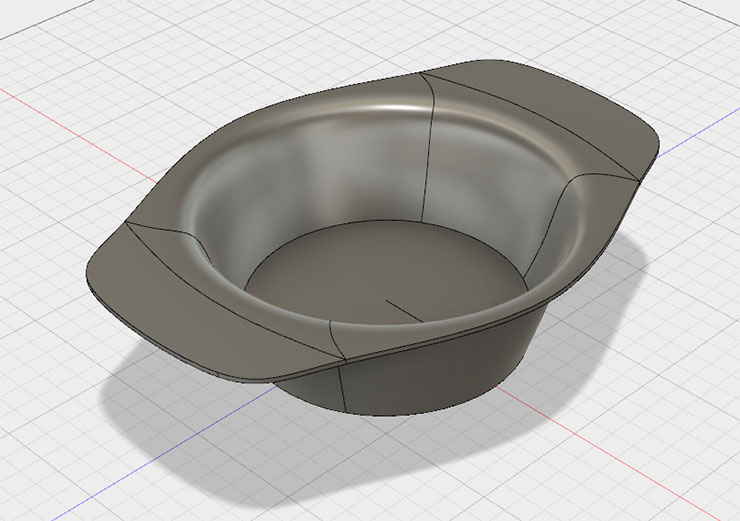
Chamfers and Fillets
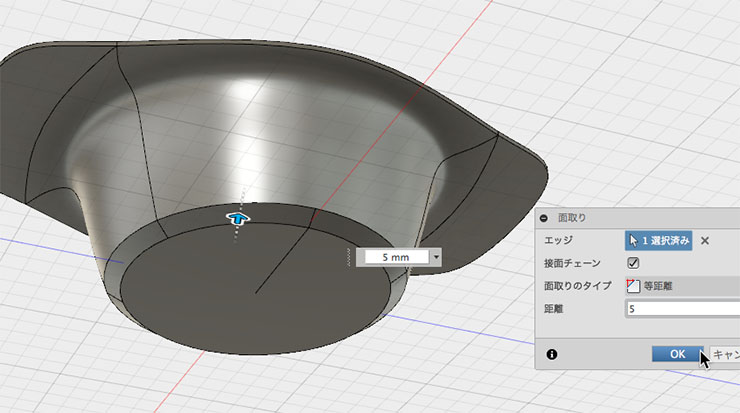
Chamfer the bottom edge. In the figure below, it is set to 5 mm.
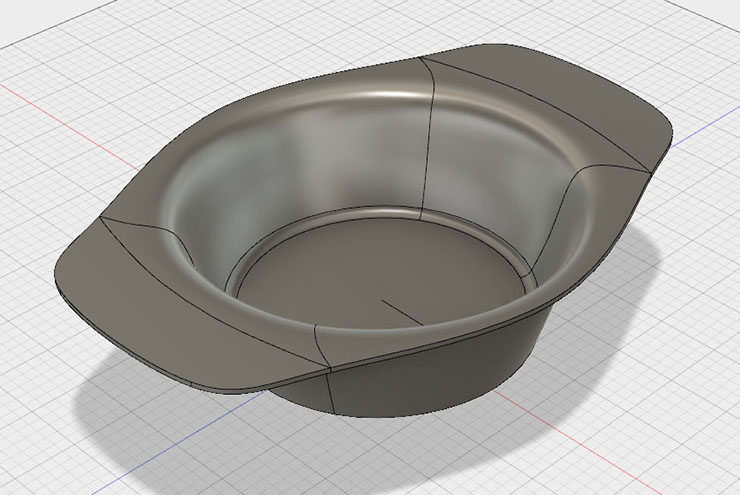
Fillet the edges of the inner bottom. In the figure below, the fillet radius is set to 5 mm.

The pot is complete.
Materials and Rendering
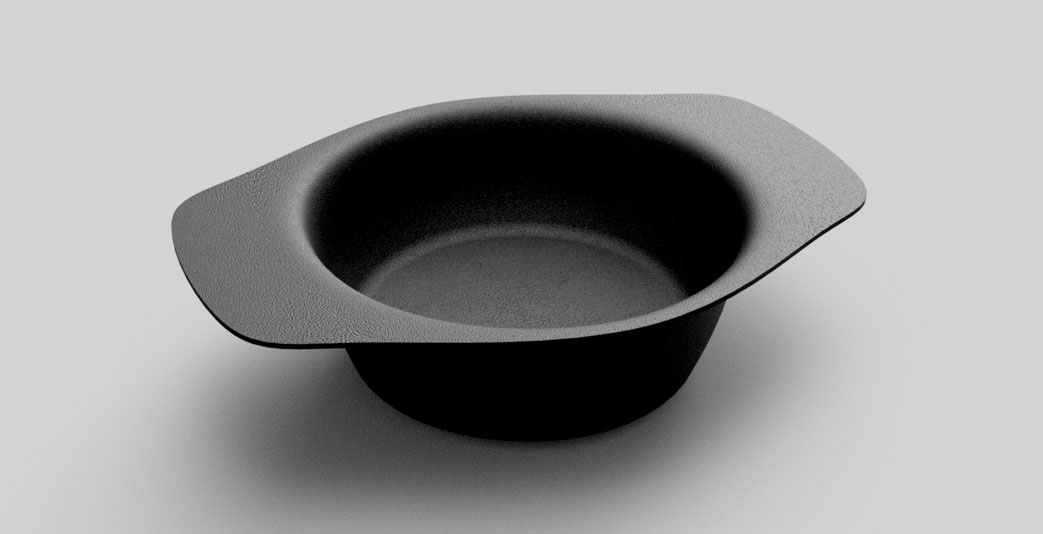
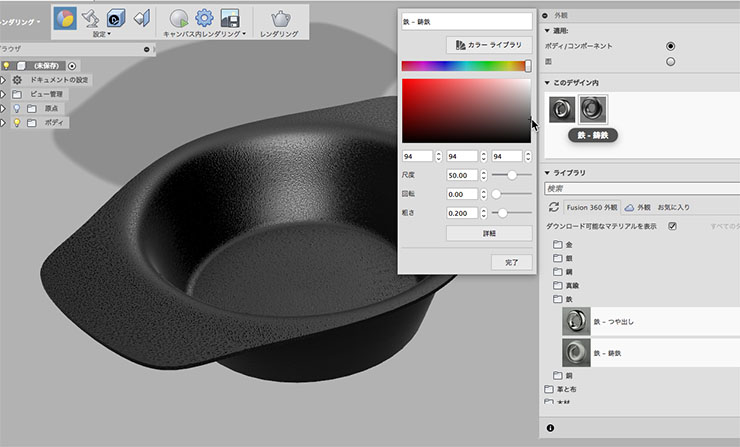
Set the material. In the figure below, “Iron-Cast Iron” is selected. You can also double-click the material icon under “In this design” to change the color.
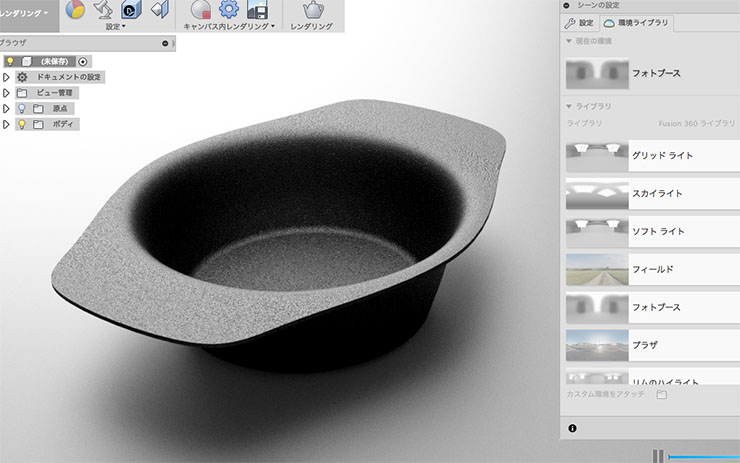
Rendered with different lighting effects by changing the environment library.
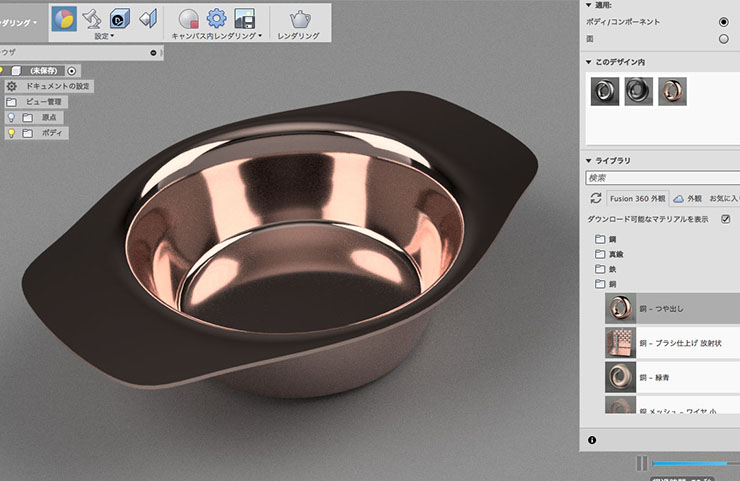
Try applying other materials. The image below shows the “Polished Copper” setting.