MadMapper Exercise 2
Updated: 2026-05
This article was written before 2020. It is kept here as an archive — the content is outdated and some links may no longer work.
Exercise Content
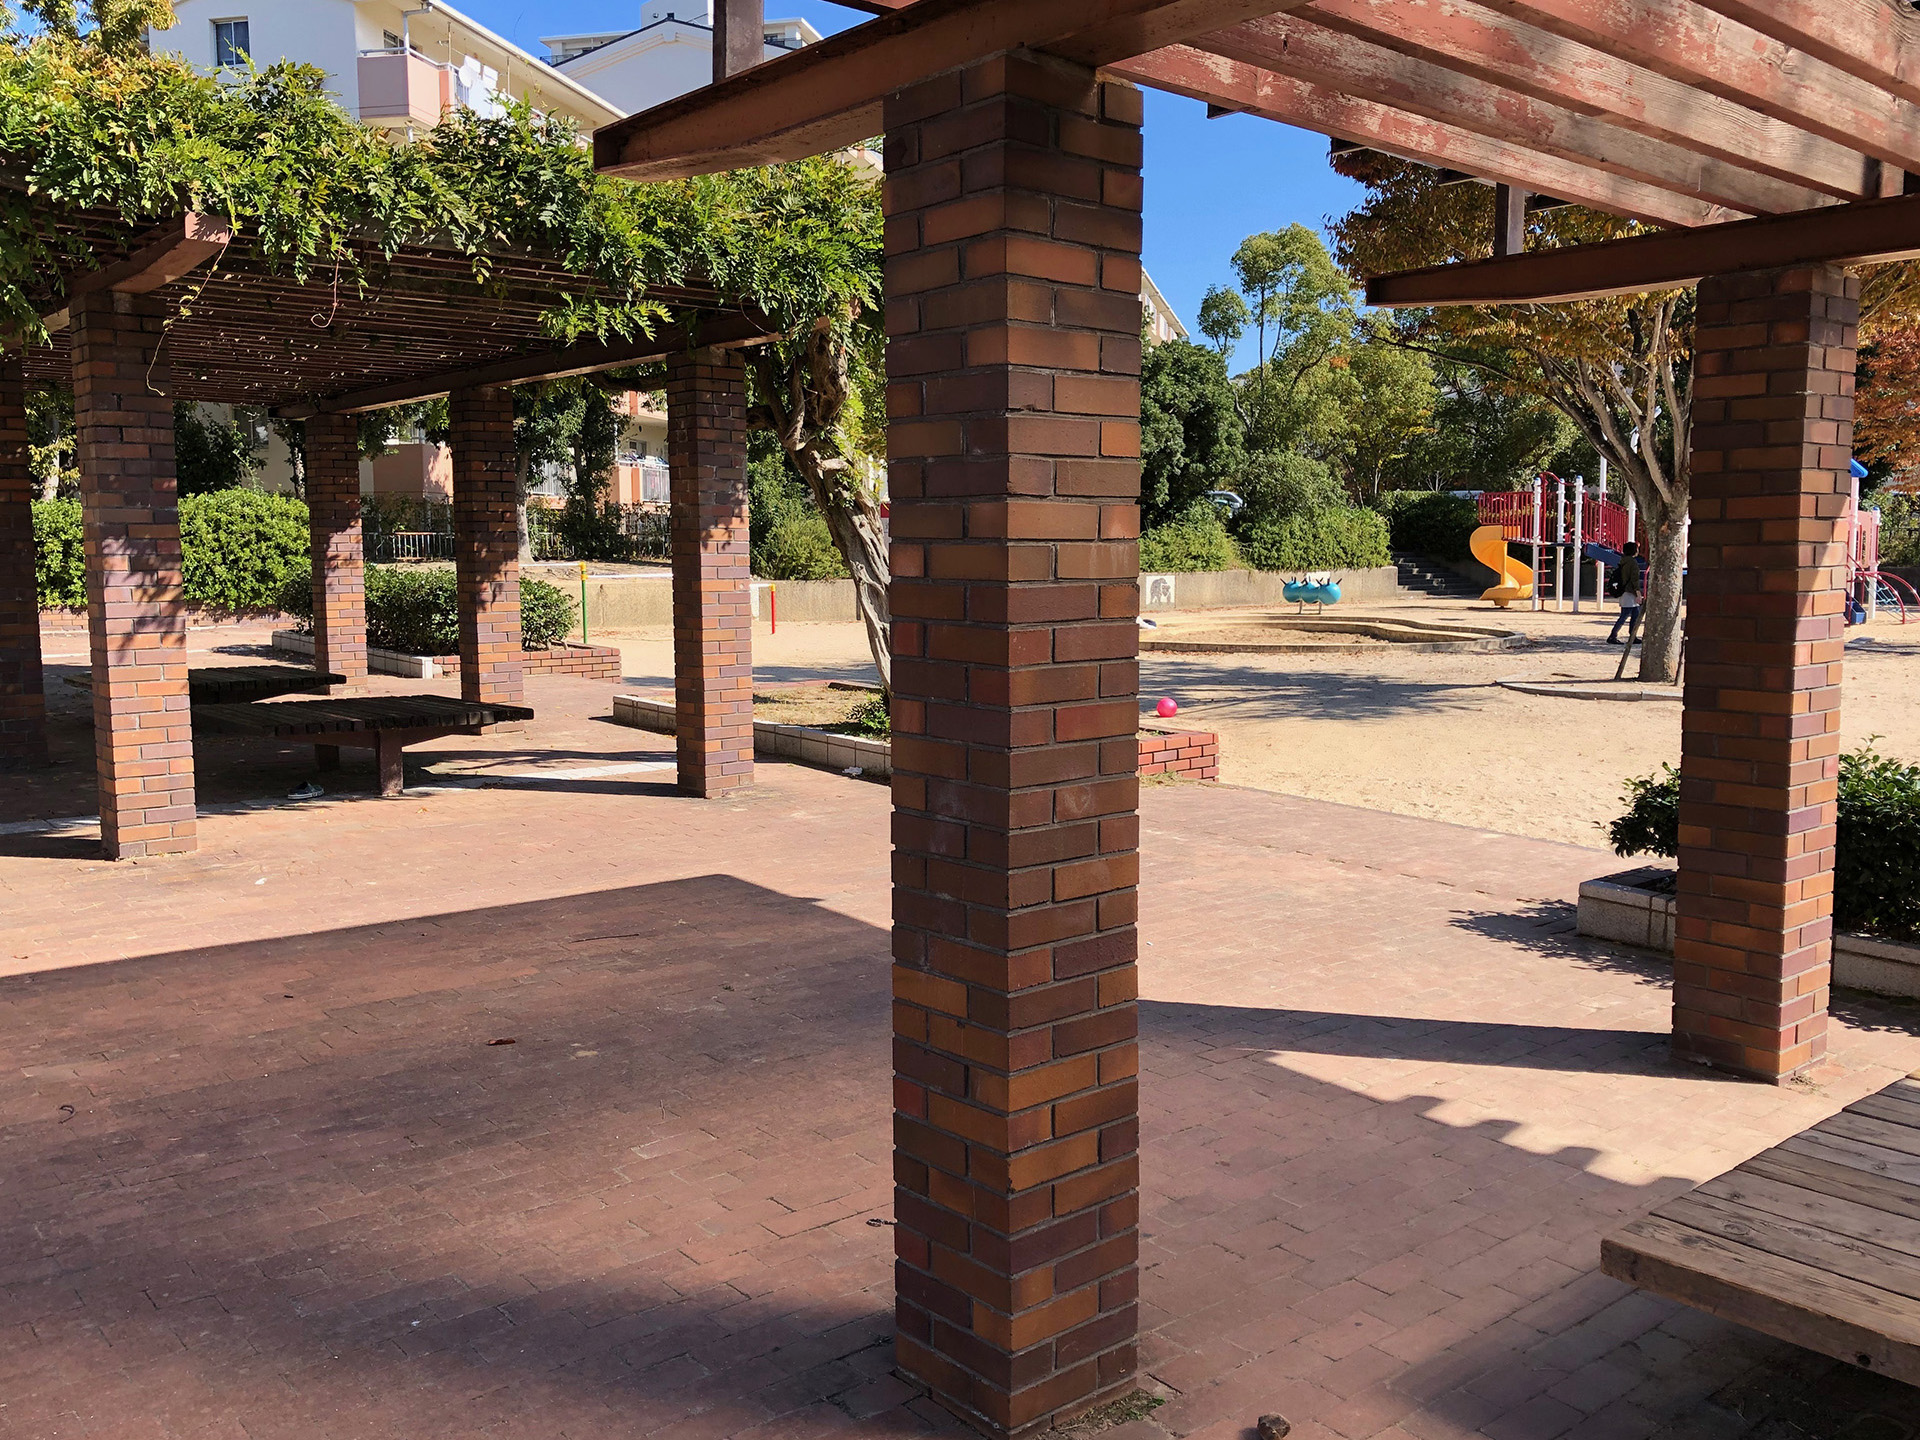
Map the design to align with the brick columns. (Height of the steps only)

Workshop Flow
- Download assets
- Load assets
- Set background image, adjust brightness, and lock
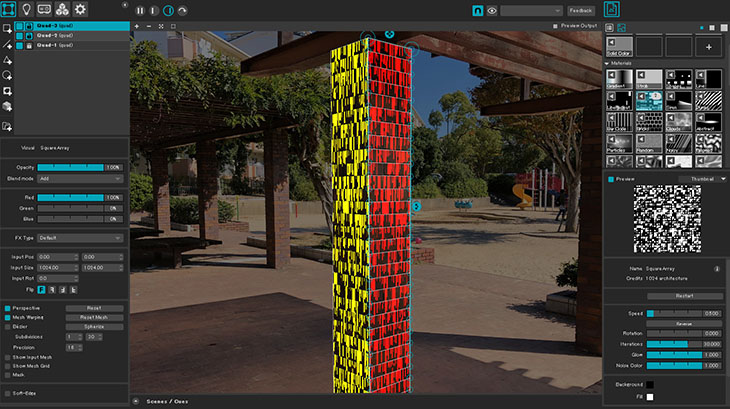
- Create Quad Surface (Grid, X: 1, Y: 30) *Note: The Y value for Mesh Warp is capped at 30
- Mesh Warp settings: X: 1, Y: 30
- Mapping to the right side of the brick pillar (entire surface, by tier)
- Applying Media (Square Array, etc.)
- Applying Media (For Shapes, open in Editor, duplicate the code, and adjust the Y limit)
- Return Media to Grid, then map to the left side of the brick pillar
Download Resources
Drag and drop the image below to download it.
nakamad_background1.jpg 1920 x 1440 pixels