Tinkercad Basics
Updated: 2026-05*

This article was written before 2020. It is kept here as an archive — the content is outdated and some links may no longer work.
What is Tinkercad?
Tinkercad is a web-based 3D CAD application that anyone can use for free by registering an email address. The word “tinker” means “to tinker with.” It’s an application based on a concept entirely different from traditional CAD, allowing users to create complex shapes using a simple methodology that even children can understand. While it may seem like a toy-like tool aimed at children, it also includes a shape generator that lets users create their own code.Updates are released frequently, and since Autodesk appears to be fully committed to its development, it holds the potential to evolve into a full-fledged digital fabrication platform.
*Note: Since there are issues with mouse operation in Firefox, the default browser on the iMacs in the Video Media Lab, we will use Safari during class. (As of April 2017)
Basic Principles of Modeling
Modeling in Tinkercad is based on the following two very simple principles.
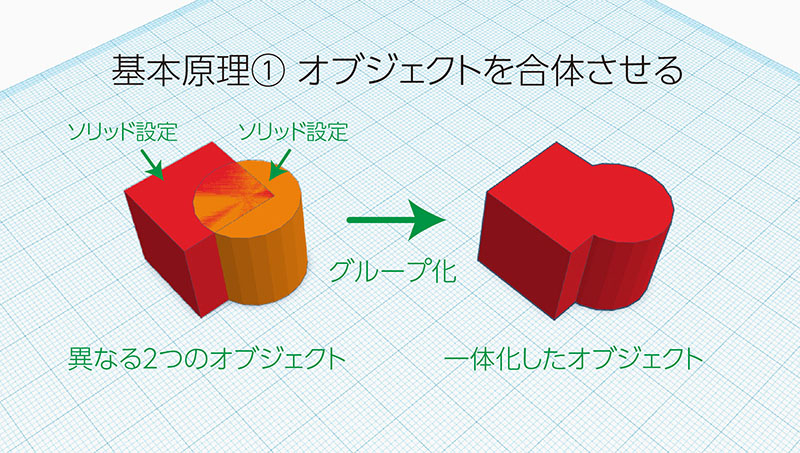

No matter the shape, all you have to do is combine these two steps—it’s simple enough for even a child to understand. Creating complex structures using such a simple principle does require a bit of brainpower, but that’s actually part of the fun. It’s less about working efficiently and more like solving a puzzle. Plus, the interface is quite polished, so you can assemble things quickly and smoothly without having to stop and think.
Tinkercad Website URL
About the Beta Version and Japanese Language Support
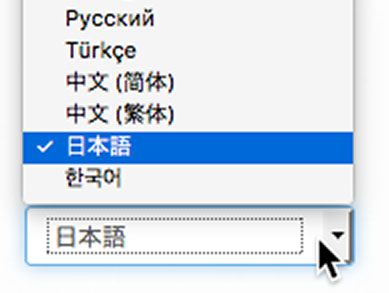
Tinkercad was available before 2016, but it underwent a major update in 2017. One of the major changes was the addition of multilingual support, including Japanese. If the interface is not displayed in Japanese, select “Japanese” from the language selection dropdown menu in the lower right corner (see image below).
In addition, OBJ has been added to the list of supported file formats, joining the existing STL and SVG formats. The interface has also been redesigned, making it much more user-friendly.
As of April 2017, it is still in Beta 2.8, and considering that it will continue to evolve, we can look forward to seeing what Autodesk does, including how it positions the product relative to Fusion 360.
Signing In and Out
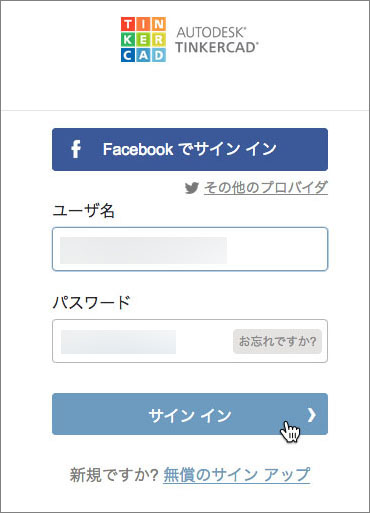
Sign in using the button in the upper right corner (see image below). Since you have already created an account, I will provide instructions during class.

In the next dialog box, enter your username (email address) and password.
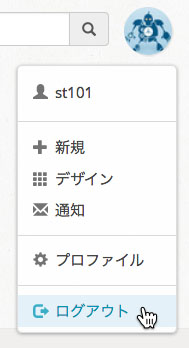
You can sign out (log out) from the top-right corner of the dashboard. However, since Tinkercad is a cloud-based web application and your creations are automatically saved to the server, you can simply shut down your Mac when you’re finished working.
Dashboard
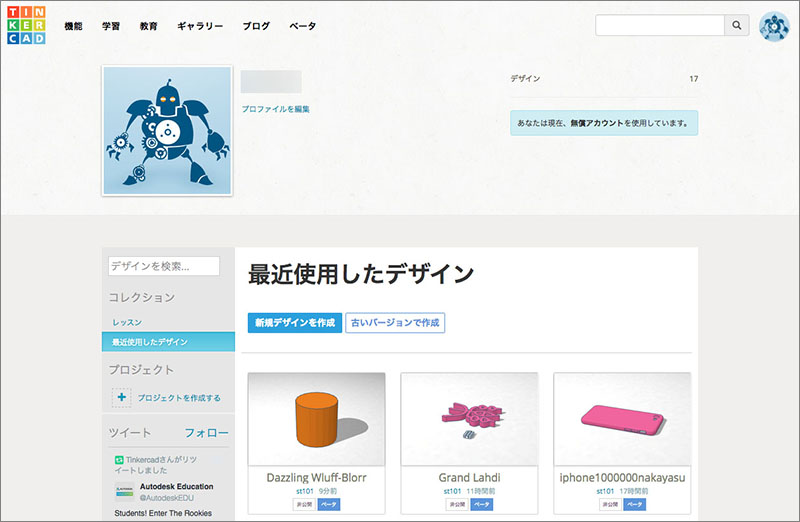
When you sign in, a dashboard like the one shown below will appear. You can create new designs and manage the designs you’ve created so far.
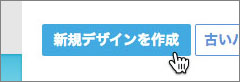
To create a new design, click the button shown below to create a blank workspace.
To edit a design you’ve already created, hover your cursor over the thumbnail image and click “Edit this.”
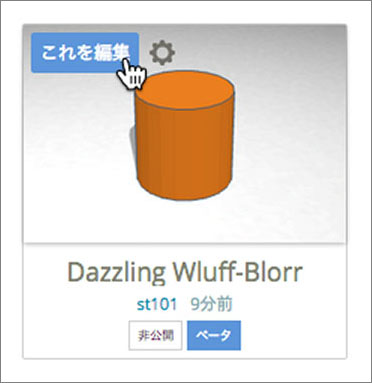
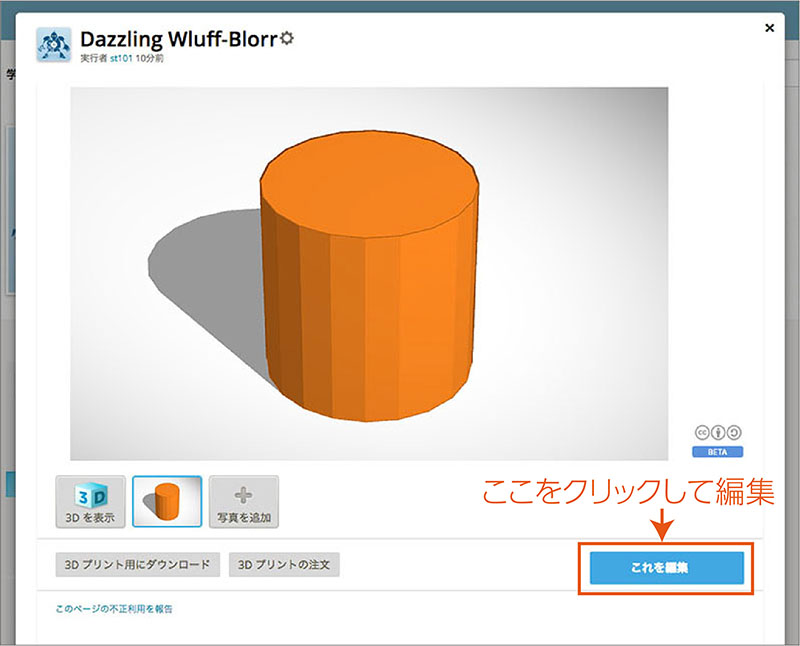
When you click on the thumbnail image, the screen shown below will appear. Click “Edit this” in the lower-right corner.
To return to the dashboard from the design (work area), click the Tinkercad logo shown below.

Learning (Basic Skills)
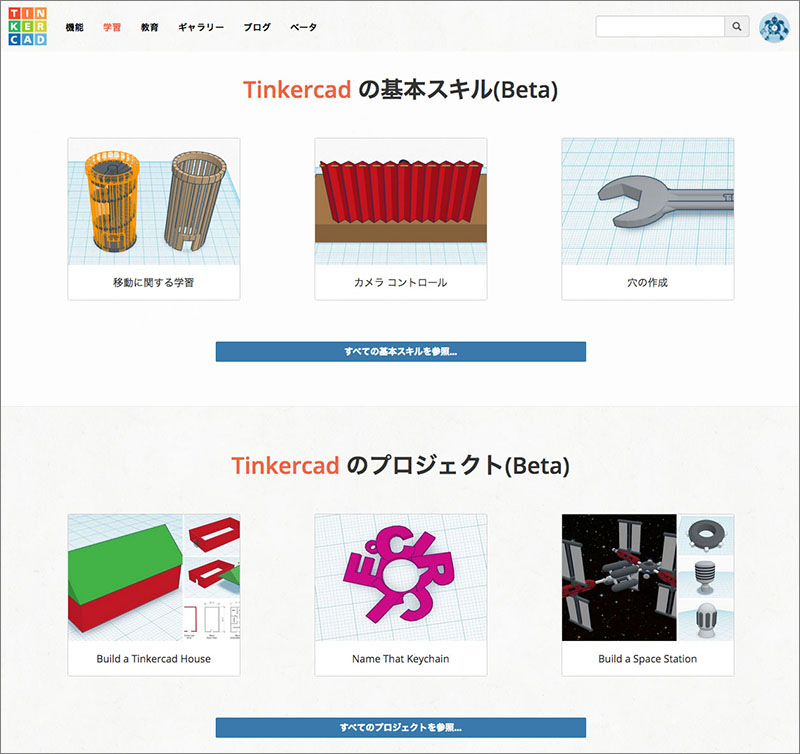
Tinkercad offers a variety of educational tutorials. Clicking the “Learn” button in the upper-left corner displays the screen shown below. We will be using these tutorials in class as well. The site has been available in Japanese since 2017, and as a highly accessible and well-designed resource, it allows users to learn everything from basic operations to advanced techniques.
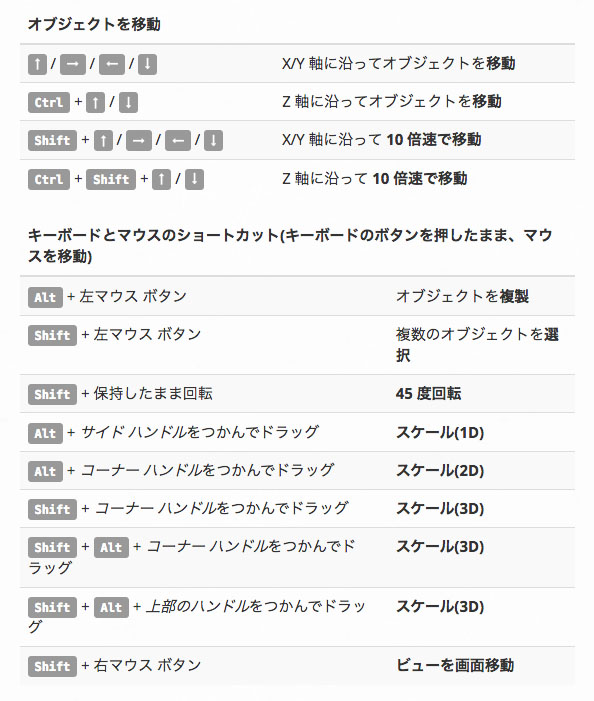
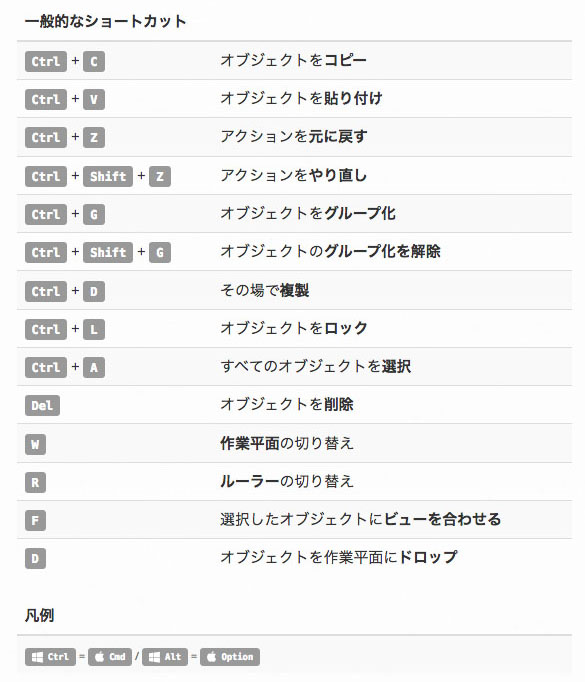
Keyboard Shortcuts and Mouse Usage
While basic operations can be learned through the tutorial (Basic Skills), additional instructions are available at the bottom of the page at the URL below.
https://www.tinkercad.com/learn/
How to Use Shapes
In Tinkercad, the Shape dialog shown below appears depending on the selected object.
Solid and Hole are options used when grouping objects, allowing you to merge two objects or create a hole in one of them.
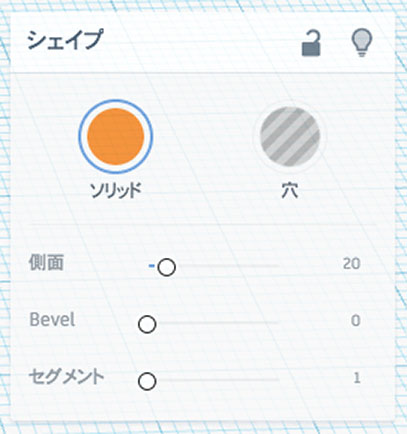
You can modify objects using the Side, Bevel, and Segment tools as shown below (for a cylinder). Since adjusting these parameters increases the amount of data that makes up the object and puts a strain on the application, use them according to your specific needs.
