Fusion 360 Exercise 9
Updated: 2026-05*
This article was written before 2020. It is kept here as an archive — the content is outdated and some links may no longer work.
Making a Stool
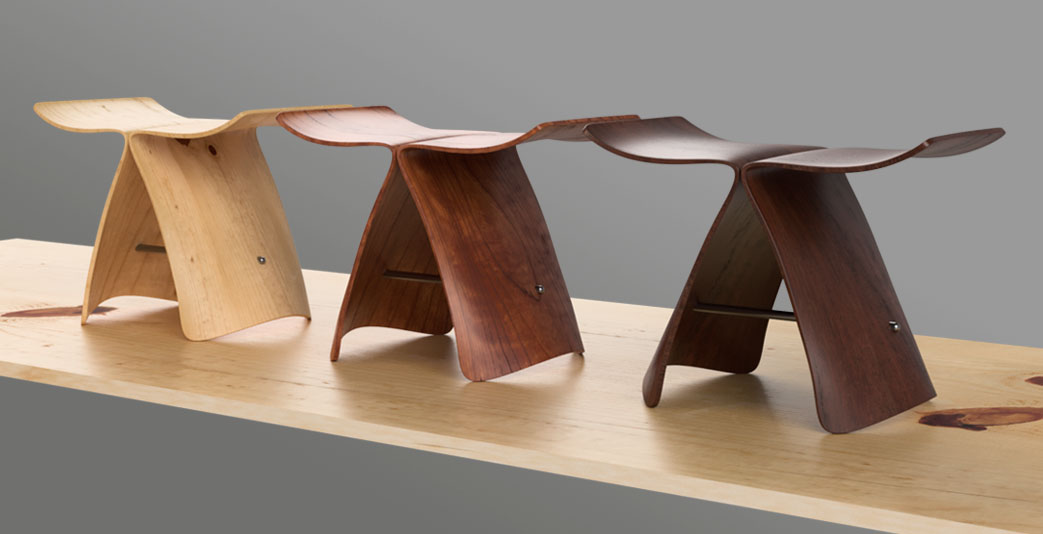
In this exercise, students will create a stool inspired by Sori Yanagi’s Butterfly Stool. Rather than strictly replicating Yanagi’s design, the piece is intended to serve as a model for modeling techniques. The exercise focuses solely on practicing techniques for creating intuitive forms and does not take into account physical limitations such as material bending or design procedures based on actual dimensions.
This document was written in October 2017. Functionality has been verified in Fusion 360 version 2.037.
Preparing the Sketch
Download each of the images below.
Floor Plan (butterflystool_plan_nakayasu.png)

Front View (butterflystool_front_nakayasu.png)

Inserting a Sketch
Insert a front view in the XY plane and a top view in the XZ plane. Adjust the size and position of the images as needed. In the figure below, the scale is set to 10x.
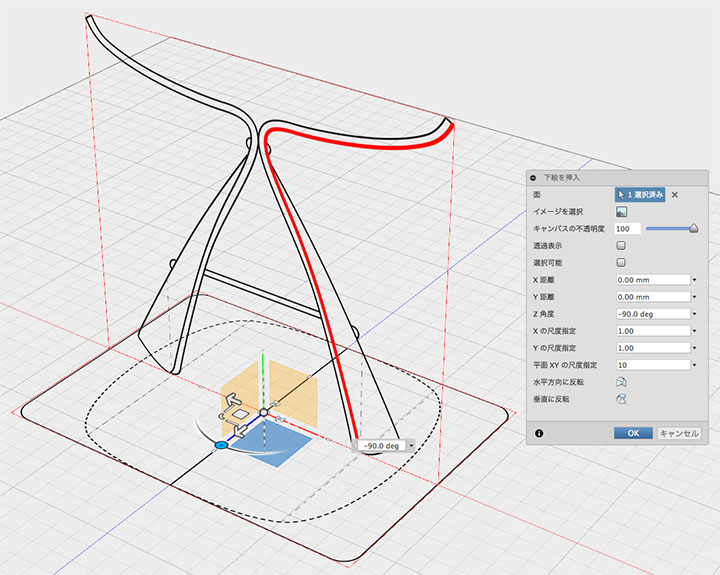
Creating a Sketch
In Sketch > Spline Tool, draw a path that follows the red lines in the sketch. Using as few control points as possible will result in a smoother curve. Add more control points in areas with high curvature.
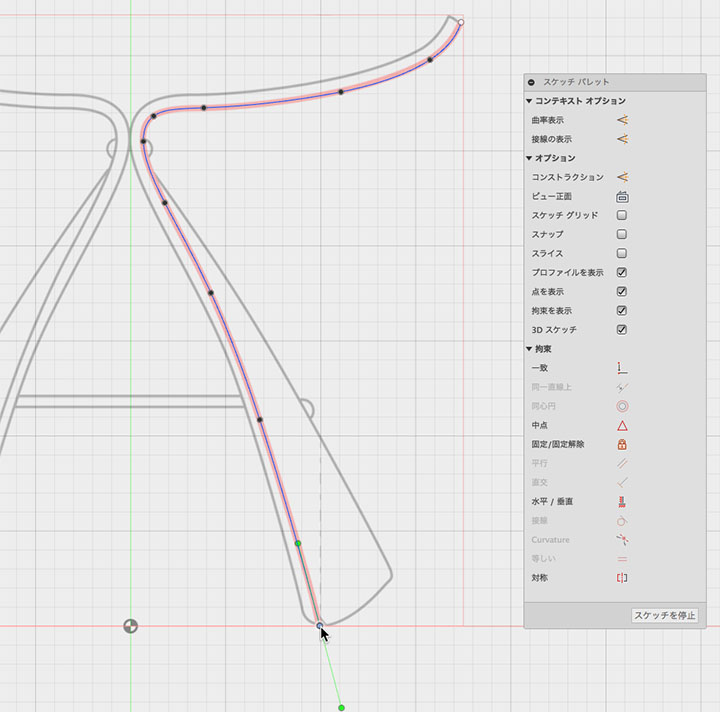
It’s easier to draw if you lower the opacity of the guide layer.
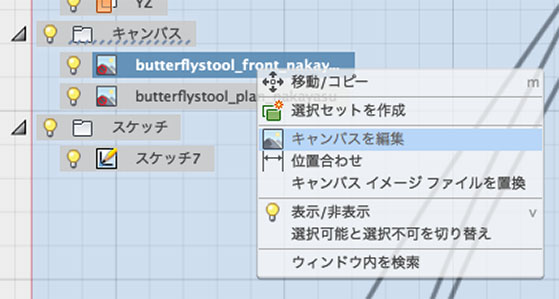
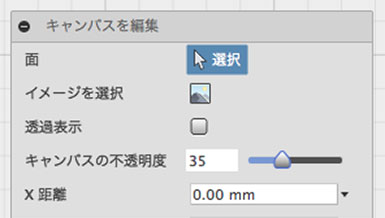
Right-click the canvas icon in your browser, select “Edit Canvas,” and then choose “Lower Canvas Opacity.”
Creating a Surface
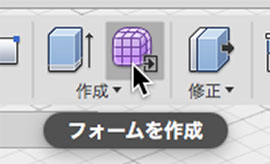
Click the “Create Form” button to enter Sculpt Mode.
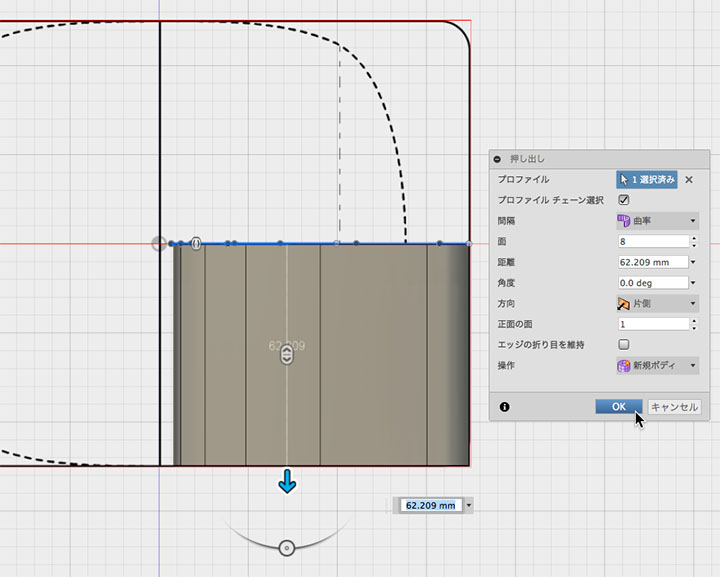
Select “Create” > “Extrude Profile” and choose a path. Set the front face to 1, and add more faces as needed.
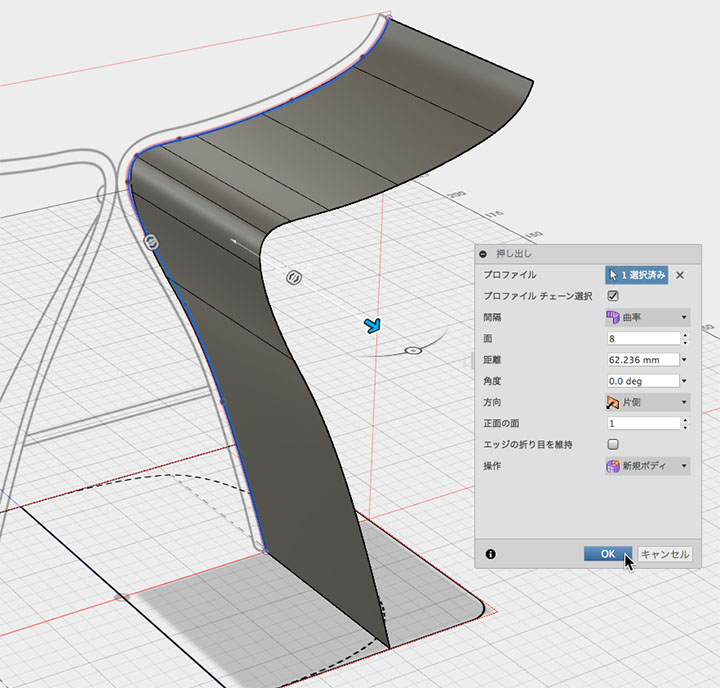
Adjust the distance (length) while referring to the floor plan.
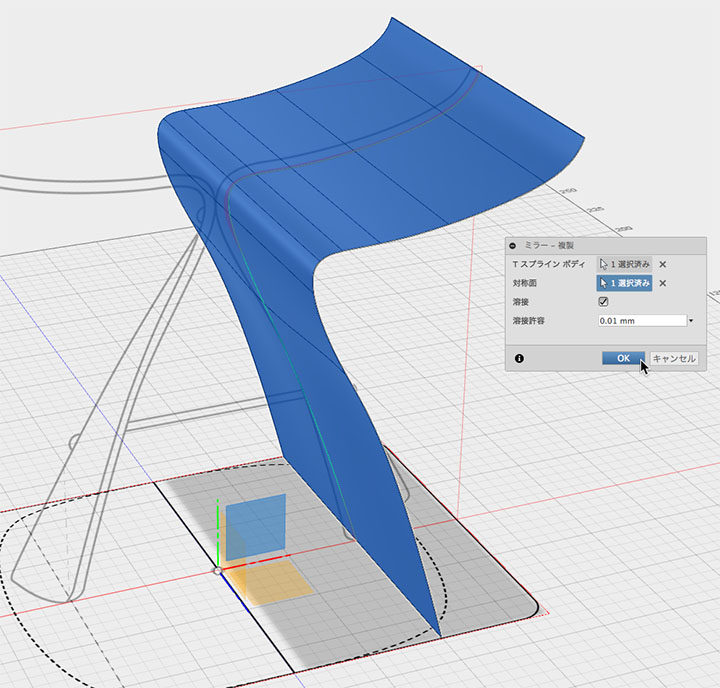
Mirror (Sculpt Mode)
Use the XY plane as the plane of symmetry and select Symmetry > Mirror-Duplicate.
After this setting is applied, all operations will be reflected symmetrically across the XY plane.
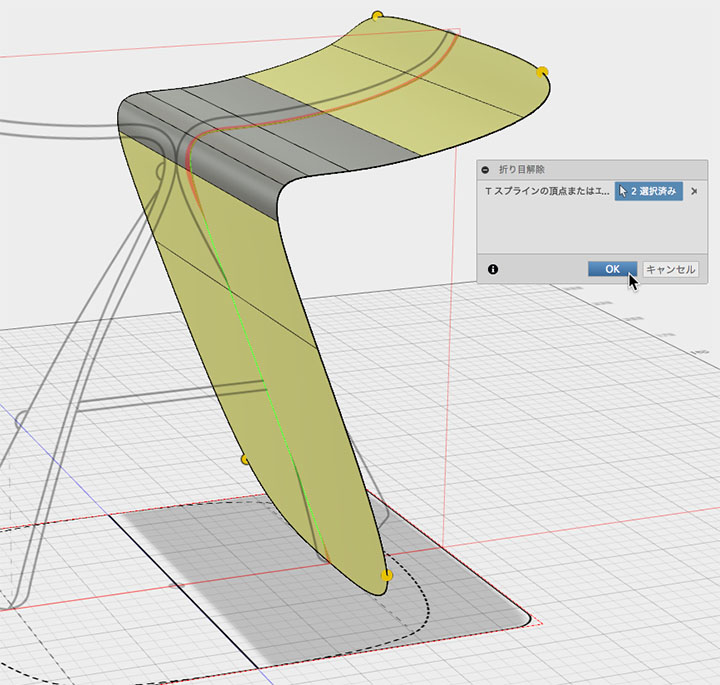
Removing Creases
Adjust the edges at the four corners > Remove creases.
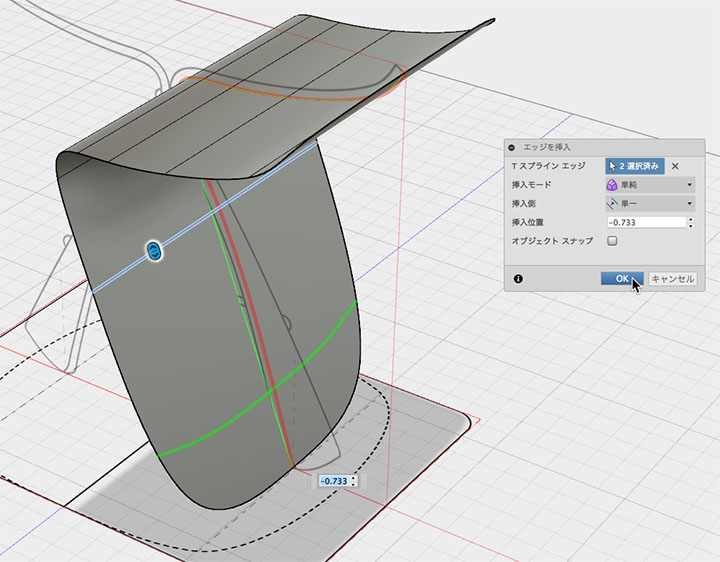
Insert an Edge
Edit > Insert Edge to adjust the rounded corners. If necessary, use Edit > Slide Edge.
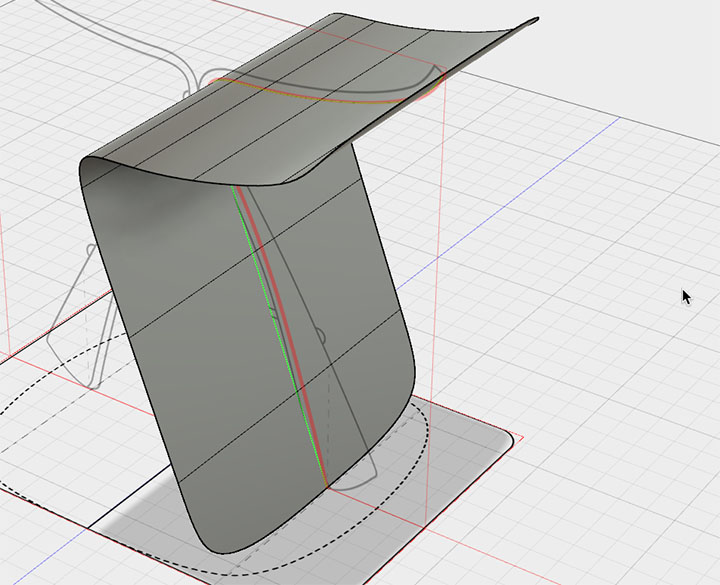
Modifying the Shape
Adjust the shape of the legs by editing the form.

In the cross-section analysis, select the XZ plane to display only the legs, as shown in the figure below.
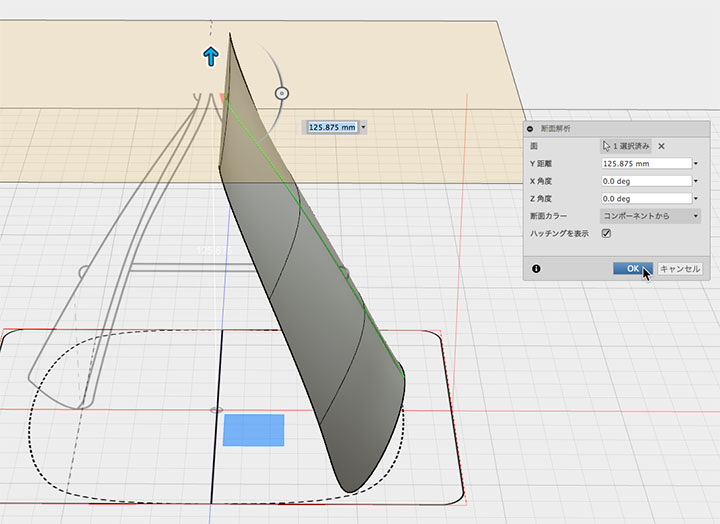
Modify the shape based on the floor plan.
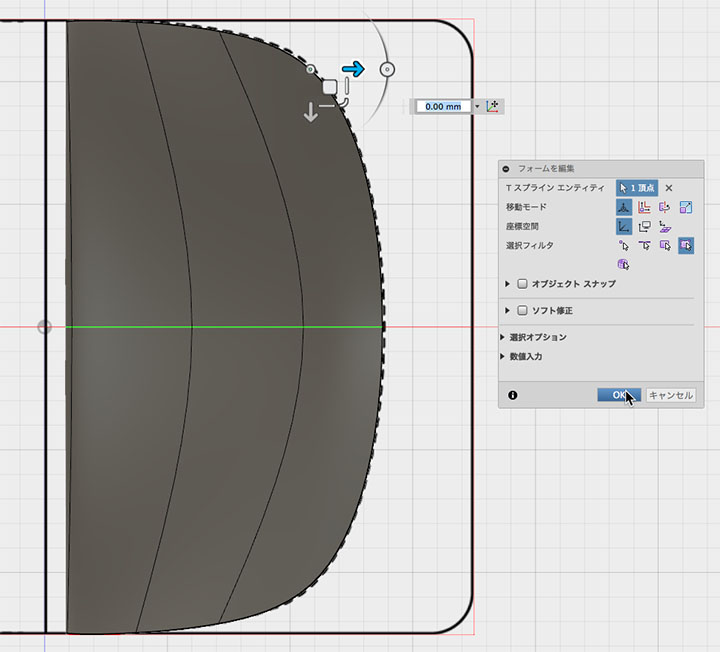
As needed, I make repeated adjustments to refine the shape.
You can also modify the curve by adding edges or using tangent handles.
Distortion occurs during the shape correction process, so apply Utility > Uniformize each time.

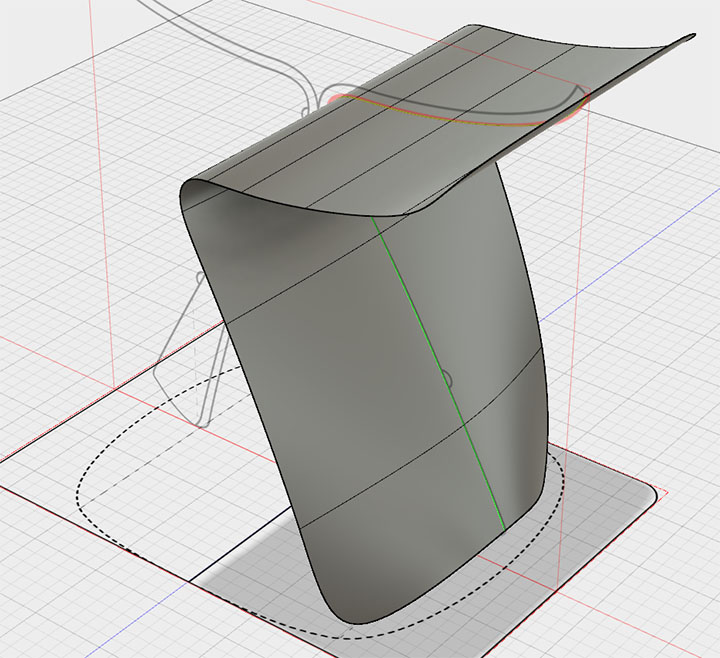
Completion of the surface shape.
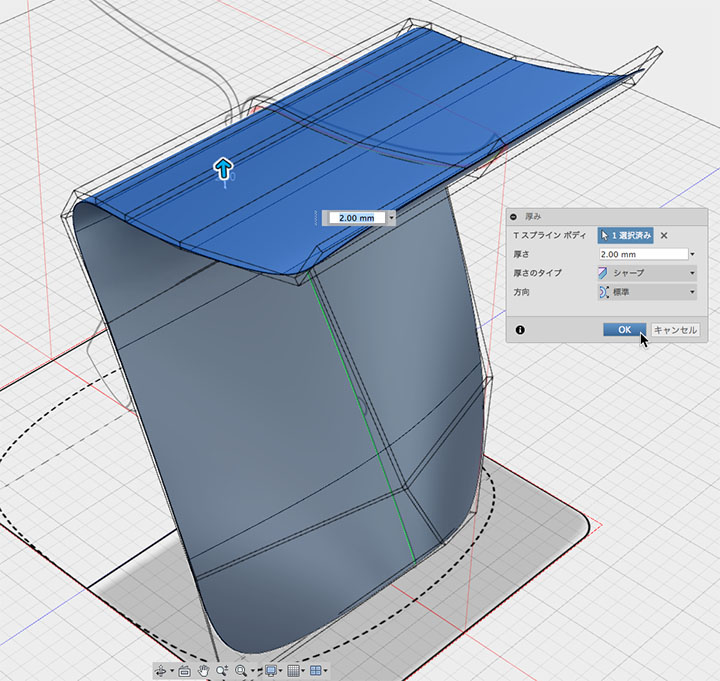
Thickness Settings and Fillets
Edit > Set the thickness. In the figure below, it is 2 mm.
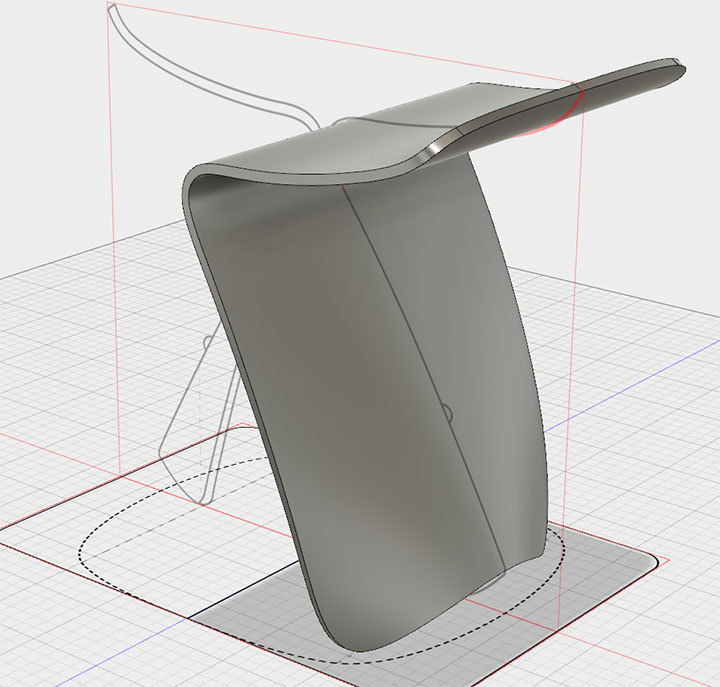
Click “Exit Form” to return to Model Mode, then convert to NURBS.
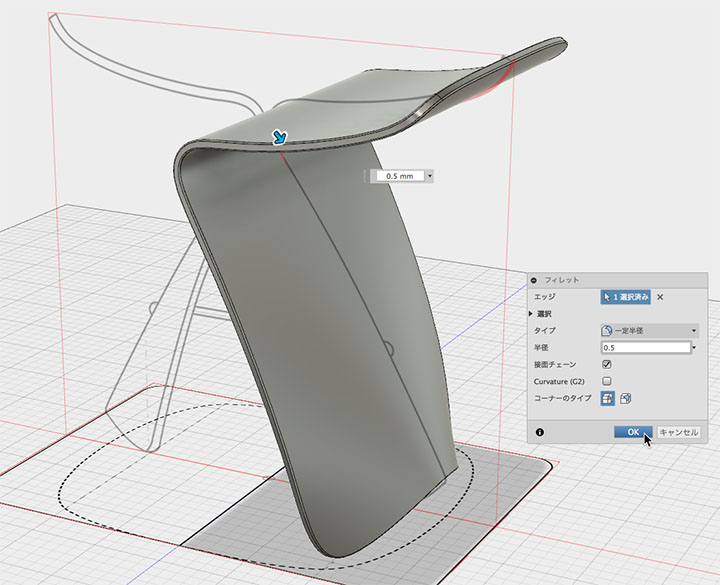
Set the fillet to the top and bottom edges. In the figure below, the value is 0.5 mm.
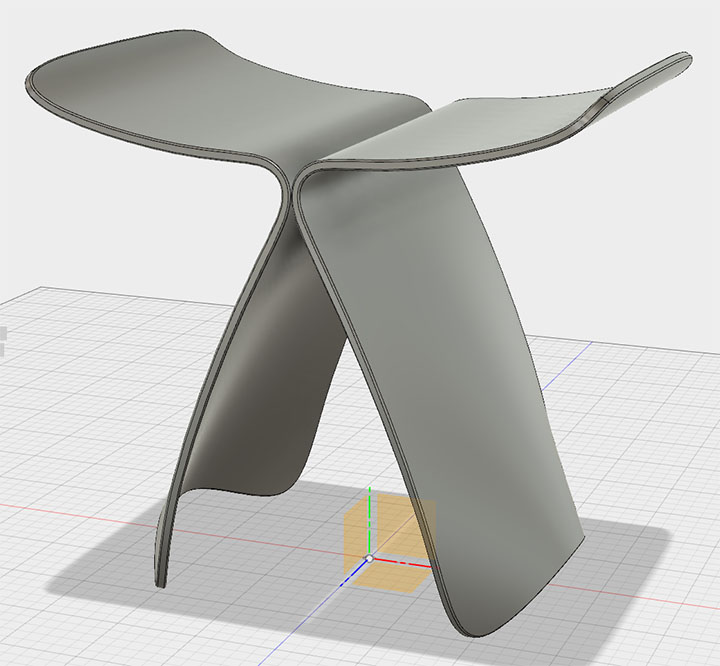
Mirror (Model Mode)
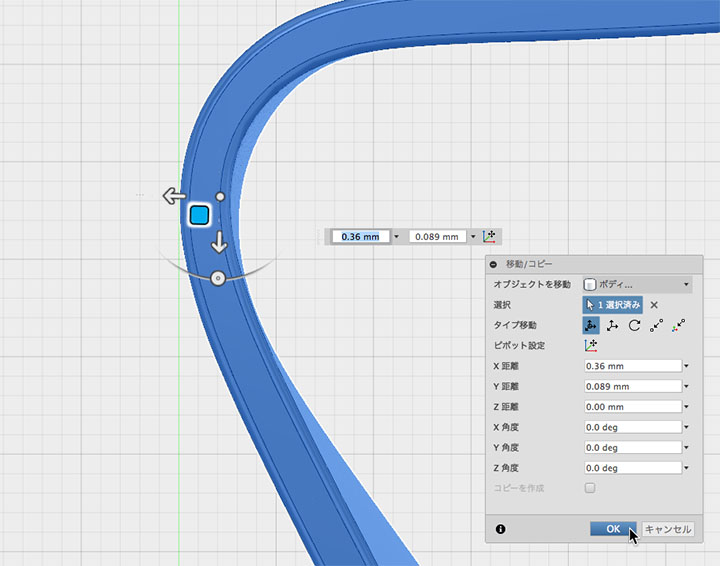
Move so that it is tangent to the YZ plane.
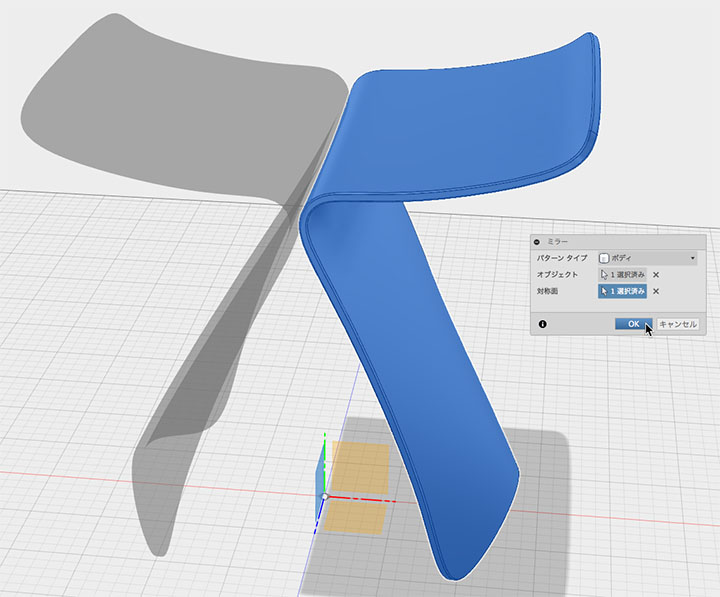
Create symmetrically on the YZ plane > Mirror. Unlike the Mirror (Symmetrical) command in Sculpt mode, the Mirror (Create) command in Model mode does not make subsequent operations symmetrical.
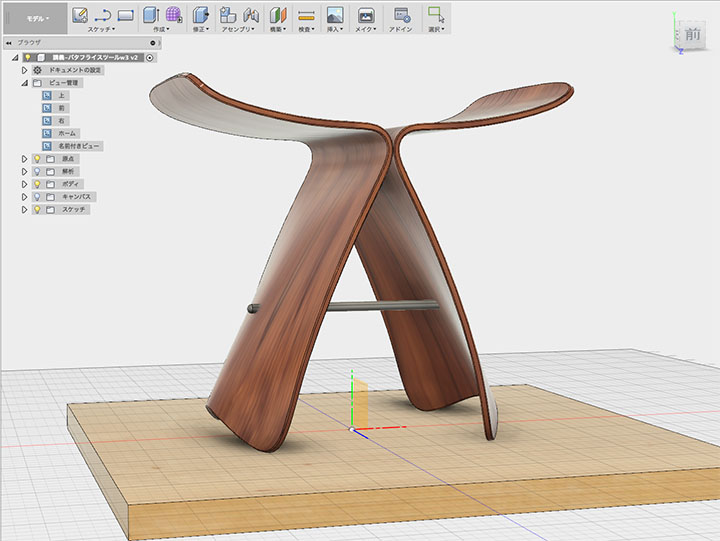
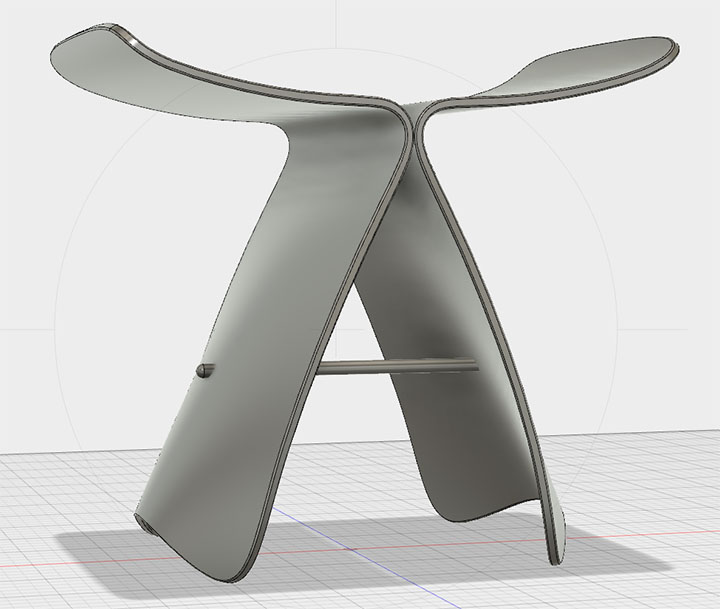
Adding Round Bars
Although it’s not the real thing, I made a round rod and finished it as shown in the figure below.
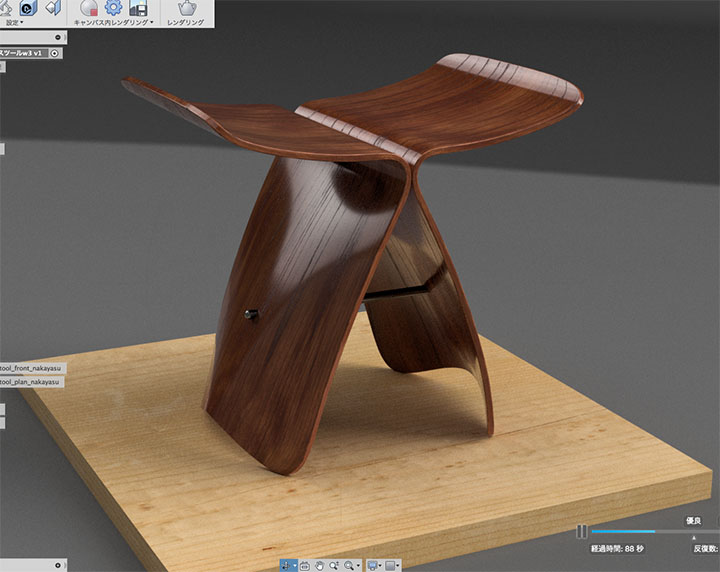
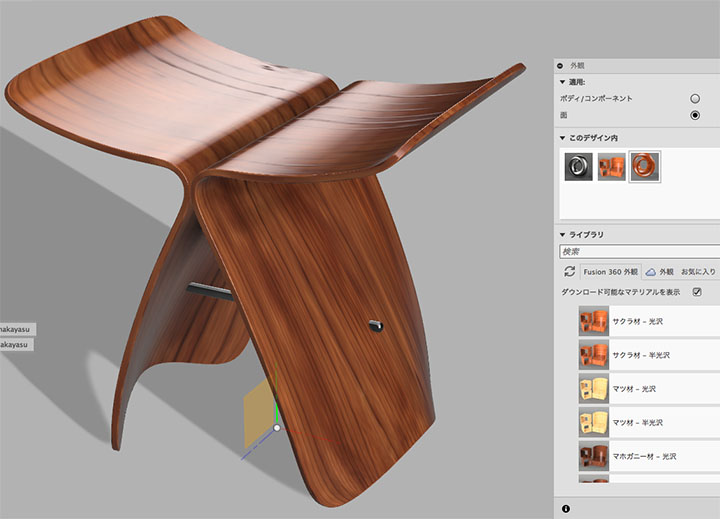
Materials and Rendering
Set the finish for the two stool bodies to “Cherry Wood - Gloss.”
In this case, the inner surface is fine, but if you edit the orientation of the outer material, assign the same material to the outer surface.
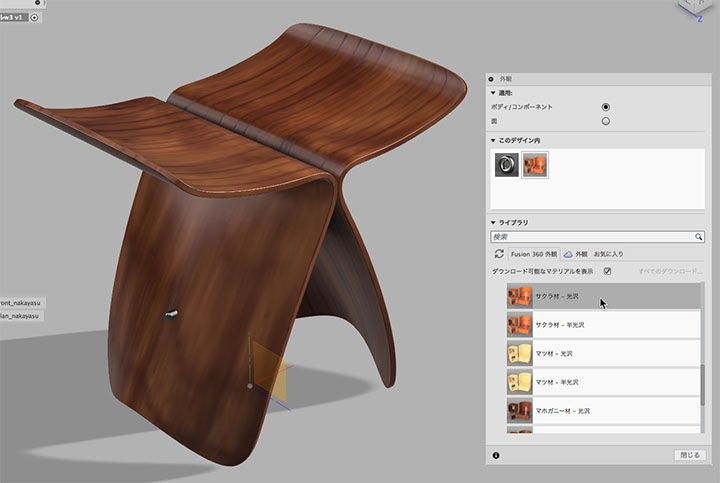
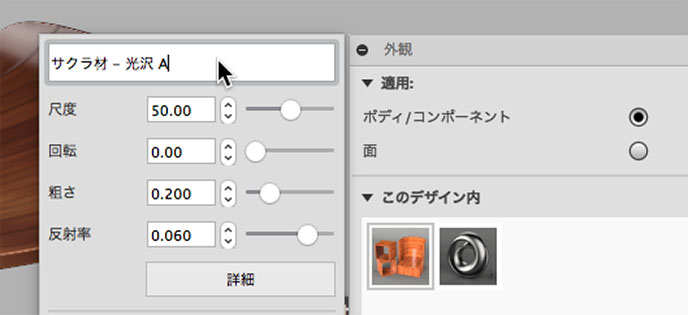
However, since you cannot have multiple materials with the same name, double-click the material icon to rename it.
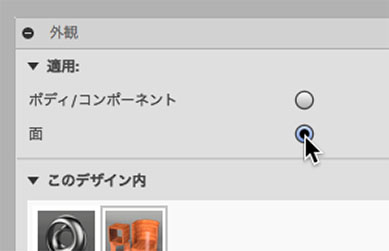
Change the application of the exterior window to a surface.
From the library, select Wood > Finish > Cherry Wood - Glossy, and change the rotation to 90 degrees. Adjust the scale to your liking.
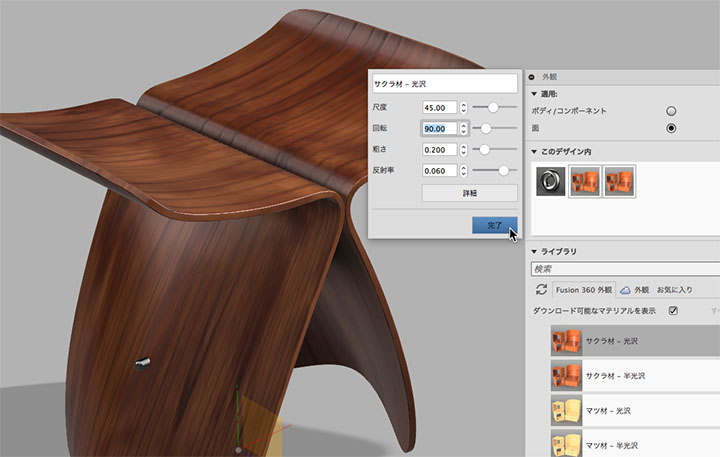
Set up the other side in the same way. Drag and drop the material you just created into “Within this design.”
Render the scene by placing a floor surface. In the floor surface shown below, “Pine - Semi-gloss” has been selected.