Fusion 360 Exercise 6
Updated: 2026-05*
This article was written before 2020. It is kept here as an archive — the content is outdated and some links may no longer work.
Creating a Spoon
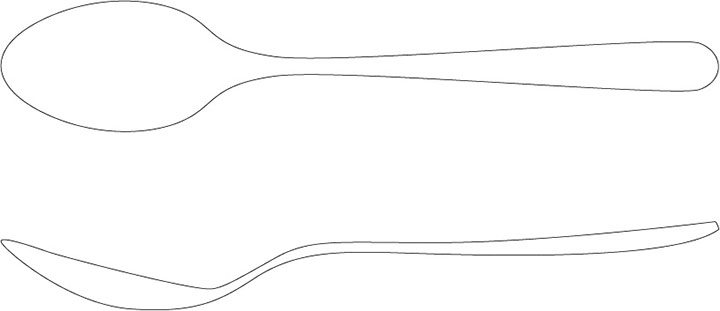
In this exercise, we will create a spoon in Sculpt mode. The figures below show a top view and a front view of a typical spoon.
This document was written in October 2017. Functionality has been verified in Fusion 360 version 2.037.
Creating the Scoop Section
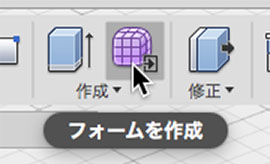
Click the “Create Form” button to enter Sculpt Mode.
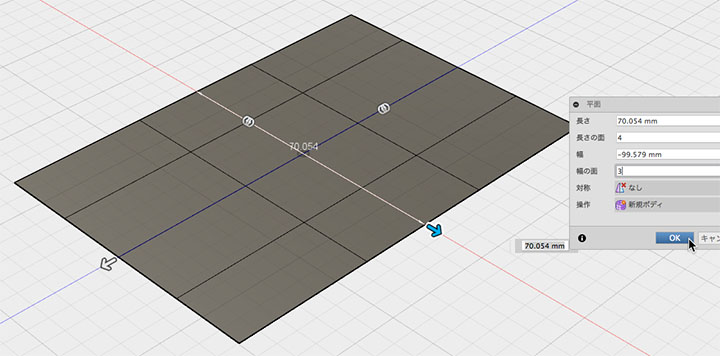
Go to Create > Plane Tool to create a plane on the XZ plane. Set the length to 4 and the width to 3.
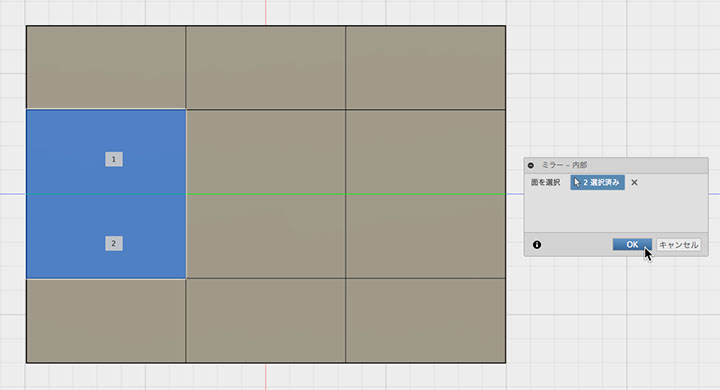
Symmetry > Mirror - Select the face in the Internal Tools as shown below. Any face that corresponds to the symmetry position will work. When you enter symmetry mode, a green line will appear at the center of the object.
To clear the symmetry mode, select a surface from Symmetry > Clear Symmetry.
Edit > Use the Unfold Tool to unfold the creases at the four corners.
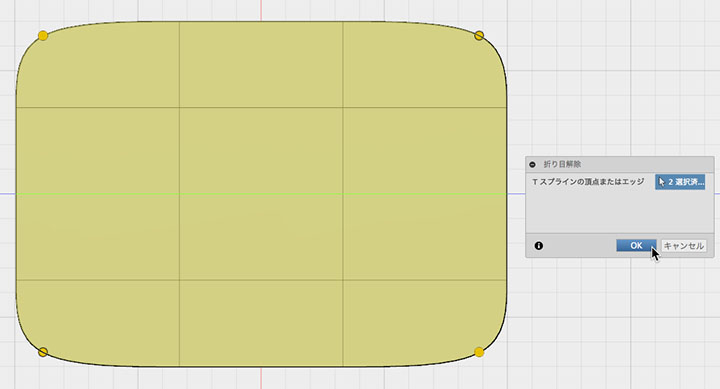
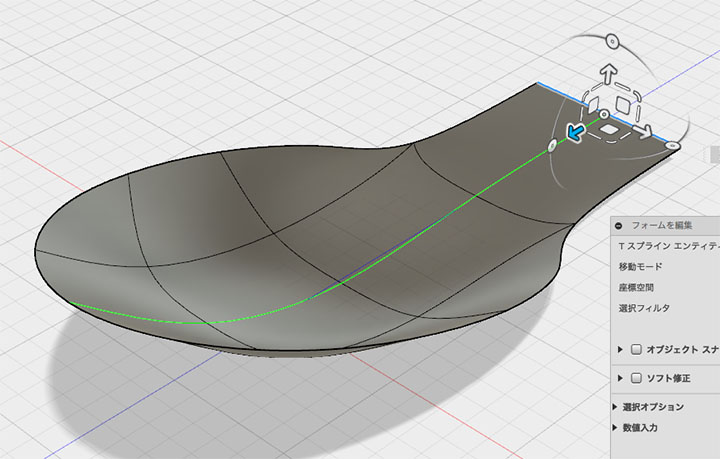
Modification> Using the Fall Edit tool, shape the scooping part of the spoon as shown in the figure below. Work in the plan view.
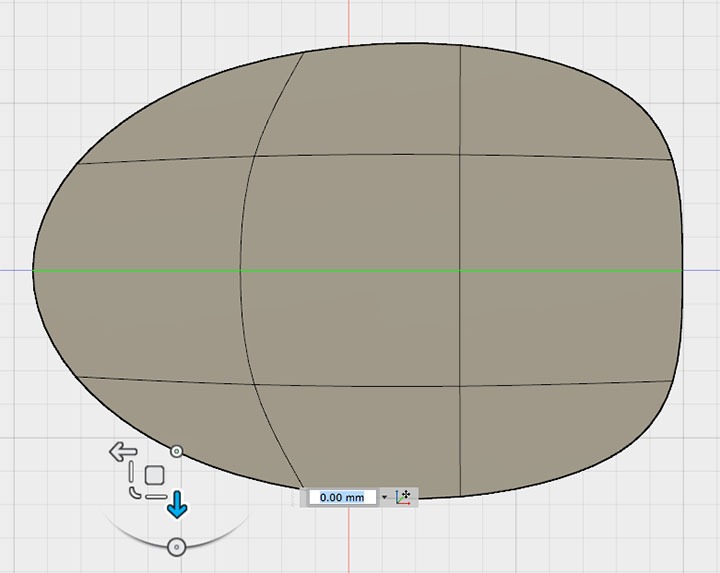
Double-click the surrounding edges to select them, then move them up in the form editor.
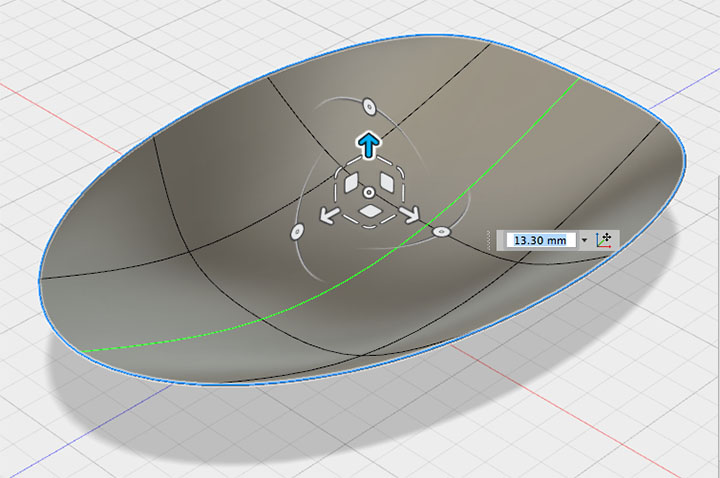
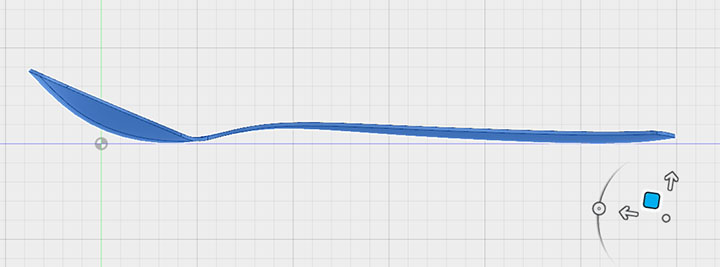
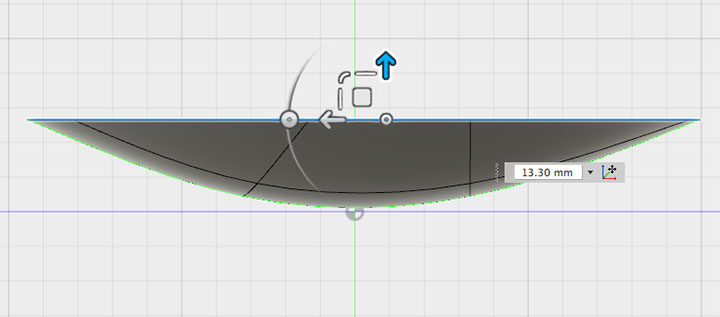
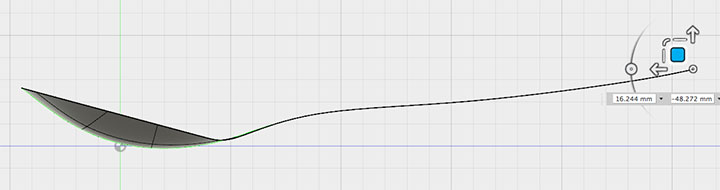
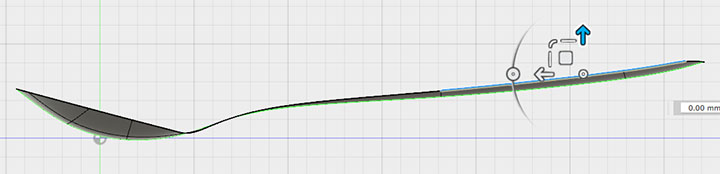
Since only the outer edges rise, it takes on a bowl-like shape. Switch to the front view to confirm.
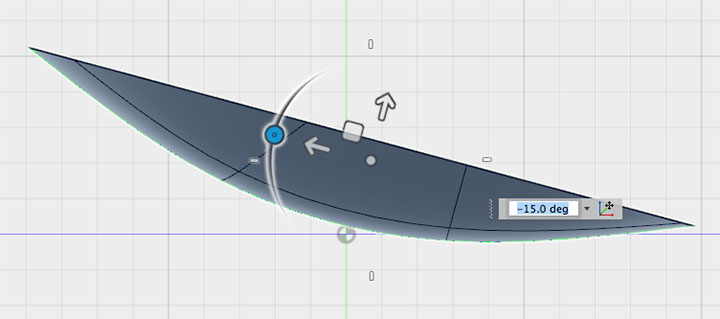
Rotate it according to the drawing.
Creating Patterns
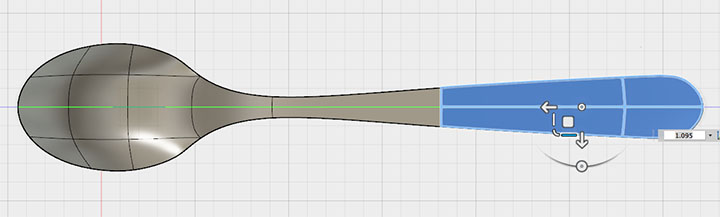
Enter edit mode on the form. Press ALT + Move to extrude the edge.
We’ll make adjustments while checking the front view.
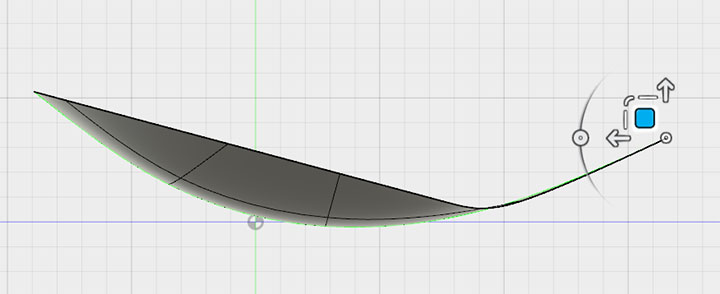
Extrude the edges to the extent shown in the figure below.
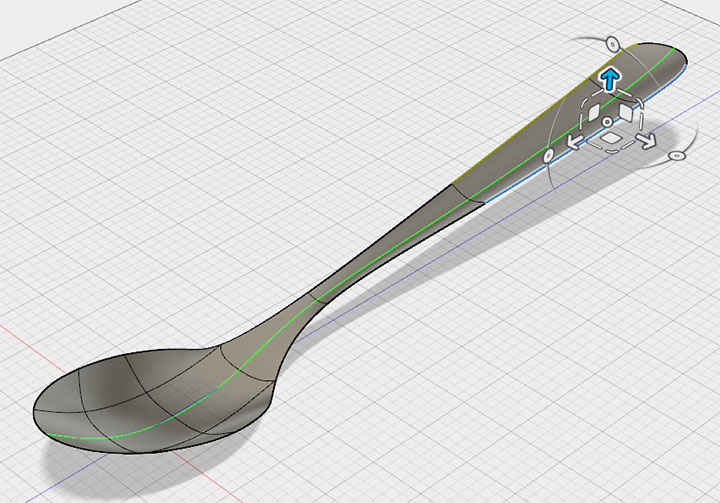
Unfold the two creases at the top edges of the pattern.
Shape it while referring to the floor plan.
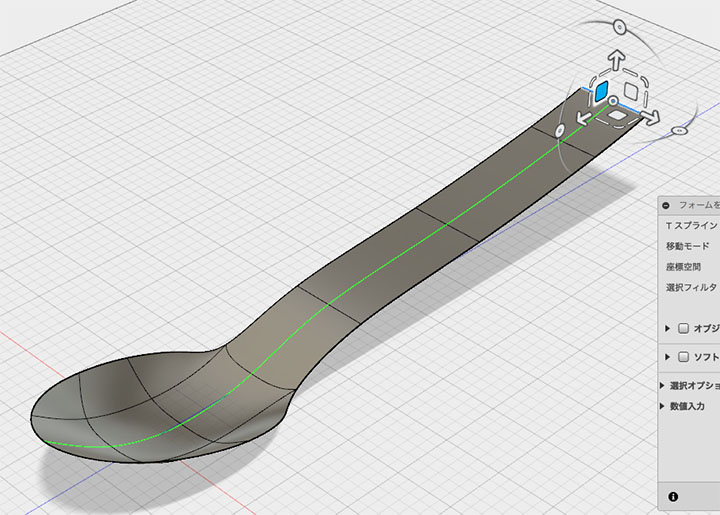
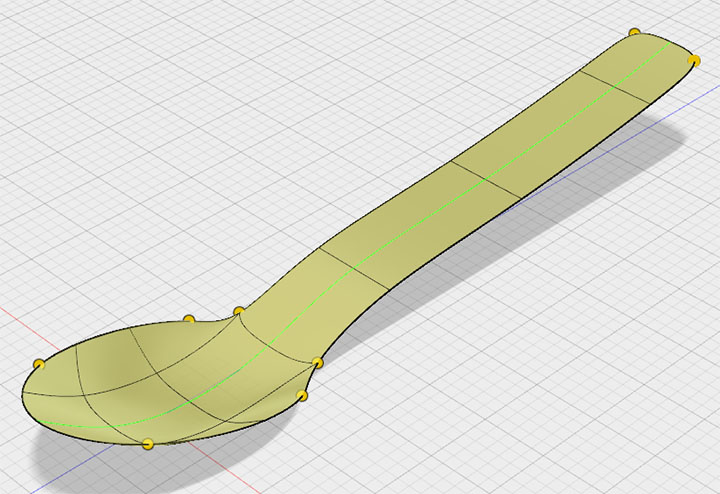
Select the edge of the pattern and drag it upward.
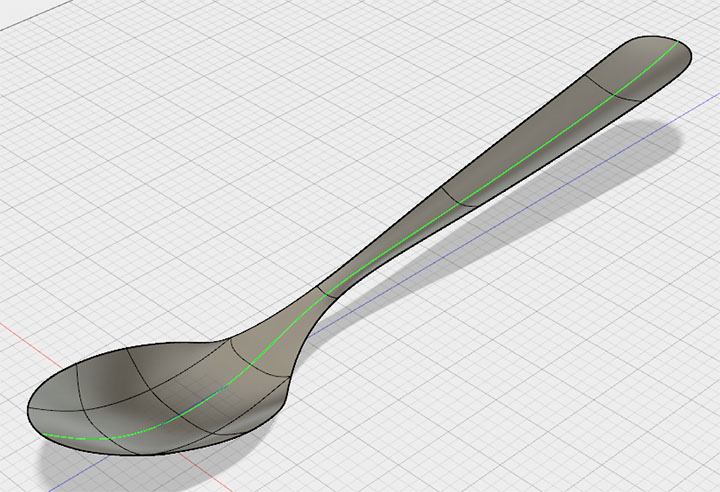
The spoon-shaped surface is complete.
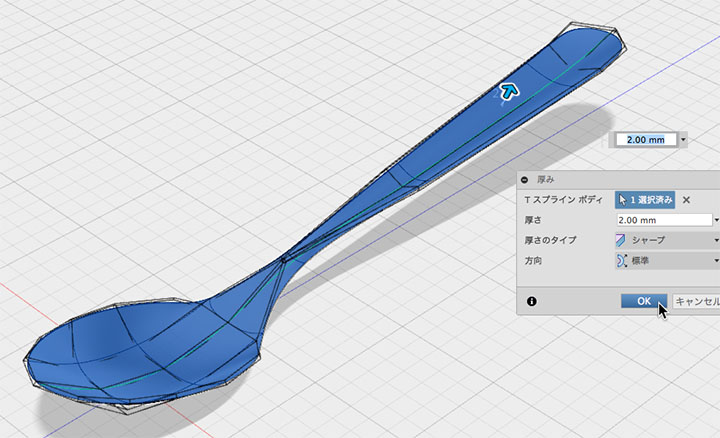
Setting the Thickness
Edit > Set the thickness to 2 mm.
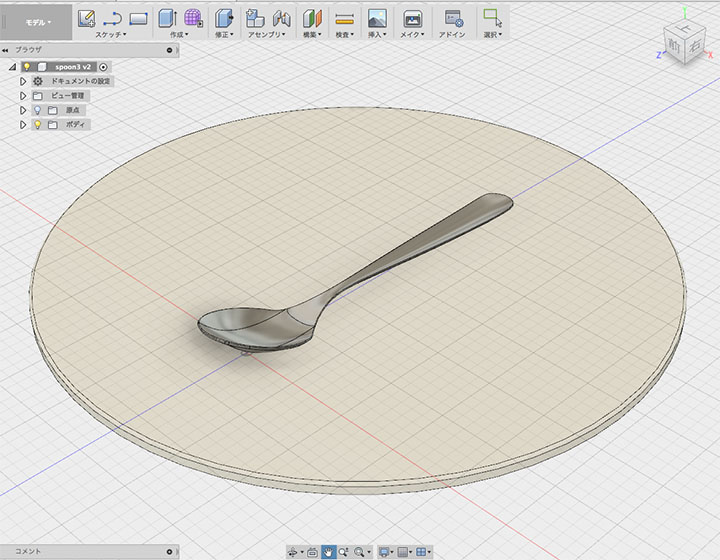
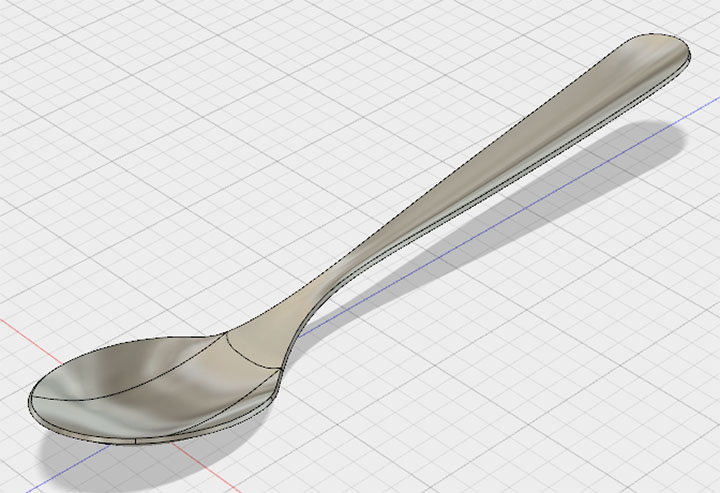
Close the form and convert it to NURBS. Apply fillets or chamfers as needed.
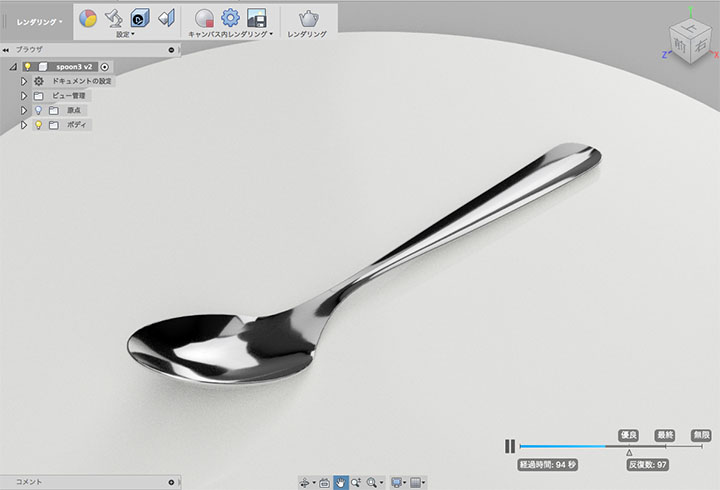
Materials and Rendering
Set the spoon’s material to Metal > Stainless Steel > Polished Stainless Steel.
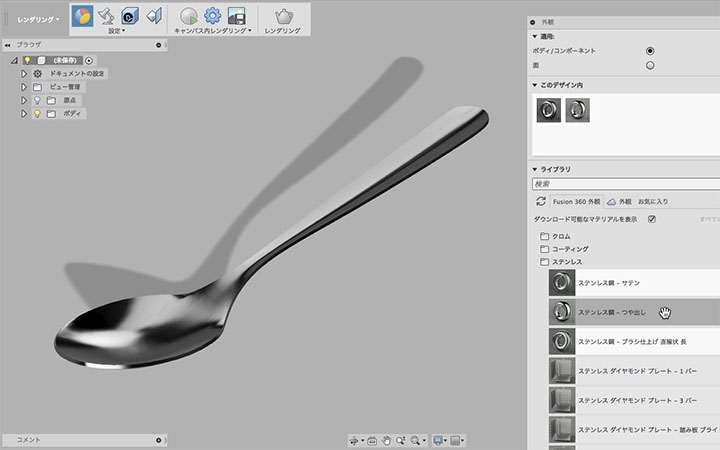
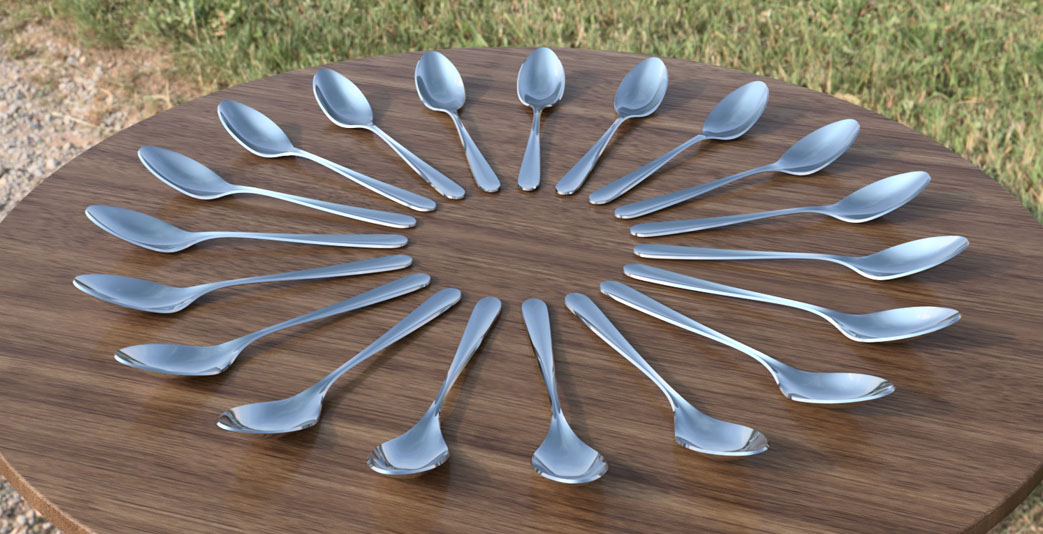
Rotate the spoon and place it on the table as shown below.