Fusion 360 Sketch Basics
Updated: 2026-05*
This article was written before 2020. It is kept here as an archive — the content is outdated and some links may no longer work.
What Is a Sketch?
Sketching in Fusion 360 is a powerful tool that offers basic 2D CAD functionality. By using constraints and sketch dimensions, you can efficiently create precise shapes. However, because the workflow has its own unique characteristics, it takes some getting used to—if you don’t know the steps, you won’t be able to draw as you intend.
In this section, we will cover the basics of working with Sketch. Constraints and other techniques will be covered in a separate lecture note.
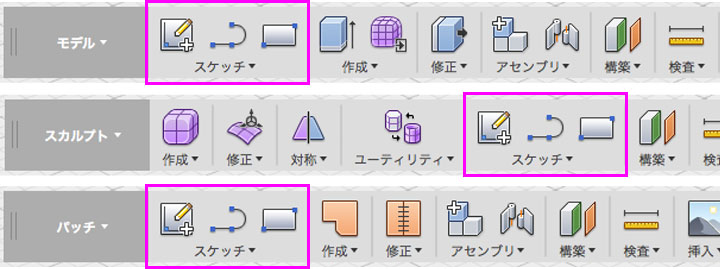
Sketch Menu by Mode
Sketch is available in Model Mode, Sculpt Mode, and Patch Mode.
General Process for Creating Sketches
1. Starting a Sketch
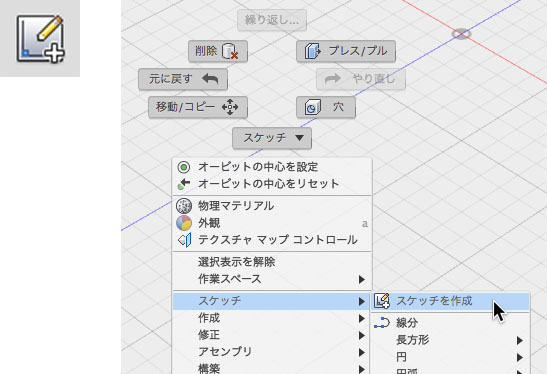
Click the “Create Sketch” button on the toolbar. You can also create a sketch from the marking menu.
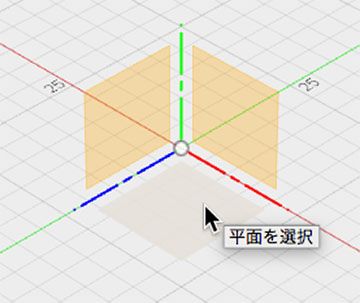
② Select Reference Plane
Select the displayed reference plane.
For the reference plane, you can also select the plane within the browser’s origin, an offset plane, or an object’s face.
3. Drawing Shapes
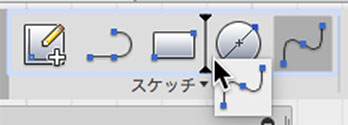
The top half of the Sketch menu contains creation tools, so select the tool that suits your needs and start drawing.
4. Using the Editing Tools
Use the editing tools in the lower half of the Sketch menu as needed.
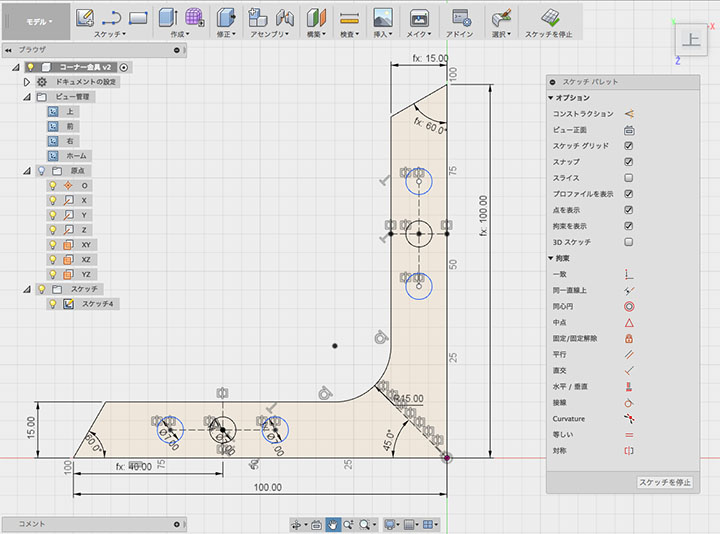
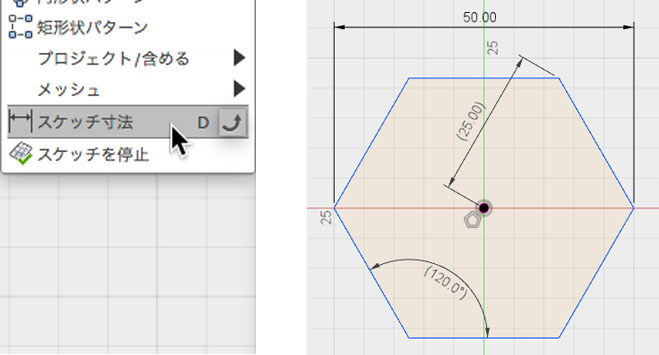
⑤ Using Dimension Constraints
You can apply dimension constraints using sketch dimensions.
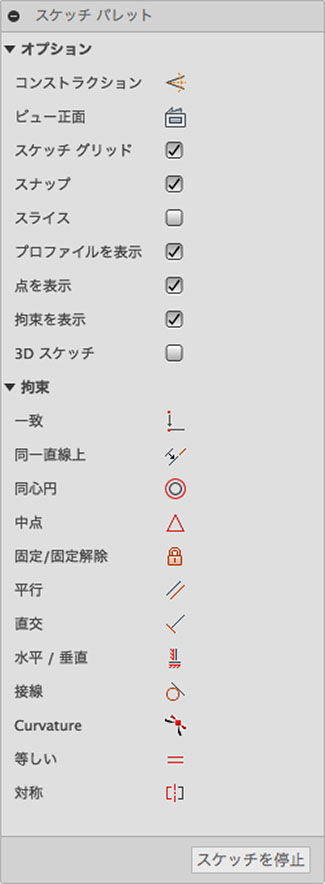
⑥ Using the Sketch Palette
You can use the Sketch Palette to apply options and constraints.
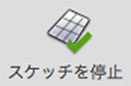
⑦ Stopping a Sketch
When you have finished drawing, click the Stop Sketch button. You can stop a sketch from the toolbar, the Sketch menu, the Sketch palette, or the Marking menu.
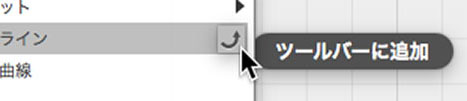
Adding and Removing Sketch Menus
You can easily add or remove items from the menu.
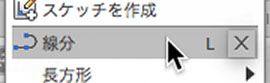
Click the icon shown below on the right side of the drop-down menu to add a button to the toolbar.
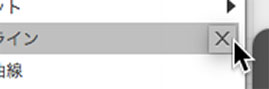
Click the icon shown below to delete the button.
You can long-press a button on the toolbar and drag it to reorder the buttons.
You can also delete it by dragging it to the outside.
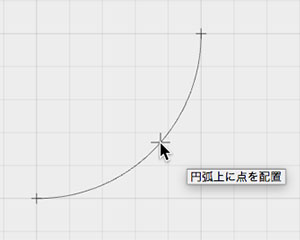
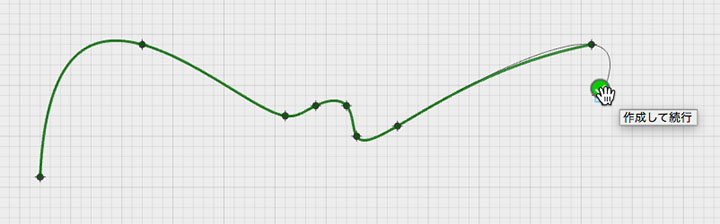
Line Segments (+Arcs)
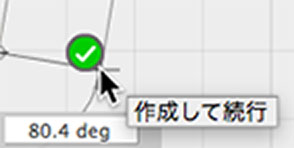
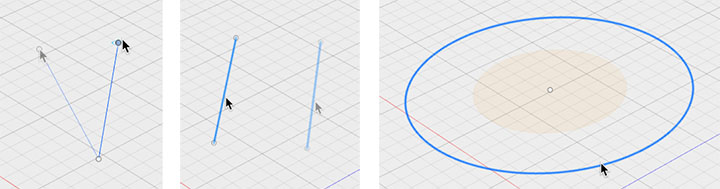
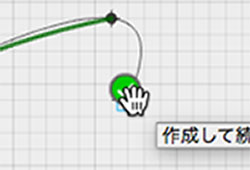
With the Line Segment tool, you can not only draw a straight line by clicking repeatedly, but also draw an arc by dragging.
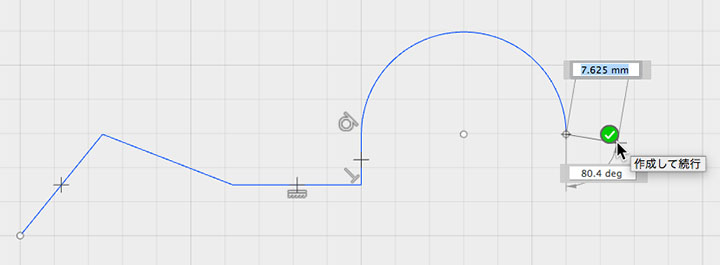
Click the checkmark icon to stop continuous drawing.
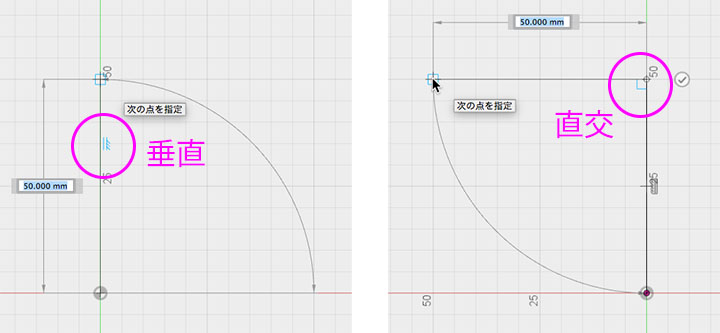
Automatic Restraint
In Sketch, constraints are automatically applied when drawing shapes.
Please note that if you place a point or circle at the origin, origin constraints are automatically applied.
Before a shape is finalized, constraint candidates are displayed as blue icons, as shown below.
Details on constraints are explained in “Fusion 360 Sketch Constraints.”
Alignment constraints are automatically applied to the connection points of line segments and curves.
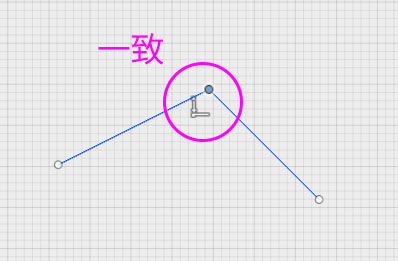
To remove a constraint, right-click the constraint icon and select “Delete.”
Selection Tool Status
When creating a sketch, it’s a good idea to keep an eye on the selection tool in the toolbar as you work.

When drawing shapes or applying constraints, the selection tool remains active, preventing you from performing other tasks. To exit this state, click the selection tool or press the ESC key.
Moving Points, Line Segments, and Sketches (When Editing a Sketch)
Method 1) Selection Tool
Use the Selection Tool to drag and move the point.

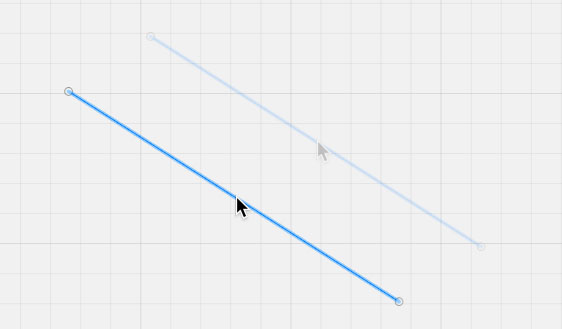
Use the Selection tool to drag and move line segments or curves.
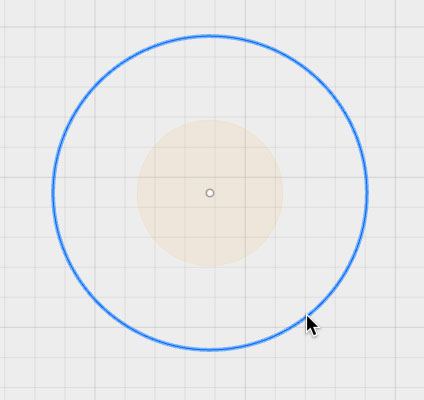
Drag the circle’s edge to resize it. Drag the center point to move it.
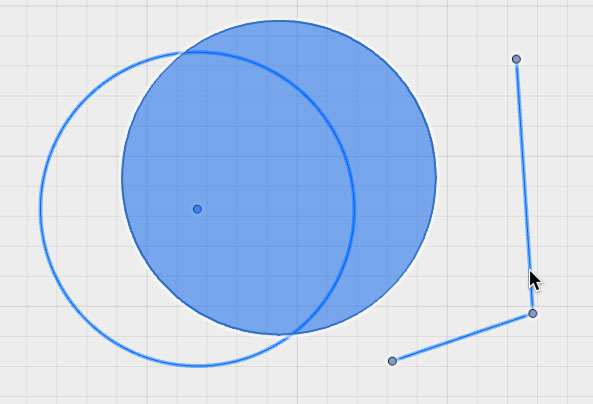
You can select multiple shapes as a group and move them all at once.
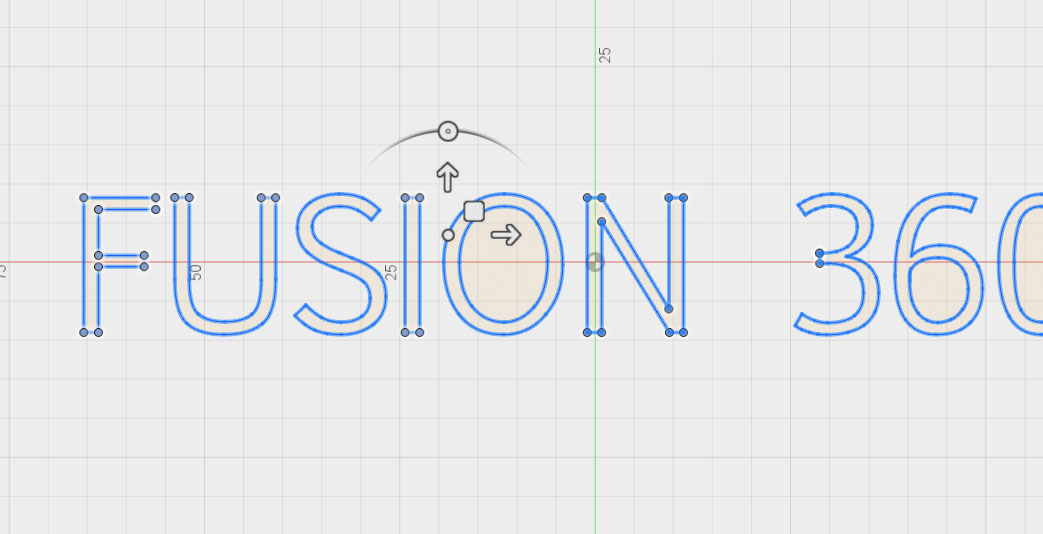
Method 2) Move/Copy Tool
You can use the Move/Copy Tool to move and rotate objects.
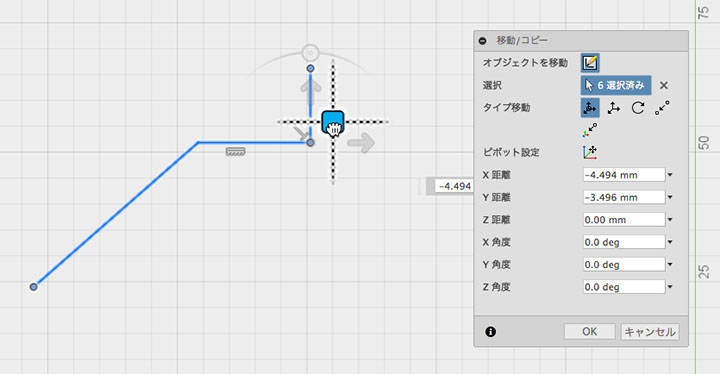
Since you can’t copy using the Move/Copy tool in Sketch, use the Copy and Paste options in the Marking Menu.
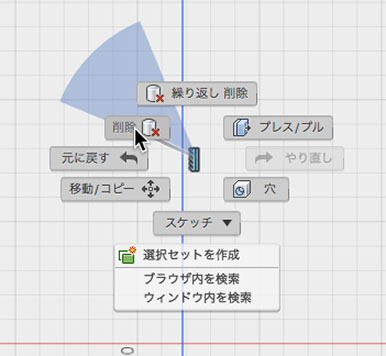
Deleting Points, Line Segments, and Curves
Use the Selection tool to click on a point, line segment, or curve, then press the Delete key to remove it.
You can also delete multiple shapes at once by selecting a range.
Note that even if you delete the shape, an empty sketch will remain.
If you want to permanently delete a sketch, do so through your browser.
Moving Points, Line Segments, and Sketches (After Stopping a Sketch)
Even after stopping the sketch, you can still move points, line segments, and sketches within the workspace.
While the Move/Copy tool allows you to move multiple sketches at once, the selection tool does not.
Be careful about how the object behaves when you change its height. This is explained in the section titled “Relationship to the Reference Plane.”
Relationship to the Reference Plane
The sketch depends on the reference plane selected first.
For the reference plane, you can select the plane at the browser’s origin, an offset plane, or an object’s face.

For example, a sketch that uses an offset plane as its reference plane will follow the movement of that offset plane.
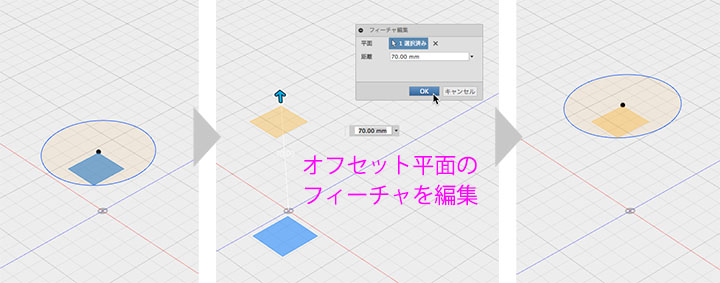
One confusing behavior is that if you change the height of a sketch feature (whether by moving it within the sketch or after exiting the sketch), you will no longer be able to make adjustments with the mouse on the workspace after exiting the sketch. To avoid this, always create sketches on the reference plane, and use an offset plane when changing the height.
Re-editing a Sketch
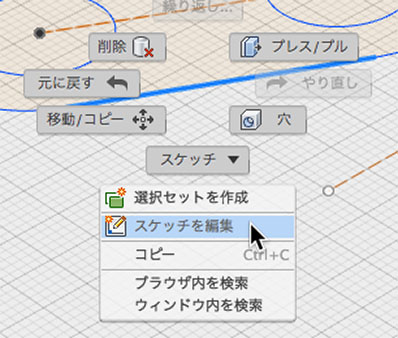
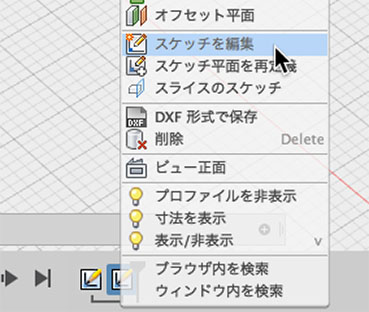
Method 1) From the Workspace
Right-click the sketch and select “Edit Sketch.”
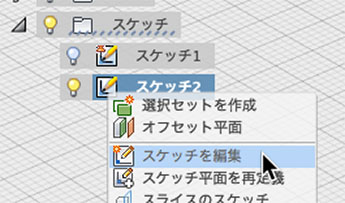
Method 2) From the browser
Right-click the Sketch icon in your browser and select “Edit Sketch.”
Or double-click the icon.
Method 3) From the History
Right-click the feature in the History and select “Edit Sketch.”
Or double-click the icon.
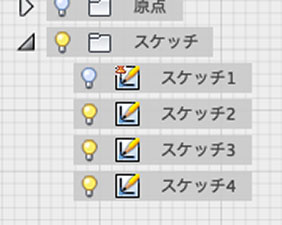
Managing Sketches Using a Browser
If you create another sketch after stopping the current one, a new sketch will be created automatically. Since the number of sketches can increase without you realizing it, you’ll need to manage them in your browser.
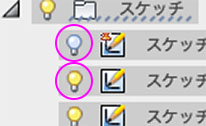
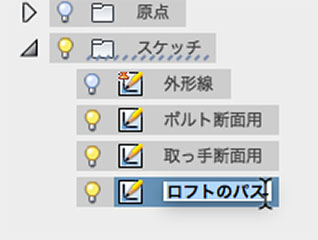
Click the lightbulb icon to show or hide the icon.
If you create a 3D model from a sketch, it will be hidden automatically, so display it as needed.
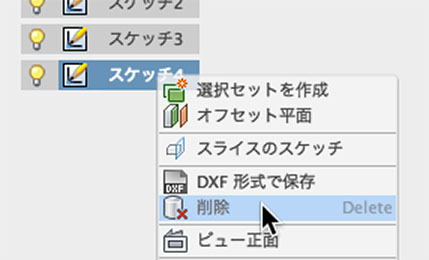
To delete a sketch, right-click the sketch name and select “Delete” from the menu.
Press and hold the sketch name to edit it, and change the name as needed.
Rectangle
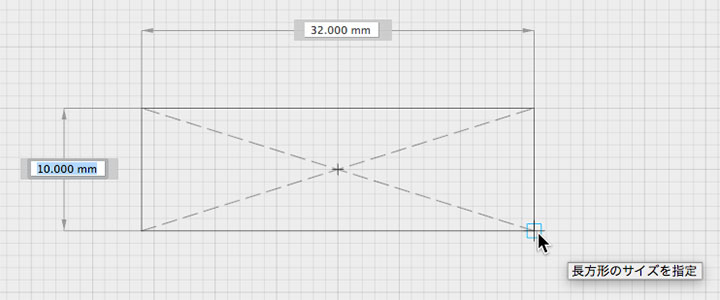
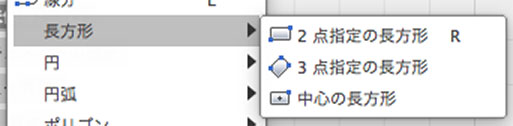 There are three ways to draw a rectangle.
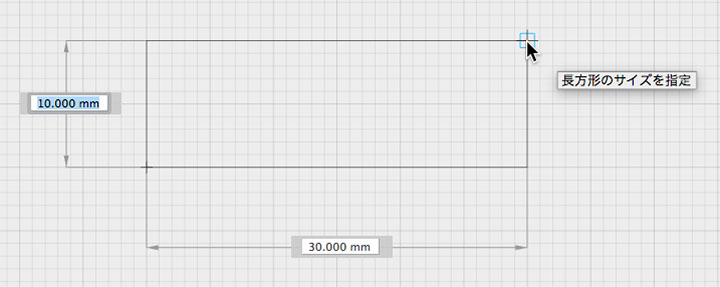
Rectangle with Two Specified Points
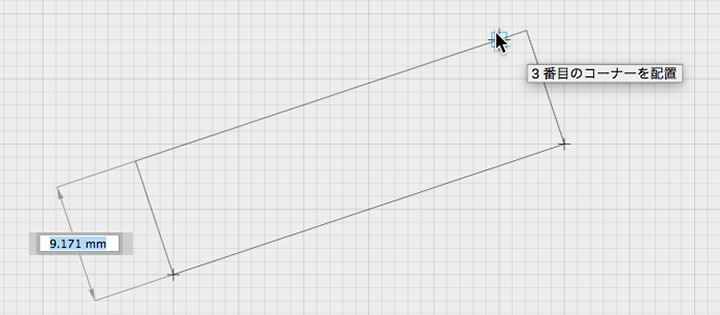
Rectangle with 3 Specified Points
Rectangle at the Center
Yen
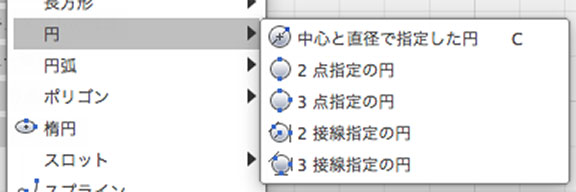
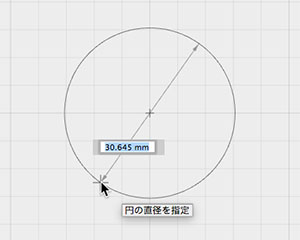
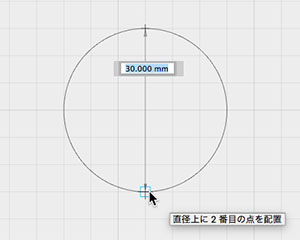
There are five ways to draw a circle.
Circle with Two Given Points
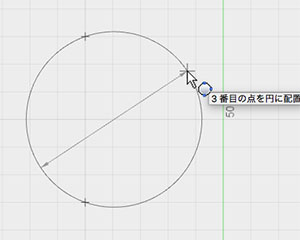
Circle with Three Given Points
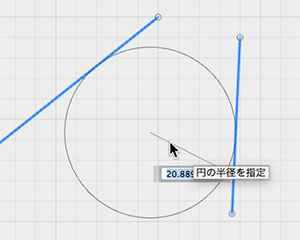
Circle with Two Tangents
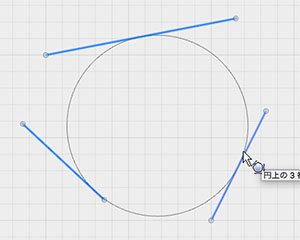
Circle with Three Tangents
Arc
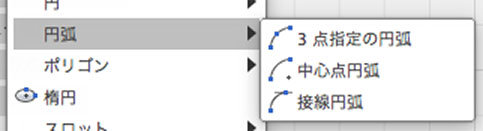
There are three ways to draw an arc.
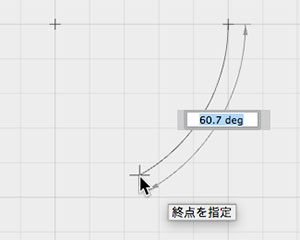
Arc with Three Specified Points
Centered Arc
Tangent Arc
A tangent arc works almost the same as the arc function for line segments.
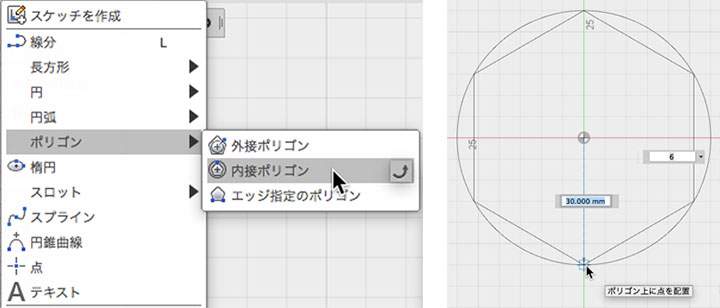
Polygon
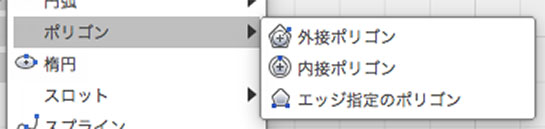
There are three ways to draw polygons.
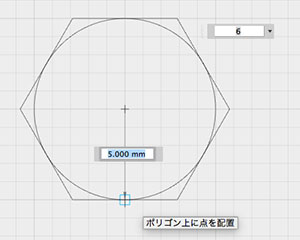
Circumscribed Polygon
For a hexagon, this is equal to half the width between the two faces of a hex bolt.
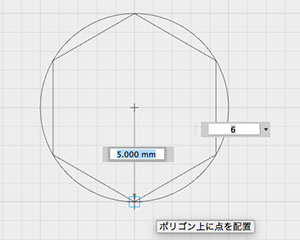
Inscribed Polygon
For a hexagon, this is equal to half the diagonal length of a hex bolt.
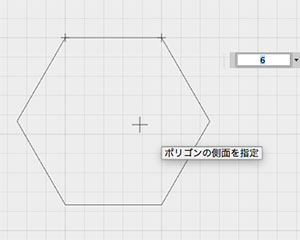
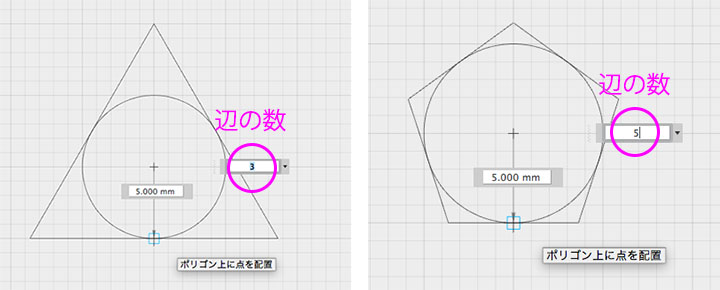
You can draw various polygons by pressing the Tab key to change the number of sides.
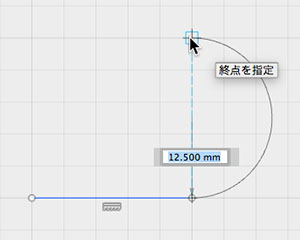
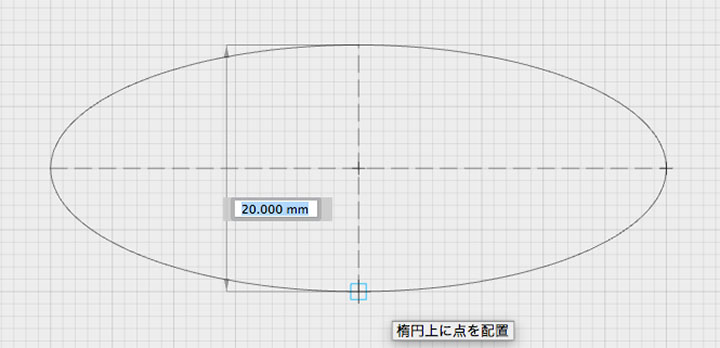
Ellipse

Draw an ellipse by specifying its center, width, and height.
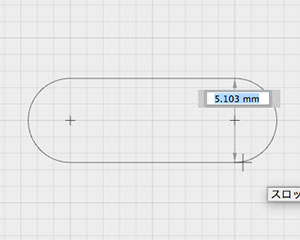
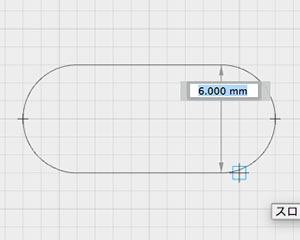
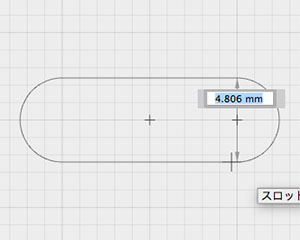
Slots
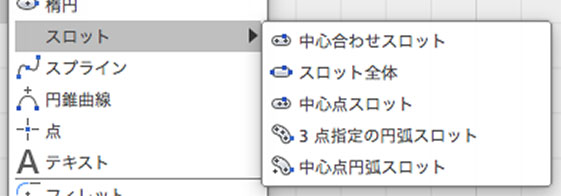
There are five ways to draw slots.
Center Alignment Slot
All Slots
Center Point Slot
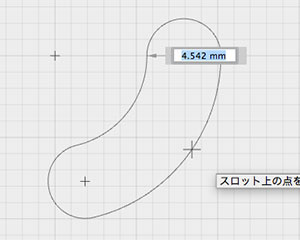
Three-Point Arc Slot
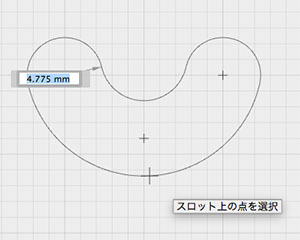
Center-Point Arc Slot
Spline
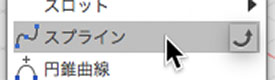
Draw a spline curve.
Click the checkmark icon to stop continuous drawing.
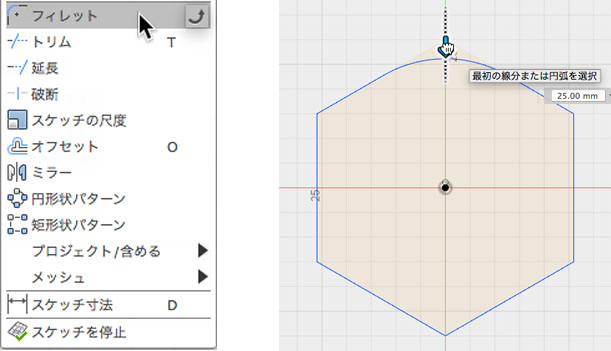
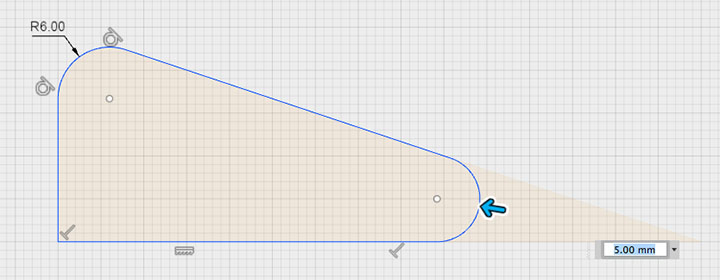
Fillet
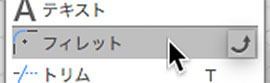
You can apply a fillet (rounded corner) to the junction point between two elements, such as line segments and curves.
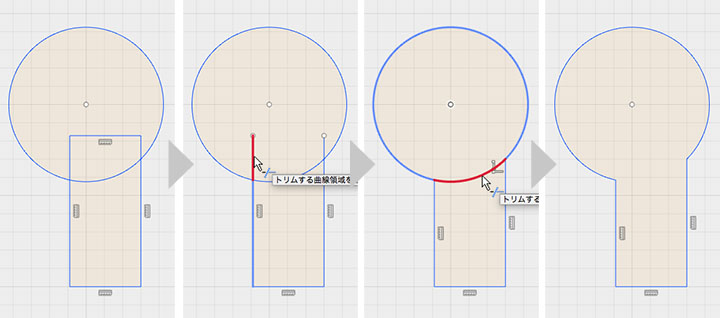
Trim
You can delete elements of intersecting shapes.
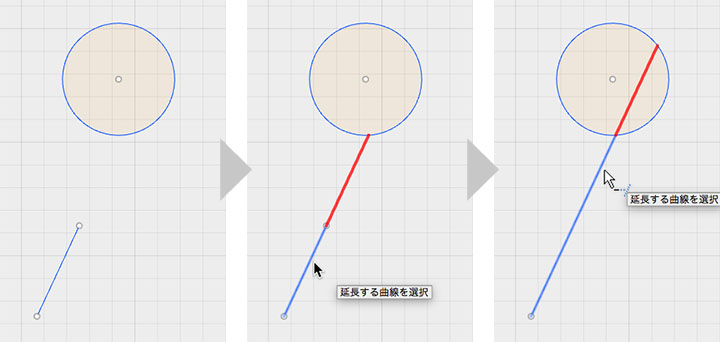
Extension
You can extend a line segment to another shape. This also works with curved shapes.
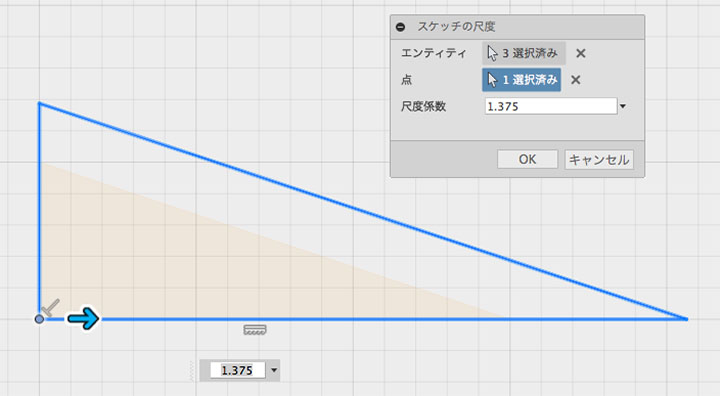
Scale of the Sketch
You can select the elements (entities) of an existing shape, specify a reference point, and scale them.
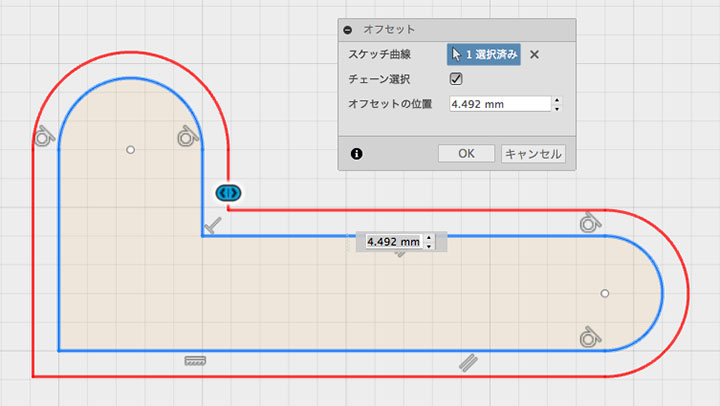
Offset
You can create shapes by offsetting existing shapes.
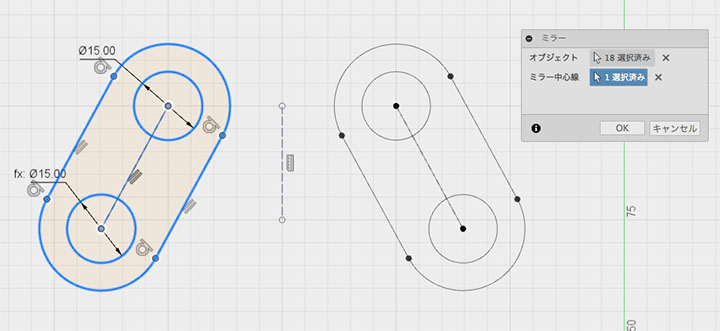
Mirror
Copy multiple shapes symmetrically using the centerline as a reference. A symmetry constraint is applied at the same time.
You can select all original shapes at once using the selection tool.