Fusion 360 Exercise 4
Updated: 2026-05*
This article was written before 2020. It is kept here as an archive — the content is outdated and some links may no longer work.
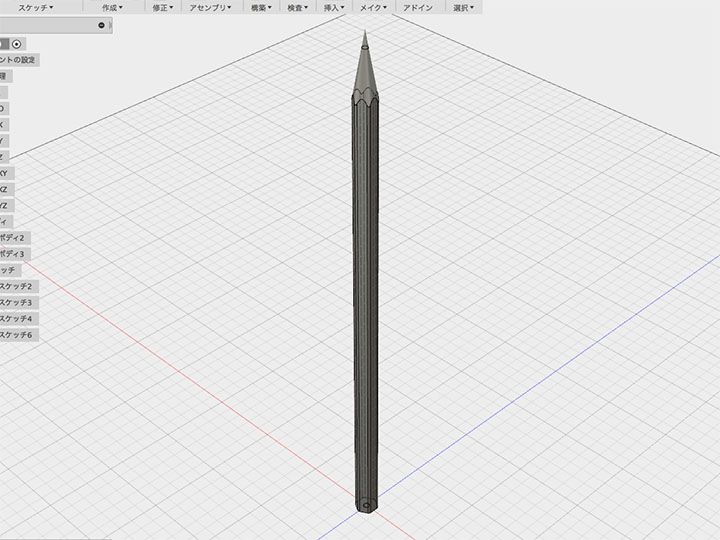
Making Pencils
In this exercise, we will make a pencil.
This document was written in October 2017. Functionality has been verified in Fusion 360 version 2.037.
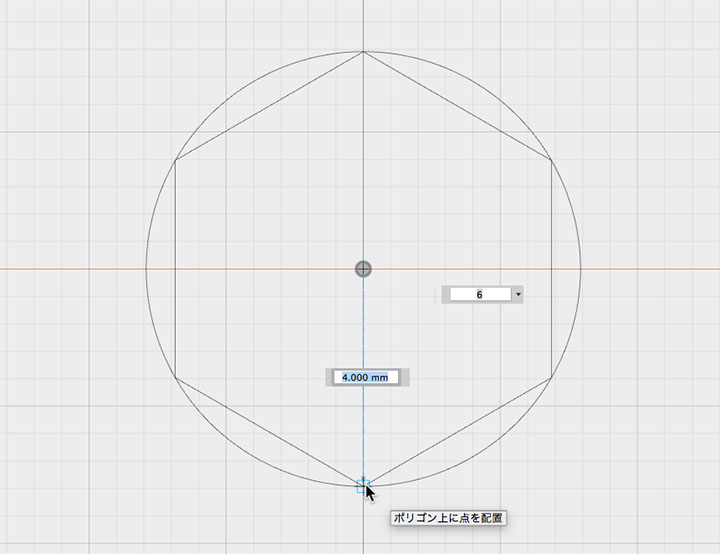
Creating a Sketch
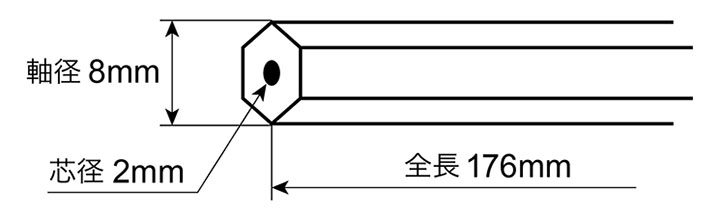
In Sketch > Polygon > Inscribed Polygon, specify a radius of 4 mm to draw a hexagon.
Continuing within the same sketch, use the Circle tool (Sketch > Circle > Center and Diameter) to create a circle with a diameter of 2 mm.
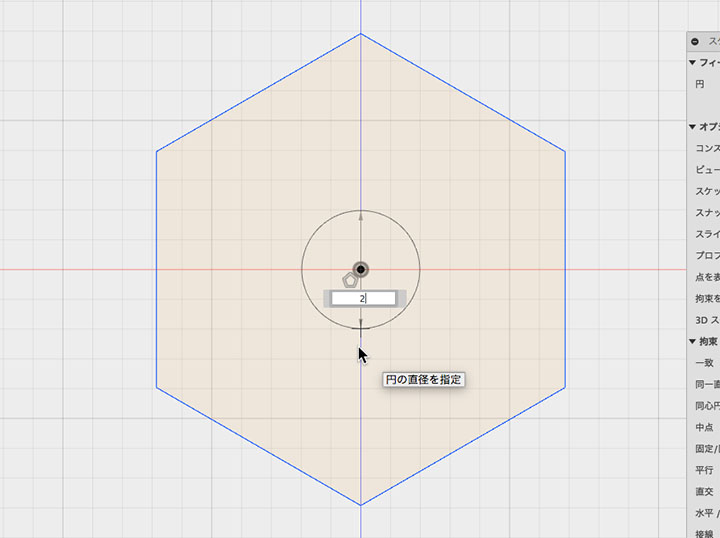
Stop sketching.
Creating a Hexagonal Prism with a Hole
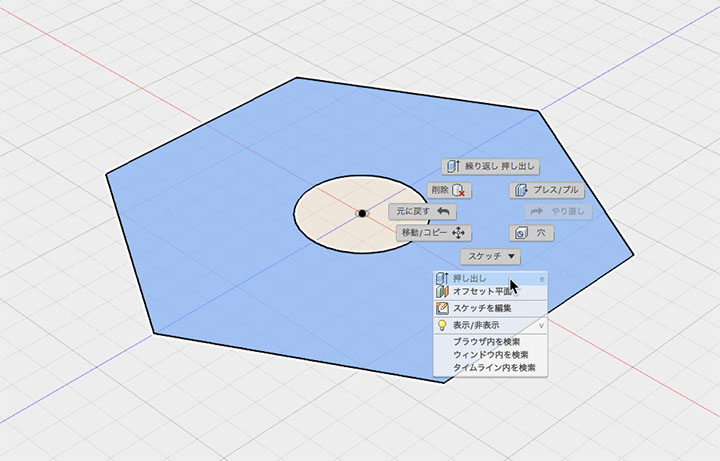
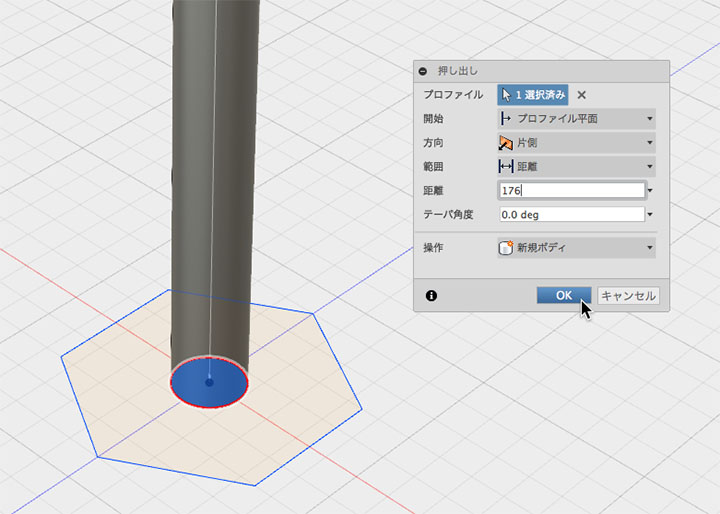
As shown in the figure below, right-click on the face of the hexagonal prism (excluding the circle) and select “Extrude” from the menu.
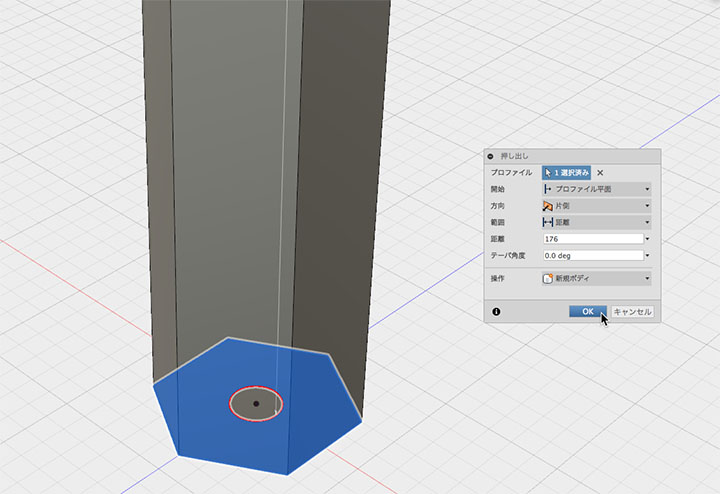
Create a hexagonal prism with a height of 176 mm.
Creating the Core
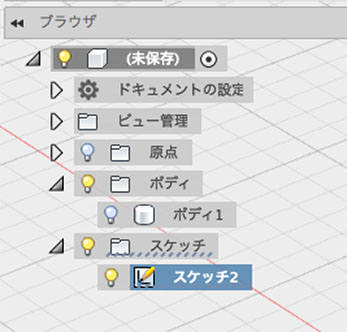
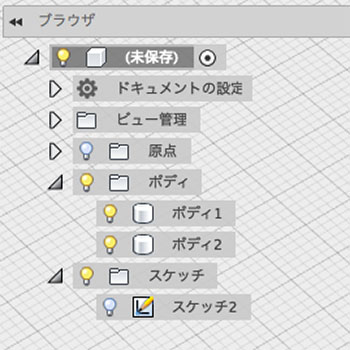
Hide the hexagonal prism body in the browser.
After creating the hexagonal prism, the sketch used as the source material is hidden, so display it in the browser.
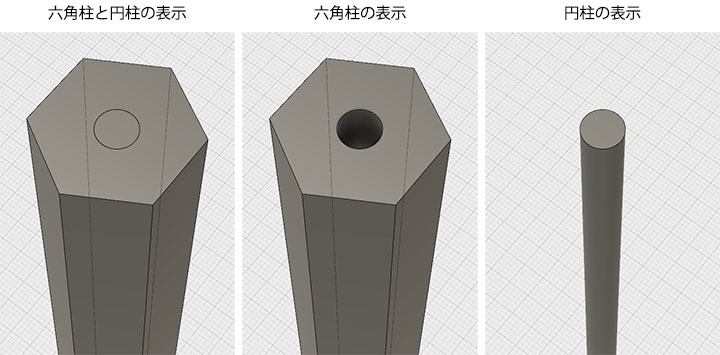
Right-click on the circle and select the “Extrude” menu. Use the Extrude tool to create a cylinder with a distance (height) of 176 mm.
Display of Axes and Centers
Display both the hexagonal prism and the cylinder in the browser. Hide the sketch.
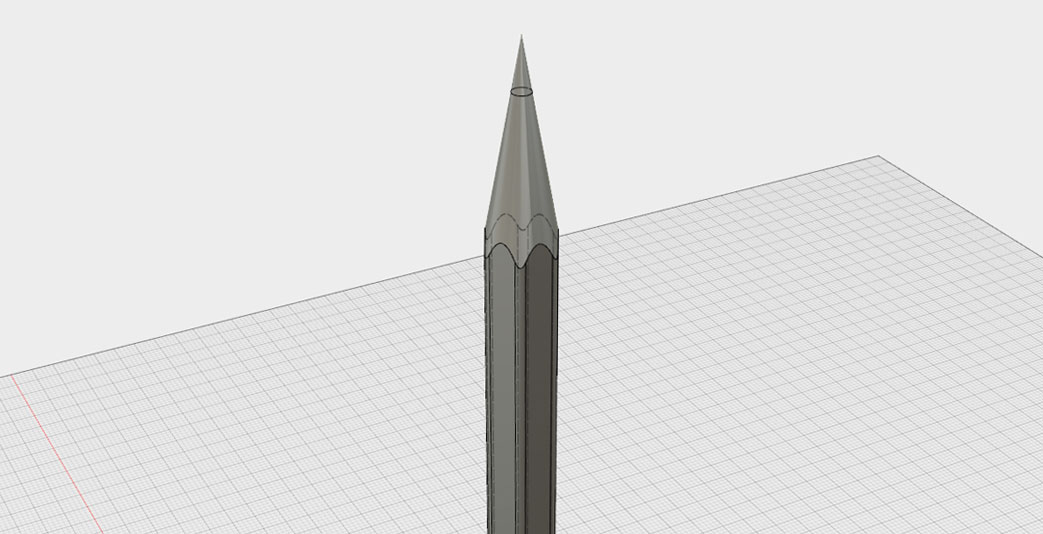
Creating a Taper
To sharpen the tip of a pencil, draw an 80-degree triangle as shown in the figure below.
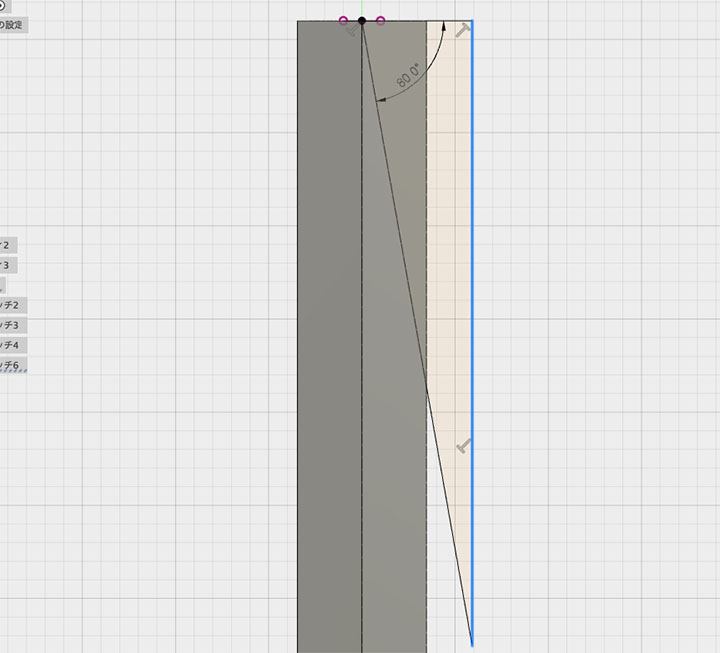
In the Rotate tool, select the triangle in the profile. Select the Y-axis as the axis. Set the operation to “Cut,” then click the OK button.
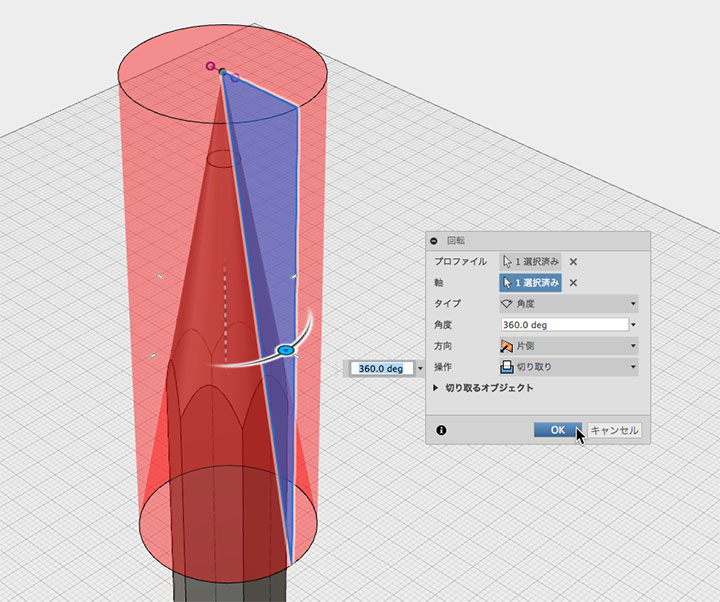
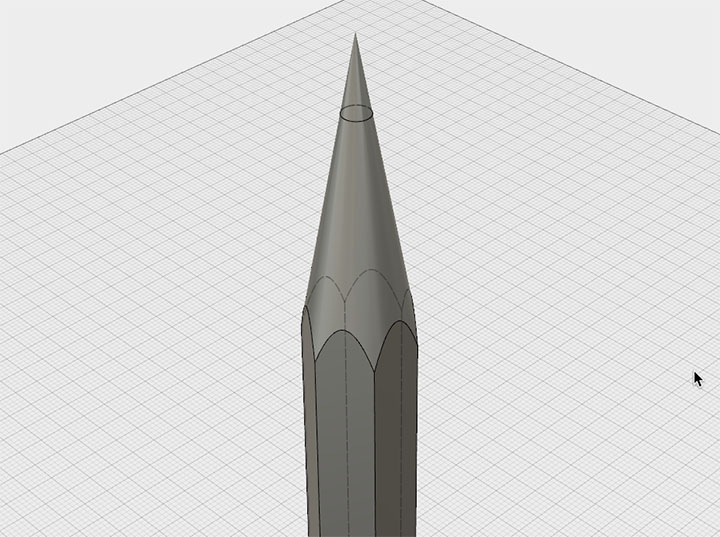
A 20-degree taper is formed.
Fillet
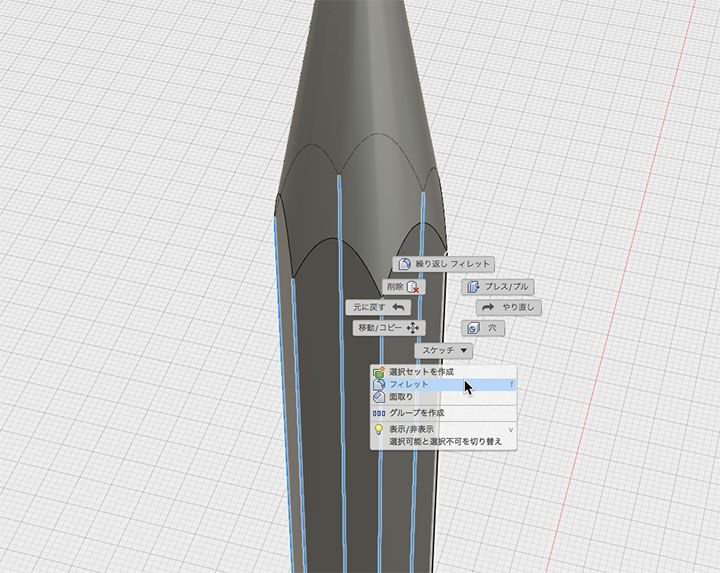
Select all the edges of the hexagonal prism. Right-click and select “Fillet.”
Apply a 1mm fillet.
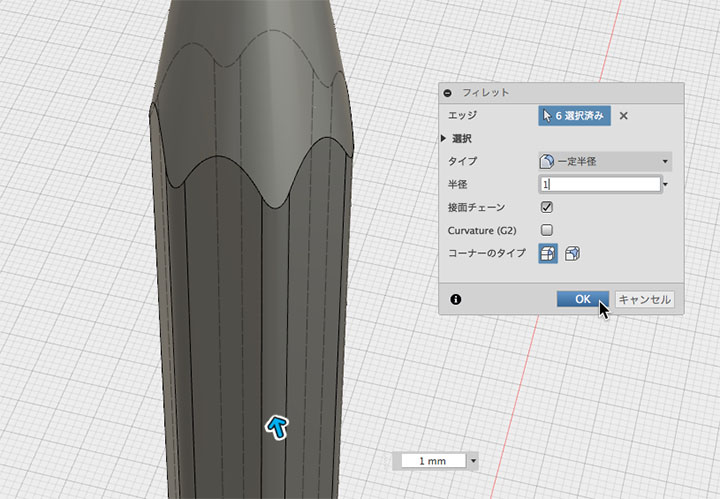
Done.