Image Tracing
Updated: 2015-01
This article was written in 2015. It is kept here as an archive — the content is outdated and some links may no longer work.
1. What is image tracing?
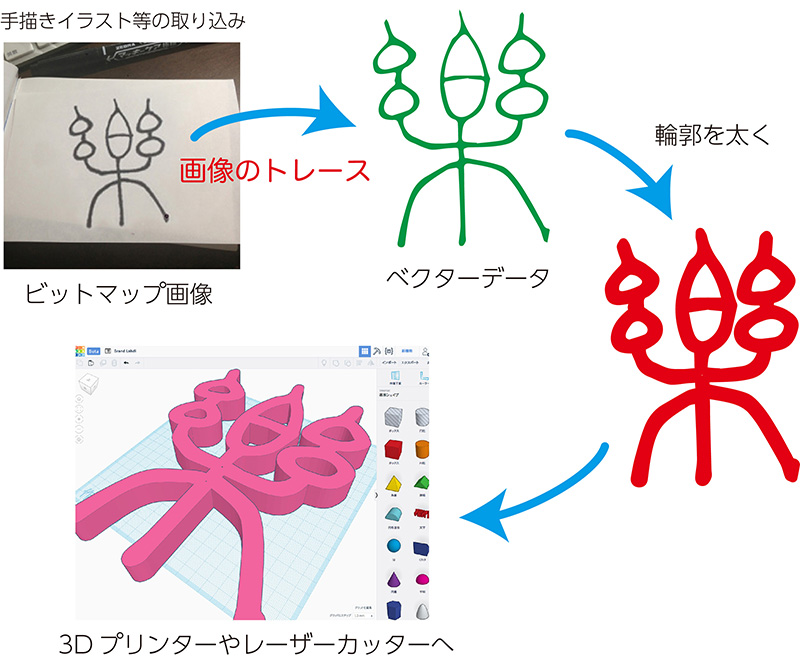
Using Illustrator’s Image Trace feature, you can convert bitmap images into vector data. Once converted to vector data, you can use Illustrator’s various tools to edit the image or create 3D models using laser cutters, 3D CG, or CAD software, opening up a wide range of creative possibilities.
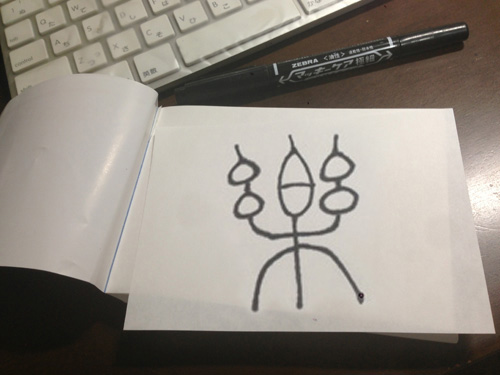
2. Preparing Hand-Drawn Illustrations
You may submit hand-drawn illustrations or images scanned into a computer or taken with a digital camera.
It depends on what you ultimately plan to use the image tracing data for, but in this case, we’ll use a thick marker to make the image easier to process.
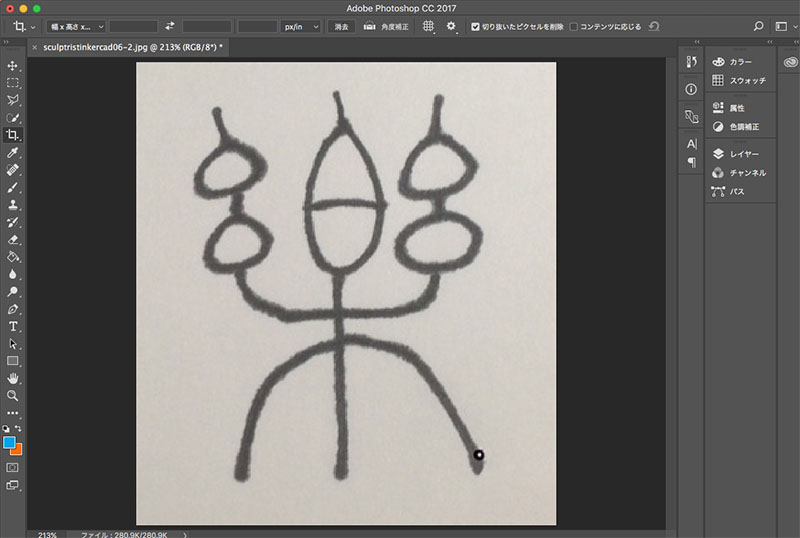
3. Cropping Out Unwanted Areas (Photoshop)
Use the crop tool to cut out the unwanted parts.
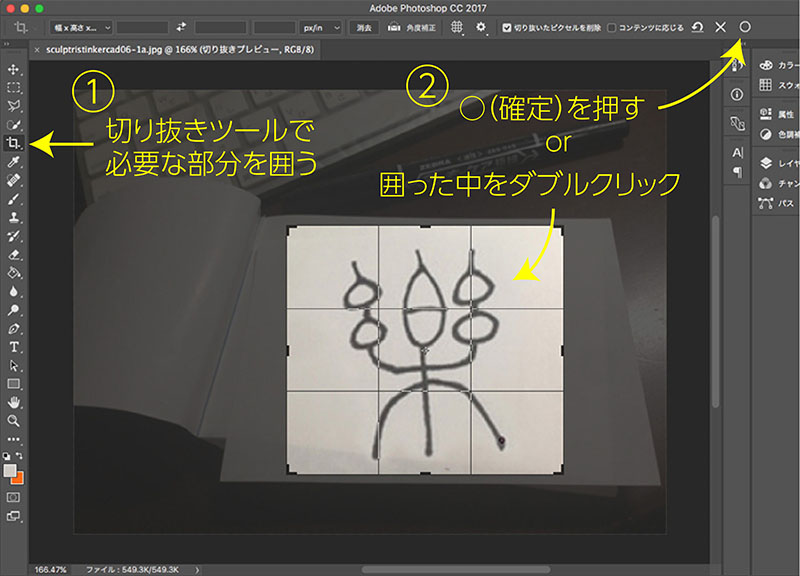
The image below shows the image with the unwanted parts removed.
4. Image Correction (Photoshop)
If necessary, remove unwanted objects using the eraser tool or the Select and Delete function.
If you increase the contrast using tone curves or level adjustments, small specks of dust will disappear due to blown-out highlights.
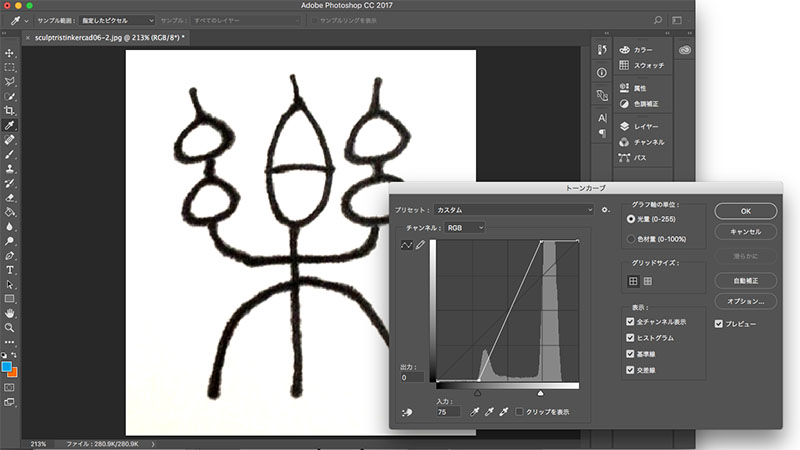
Once you’ve finished editing, save the image in JPG format or similar.
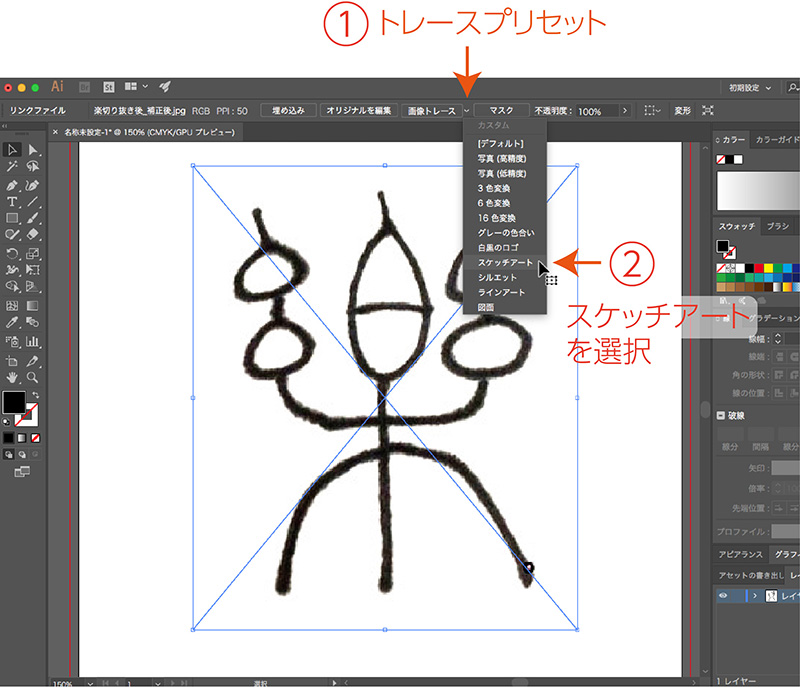
5. Image Tracing (Illustrator)
Illustrator includes a feature called Image Trace (known as Live Trace up to CS5) that creates paths from images. This feature was originally integrated from a program called Streamline.
Create a new document in Illustrator, place the image, select the image, and then choose “Sketch Art” from the “Trace Presets” menu next to “Image Trace” in the Control Panel.
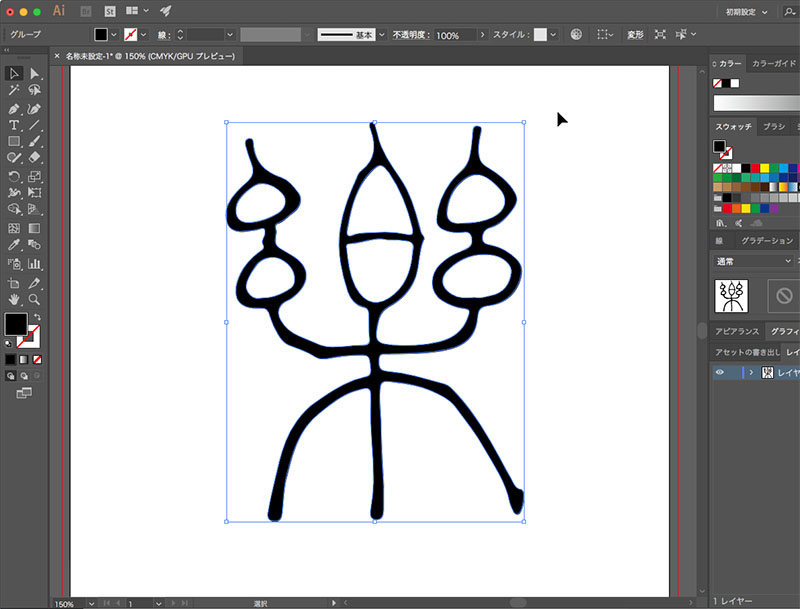
Next, click “Expand” in the Control Panel.

When you expand the shape, an outline path is created, as shown below. Since white is ignored in the Sketch Art preset, you can extract only the hand-drawn portions.
6. Thicken the Outline (Illustrator)
If the lines are too thin in the original hand-drawn version, they can be thickened. Various other edits and adjustments can also be made as needed.
Select the outline, then increase the line width in the Control Panel or the Line Panel on the right.

Next, select “Object Menu > Path > Outline Path.”
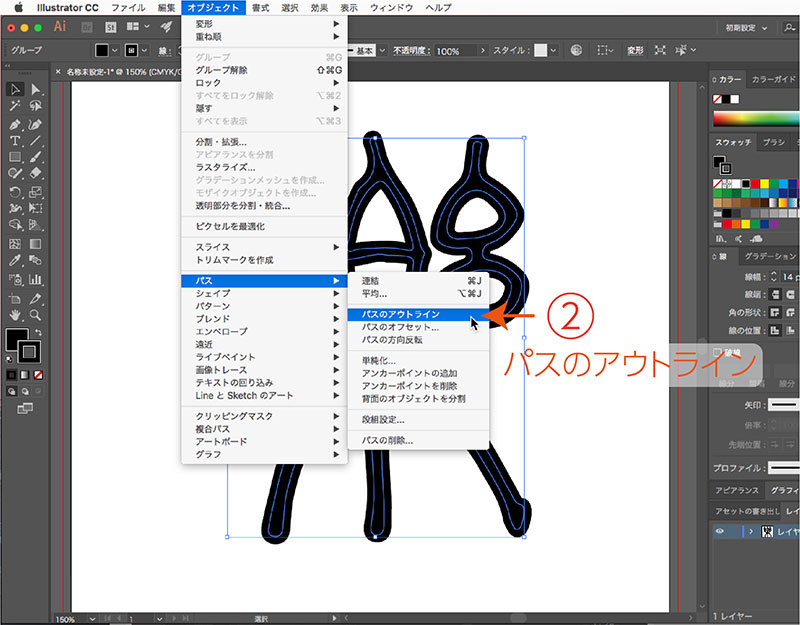
In some cases, you can use it as is, but as it stands, the paths overlap (the figure below shows the outline view).
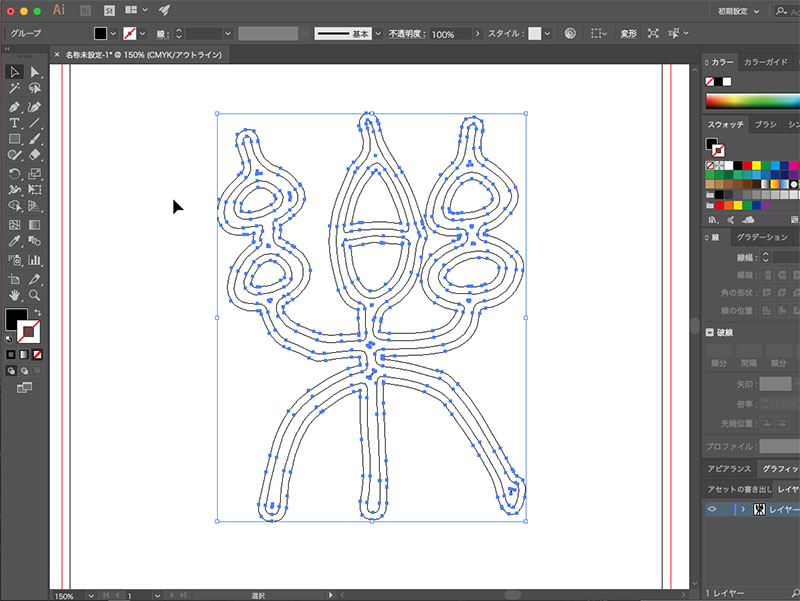
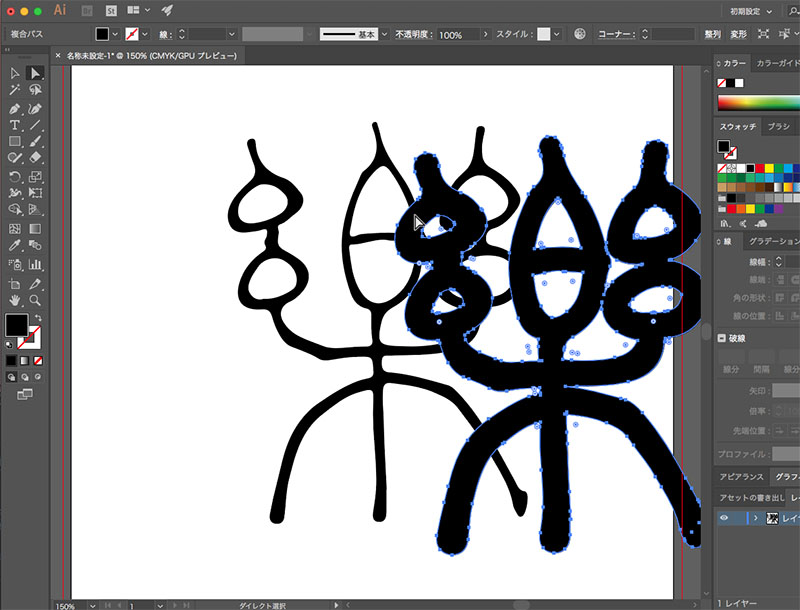
You can use the Direct Selection tool to separate them, so delete any unnecessary paths.
7. Saving SVG Files (Illustrator)
Save as an SVG file for use in 3D applications or with a laser cutter.
File Menu > Save As
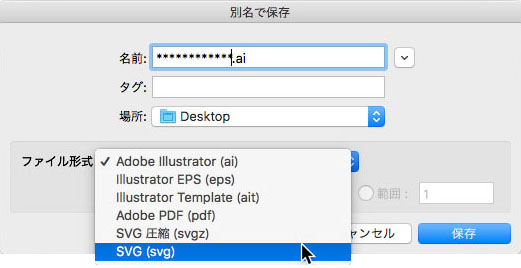
Leave the SVG options as they are
