Tinkercad iPhone Case Exercise
Updated: 2026-05*

This article was written before 2020. It is kept here as an archive — the content is outdated and some links may no longer work.
Create Your Own Custom Phone Case
In this guide, we’ll show you how to create your own smartphone case using Tinkercad. While we’ll use an iPhone case as an example, this method can be applied to a wide variety of projects, not just smartphones.
The video below shows how to make an iPad case.
Download CAD Files for iPhone Cases
Nowadays, CAD data for widely used products is available online somewhere in the world, so there’s no need to go to the trouble of designing them yourself.
In this article, we’ll be using Thingiverse, a 3D data sharing site operated by MakerBot, the developer of 3D printers. Access it via the URL below.
http://www.thingiverse.com/thing:1814855
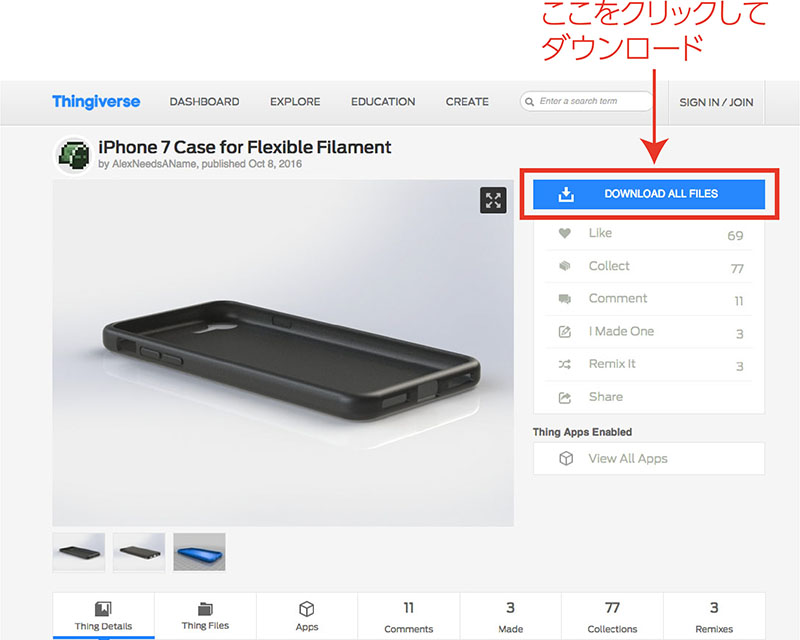
Although behavior may vary depending on the browser, you should be able to download iPhone_7_Case_for_Flexible_Filament.zip.
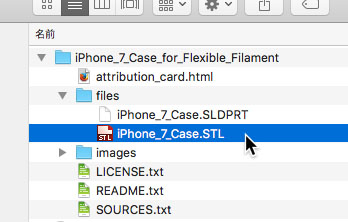
After extracting the files, you’ll see several folders and files, as shown below. The only file you need is iPhone_7_Case.STL.
Preparing a New Design in Tinkercad
On the Tinkercad dashboard, click the “Create a New Design” button.

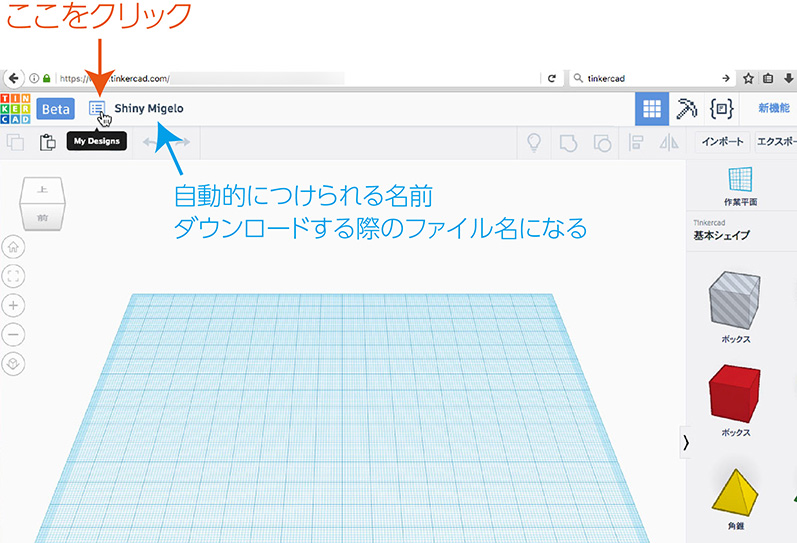
In Tinkercad, new designs are automatically named. Since this name will be used as the file name when you download it, you should rename it for your assignment. Click the area indicated by the orange arrow in the image below.
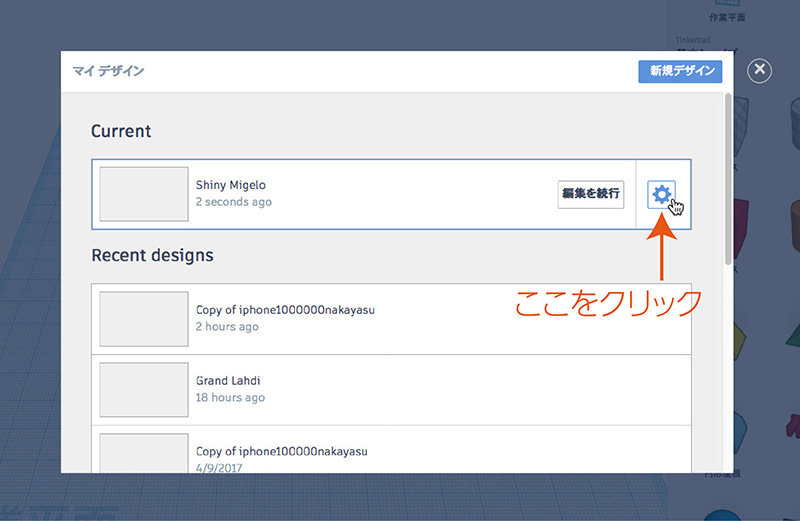
Next, click the gear icon shown below.
As shown in the figure below, change the name and click the “Save Changes” button.
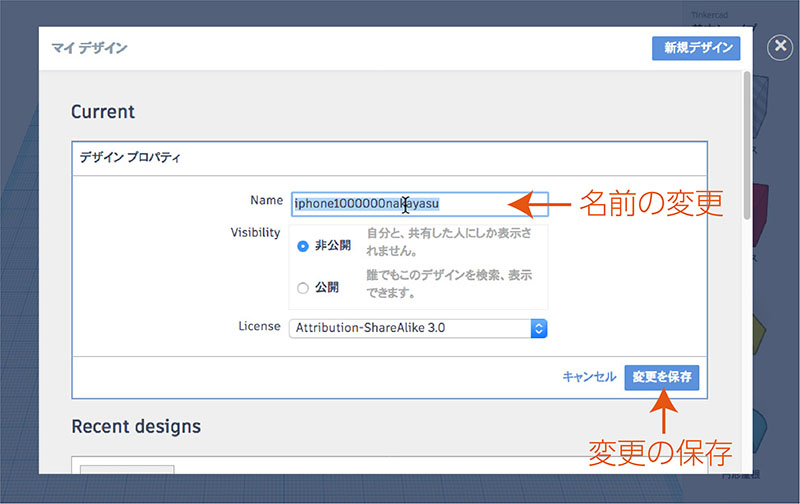
As shown in the figure below, the name in the upper-left corner will be changed.

Importing STL Data (iPhone CAD Data)
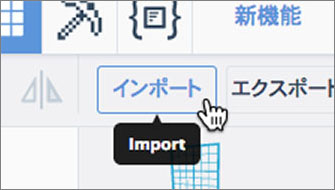
Click “Import” in the upper-right corner.
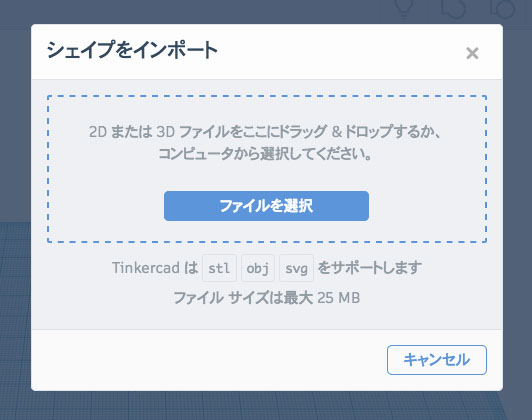
The dialog shown below will appear; drag and drop the STL file (iPhone_7_Case.STL) into it.
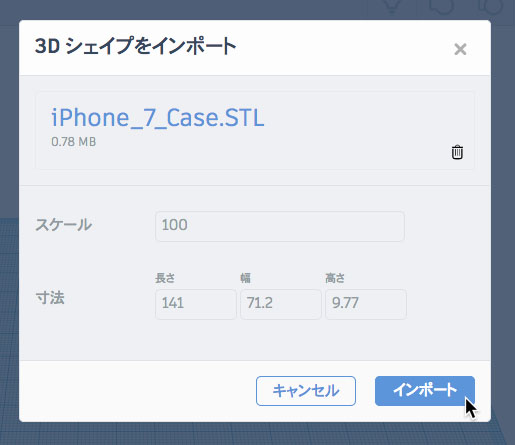
Next, the screen shown below will appear; click “Import” in the lower-right corner.
While the import is in progress, the screen shown below will appear in the lower-left corner. This may take a few minutes, so please wait. Do not perform any other operations while this screen is displayed, as it may affect the application’s performance.

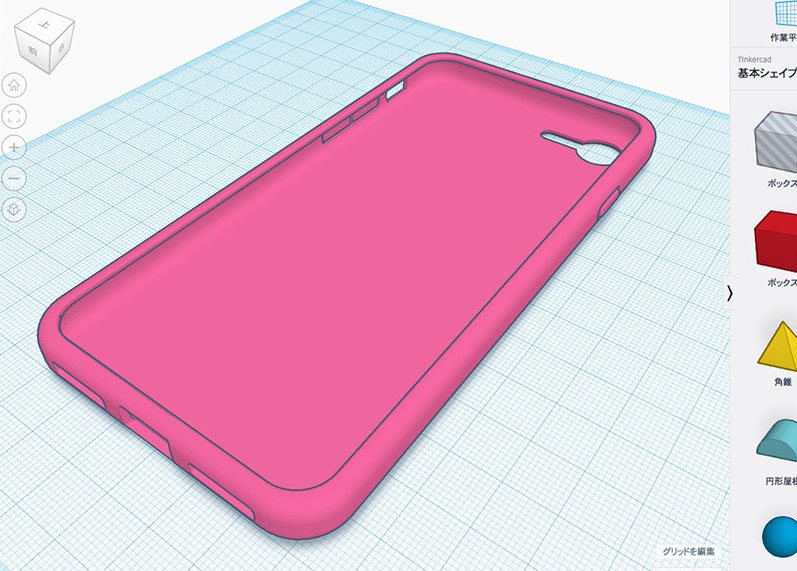
The figure below shows the result after the import is complete.
Flip the case upside down
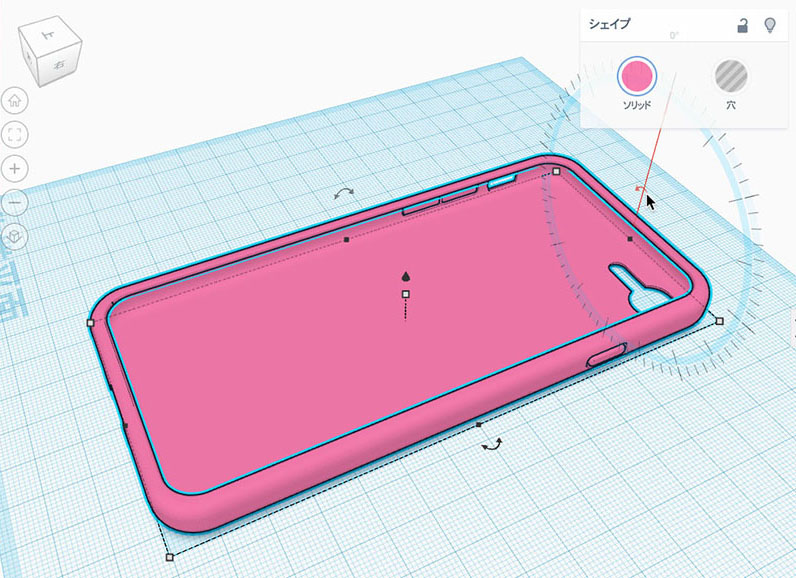
When the STL data is first imported, the inside of the case is facing upward, which makes it difficult to design, so rotate it to flip it upside down.
As shown in the figure below, when you select an object, a rotation handle appears; position the cursor over it and drag. To rotate the object 180 degrees, hold down the Shift key while dragging for easier control.
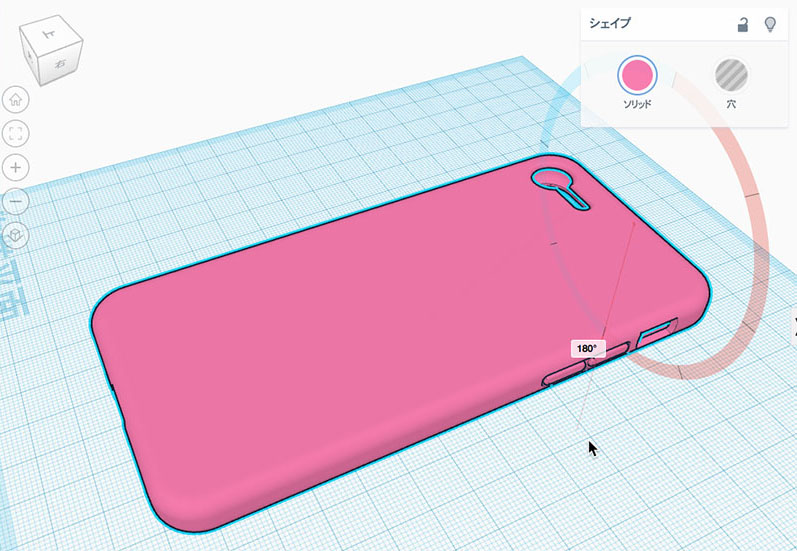
The figure below shows the image rotated 180 degrees.
Design an iPhone Case

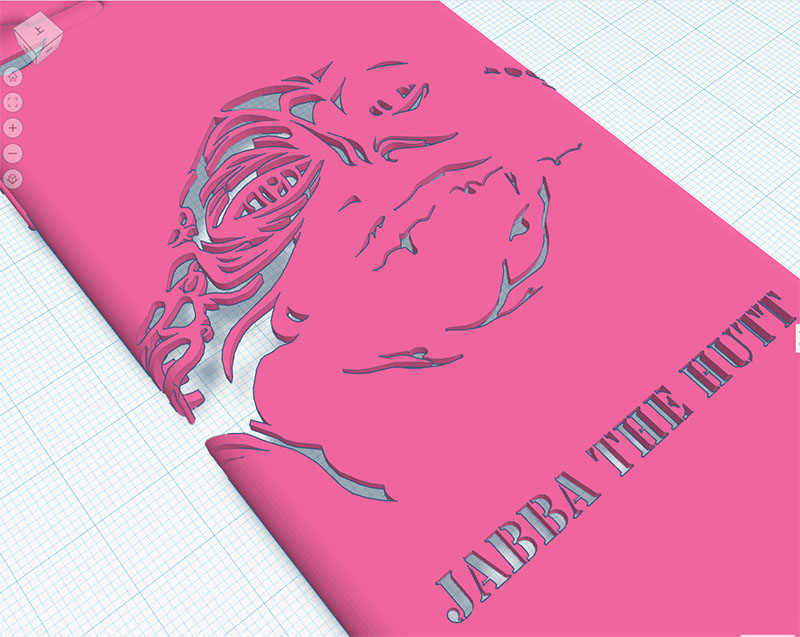
Import the SVG data created by tracing an Illustrator image and customize the design as you like. You can also add text or other elements as needed.
Using Fonts That Don’t Drop Characters
Since many of the characters have holes in them, the holes will fall out during 3D printing if left as is. For example, the character “A” has a hole, so it needs to be modified as shown in the figure below.
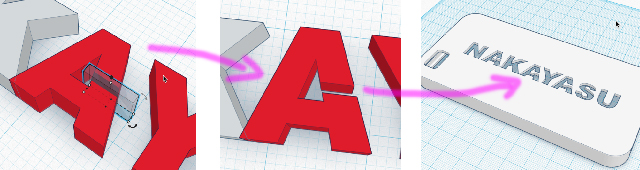
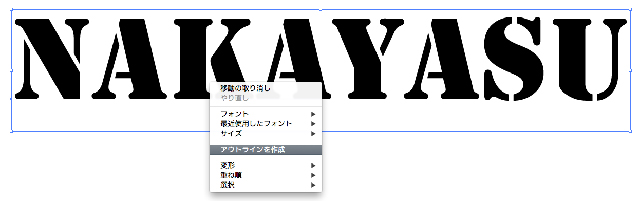
If the font does not have holes, such as Stencil Std Bold, you can use it as is. In Illustrator, convert the text to outlines and then save it as an SVG file for use.
Saving STL Data
To save the data you have created, click “Export” in the upper-right corner (see figure below).

Click “STL” in the dialog shown below.
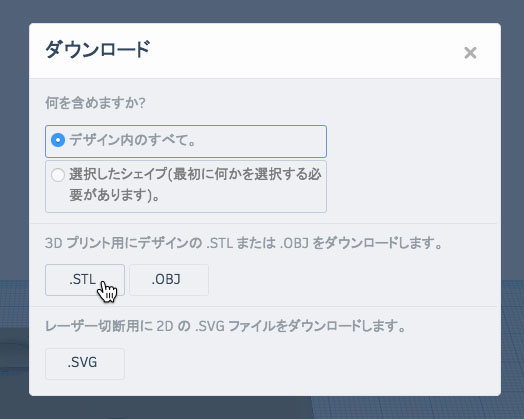
Although behavior may vary depending on the browser, the STL data will be downloaded.