Diffusion Mechanism
Updated: 2026-05
1. What You’ll Learn on This Page
The goal is to give you a glimpse of “what’s going on under the hood” when working with ComfyUI nodes. No mathematical formulas will be used. We’ll rely on analogies and diagrams.
Once you understand this, the following will make sense:
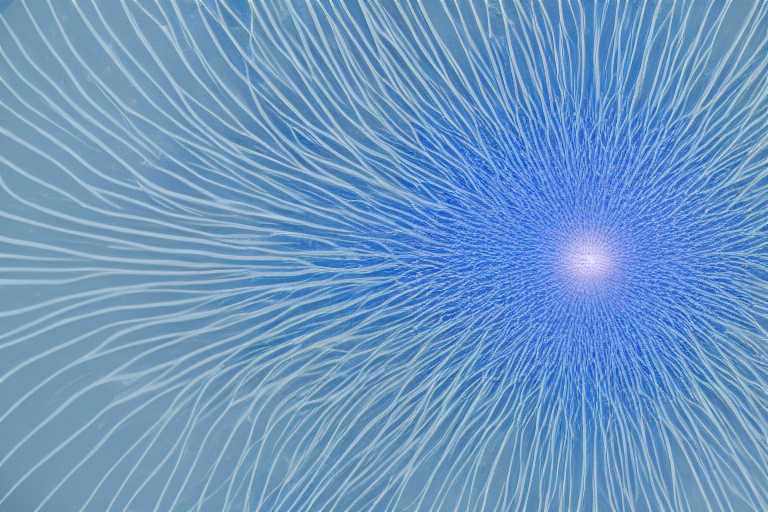
- Why do images “gradually emerge from the noise” during generation?
- What changes when the number of steps is increased?
- What does the mysterious parameter called CFG control?
- Why do the text and images align?
2. The Core Idea Behind Diffusion Models
The term diffusion originally referred to physical phenomena such as “ink spreading in water” or “a scent spreading throughout a room.”
What the diffusion model does is essentially a reverse playback of that process.
- Training (Forward Pass): Gradually add noise to a clean image until it becomes completely noisy. The AI learns the “amount of noise added” at each stage.
- Generation (Backward Pass): Starting with random noise, the AI predicts “which noise to remove” and gradually removes it. Eventually, a meaningful image emerges.
Key point: Generation isn’t about “creating an image all at once,” but rather a process of gradually reducing noise.
3. Why Work in “Latent Space”?
Running the diffusion process in pixel space (the standard images seen by humans) results in an exponential increase in computational load. A 512×512 image requires 260,000 values, while a 1024×1024 image requires over 1 million.
Stable Diffusion performs nearly all of its operations in a compressed space known as latent space.
- Image → Compressed into latent space using a VAE (reducing the amount of information to 1/8 to 1/16)
- Diffusion process performed in latent space
- Finally, converted back from latent space to image using a VAE
The latent space is a “collection of numbers that humans cannot interpret,” but for AI, it is a space where image features are efficiently organized. This is the “latent image” that flows along the pink line in the Comfy Cloud workflow.
4. Alignment with Text: The Role of CLIP
When you type “purple galaxy bottle,” an image matching that description appears. How does this work?
CLIP (Contrastive Language-Image Pretraining) serves as the bridge.
- It is trained on a large number of pairs of “images and their captions”
- Any text can be converted into a feature vector corresponding to an image
- This vector instructs the diffusion process on “which direction to remove noise”
In the workflow, this is the “CLIP Text Encoder” node. The moment you enter a prompt, CLIP converts it into a vector and sends it to the K-Sampler.
5. Steps and CFG
5.1 Number of Steps
How many steps are used to reduce the noise?
- Few steps (5–10): A rough, grainy image. Turbo-series models are designed with few steps in mind.
- Medium steps (20–30): The typical range of use.
- Many steps (40–50): More detailed, but the processing time (and credit usage) increases proportionally.
5.2 CFG (Classifier-Free Guidance)
Controls the degree of fidelity to the prompt.
- CFG Low (1–3): The AI interprets the prompt freely and is creative, but tends to ignore it
- CFG Medium (5–8): A well-balanced range suitable for general use
- CFG High (10 or higher): Excessively faithful to the prompt, prone to oversaturation and inconsistencies
CFG is the amount by which the model is forcibly pulled toward the prompt when comparing the prompt to the “unconditional” generation. If set too high, artifacts will appear.
6. Samplers and Schedulers
The noise-reduction algorithm (sampler) and the strategy for determining how much noise to reduce at each step (scheduler) work in tandem.
- euler / euler_a: Classic; stable at SD 1.5
- dpmpp_2m / dpmpp_2m_sde: A newer, widely used method with high quality
- lcm: Runs with few steps; works exceptionally well with Turbo-type models
Scheduler:
- normal: Standard reduction method
- karras: Fine-grained in the latter half, with an emphasis on quality
- simple: Simple and lightweight
Information on which sampler works best with a particular model is often included in the model card (the model’s manual). If you’re unsure, “euler” or “normal” should work fine.
7. The Connection to Video-Generating AI
Video-generating AI (Wan, Sora, Kling) is also essentially a “3D version of a diffusion model” on the inside.
- Image version: Removing 2D noise in latent space
- Video version: Removing 3D noise, including the time axis, in latent space
The mechanisms involved in “text-to-vector” conversion, sampling, and CFG—which are equivalent to CLIP—are essentially the same for videos. The intuition you’ve developed with images can be applied directly to videos as well.
This is why we’re proceeding with “Experiencing image generation with Comfy Cloud, then creating a video with Runway” in this class.
8. Practice Problems (Theoretical Level)
During class, we will take some time to review the following points orally. If you can’t answer right away, please read it again.
- What do the “forward” and “backward” passes of the diffusion process do, respectively?
- In one sentence, explain why we work in latent space.
- What does CLIP take as input, and what does it output?
- What are the advantages and disadvantages of increasing the number of steps?
- In one sentence, explain the relationship between video-generation AI and image-generation AI.
9. What’s Next
- Node Philosophy — Why ComfyUI is Node-Based
- Getting Started — How to Get Started with Comfy Cloud
- Minimum Workflow — Running the Minimum Workflow