ControlNet
Updated: 2026-05
1. What You’ll Learn on This Page
The prompts we’ve looked at so far were ways to specify “what” to draw. ControlNet is a system that uses a separate image to specify “how” or “where” to draw.
- Specify “medieval knight” in the prompt
- Specify “jumping pose” in ControlNet’s Pose
- Result: A medieval knight is drawn in the specified pose
This enables precise control over composition, posture, and perspective—something that is difficult to achieve with prompts alone.
2. Types of ControlNet
Comfy Cloud comes with over 20 pre-installed ControlNet profiles. Commonly used ones:
| Type | Input Image | Purpose |
|---|---|---|
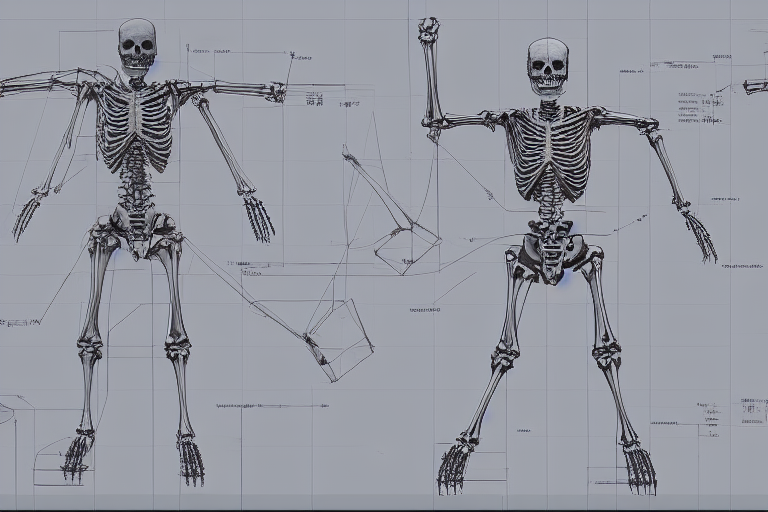
| OpenPose | Stick figure skeleton | Specifying character poses |
| Depth | Depth map | Specifying depth structure |
| Canny | Line art with edge detection | Specifying shape outlines |
| Scribble | Hand-drawn rough sketch | Specifying rough shapes |
| Lineart | Line art | Specifying comic-style outlines |
| Normal | Normal map | Specifying 3D surface texture |
| Tile | Identical image | Increasing resolution, adding details |
The tools that students tend to try first are OpenPose, Depth, and Scribble.
3. How It Works (Intuition)
In a typical workflow:
Prompt → CLIP → Diffusion process → ImageWhen ControlNet is installed:
Prompt → CLIP ─┐
                   ├→ Diffusion process → Image
Control image → ControlNet ┘
ControlNet nodes analyze control images (such as pose images and depth images) and send additional instructions to the diffusion process, telling it to “create a structure exactly like this.” The prompt handles the content, while ControlNet handles the structure.
4. Comfy Cloud’s ControlNet Templates
The “Introduction” section of the Comfy Cloud templates includes a ControlNet introductory workflow titled “2.2 Creator - Diffusion Guidance”. This workflow uses a Z Image Turbo + ControlNet configuration and is ideal for beginners looking to get started with the technology.
ControlNet is also integrated into Qwen Image Edit 2509 in the Popular category.
5. Basic Workflow (Example using OpenPose)
An advanced version of img2img. Differences from the minimal workflow:
- Add an Image Load node (for pose images)
- Add an OpenPose Preprocessor node (to extract poses from photos; not needed if you already have stick figure images)
- Add a Load ControlNet node (select a model for OpenPose)
- Add a Apply ControlNet node
- Connect the output of the Apply ControlNet node to the
positiveinput of the K-Sampler
Key parameters for ControlNet-enabled nodes:
- strength: Control strength (0.0–1.5; typically 0.7–1.0)
- start_percent / end_percent: The percentage range of the diffusion process during which ControlNet is active (typically 0.0–1.0 to cover the entire process)
6. Pose Extraction Workflow
When using a real-person photo as input to automatically extract poses.
- Load any portrait (whether it’s a selfie or stock imagery)
- Pass it through the OpenPose Preprocessor node
- The result is a stick figure image (with keypoints for the face, hands, and feet connected by lines)
- Send that stick figure image to the ControlNet application node
- Specify the “character you want to draw” in the prompt and run it
Now you can “draw another person using your own pose.”
7. When to Use Depth
OpenPose is designed almost exclusively for people. If you want to specify the structure of landscapes or objects, Depth is a useful tool.
- Load any photo (of a building, interior, landscape, etc.)
- Run it through a depth preprocessor (such as MiDaS)
- A depth map is generated (grayscale, with the foreground in white and the background in black)
- Apply that depth map using ControlNet
- Specify “a different world with the same depth structure” in the prompt
“You can transform the layout of the same room from a Scandinavian style to a traditional Japanese architectural style.”
8. Stacking Multiple ControlNets
ControlNet nodes can be daisy-chained.
Example: Applying OpenPose (human pose) and Depth (background depth) simultaneously
- Prompt: “A warrior holding a sword in a medieval market”
- ControlNet 1: OpenPose (extracted from a photo of a person’s pose)
- ControlNet 2: Depth (extracted from a photo of a scene resembling a medieval market)
An image that satisfies both constraints is output. The impact is adjusted based on the balance of the strength values.
9. Estimated Credit Usage
The computational load increases with each additional layer of ControlNet. This is an estimate, not an actual measurement:
- Standard T2I: 0.3–0.5 cr
- 1 ControlNet: 1–3 cr per image
- 2 ControlNets: 2–5 cr per image
Limit the number of test runs during class. Focus on generating the final output using the settings you like best.
10. Exercises (for Class Use)
Exercise A: Pose Control with OpenPose
- Prepare one selfie (or a photo of a famous pose)
- Convert it into a stick figure using the OpenPose preprocessor
- Prompt: “a samurai warrior in traditional armor”
- Transform yourself into a samurai using your own pose
Exercise B: Generating Images from Rough Sketches Using Scribble
- Draw a rough sketch on an iPad or paper (e.g., building silhouettes, character outlines)
- Take a photo with your smartphone and upload it
- Scribble preprocessor → ControlNet
- Use a prompt to “bring the sketch to life”
Exercise C: Multiple Characters in the Same Pose
- Generate 5–6 images from a single pose image by varying the prompts
- Examples: “Ninja,” “Astronaut,” “Medieval Knight,” “Modern Office Worker,” etc.
- Experience the sensation of different personas emerging from the same pose
11. Important Notes
- Retains the style of the training data: Since ControlNet inherits the characteristics of the training data, it may break down with extreme compositions
- Don’t set strength too high: If you exceed 1.0, the prompt will have no effect and the model will output the control image as-is
- Model compatibility: There are separate models for SD 1.5, SDXL, and Flux. Check that the model selected in Node matches the checkpoint you are currently using
12. What’s Next
- LoRA — Additional layers trained on specific art styles or characters
- Image to Video — Converting still images into videos
- Algorithm Exposure — Experiments that provide insight into the model’s inner workings, such as CFG extremization and latent space interpolation