Rigging Basics: Bones and Parenting
Updated: 2023-04*

1. What Is Rigging?
Rigging is an essential step in 3D animation. To animate a 3D model, you generally need to configure the following:
- Bones
- Weight Painting
- IK and FK
- Creating controllers (rigs)
In a narrow sense, “rigging” refers specifically to the process of setting up controllers; however, since it is also necessary to prepare the bones prior to rigging, as well as perform weight painting and IK/FK, the term “rigging” may sometimes be used to encompass all of these tasks.
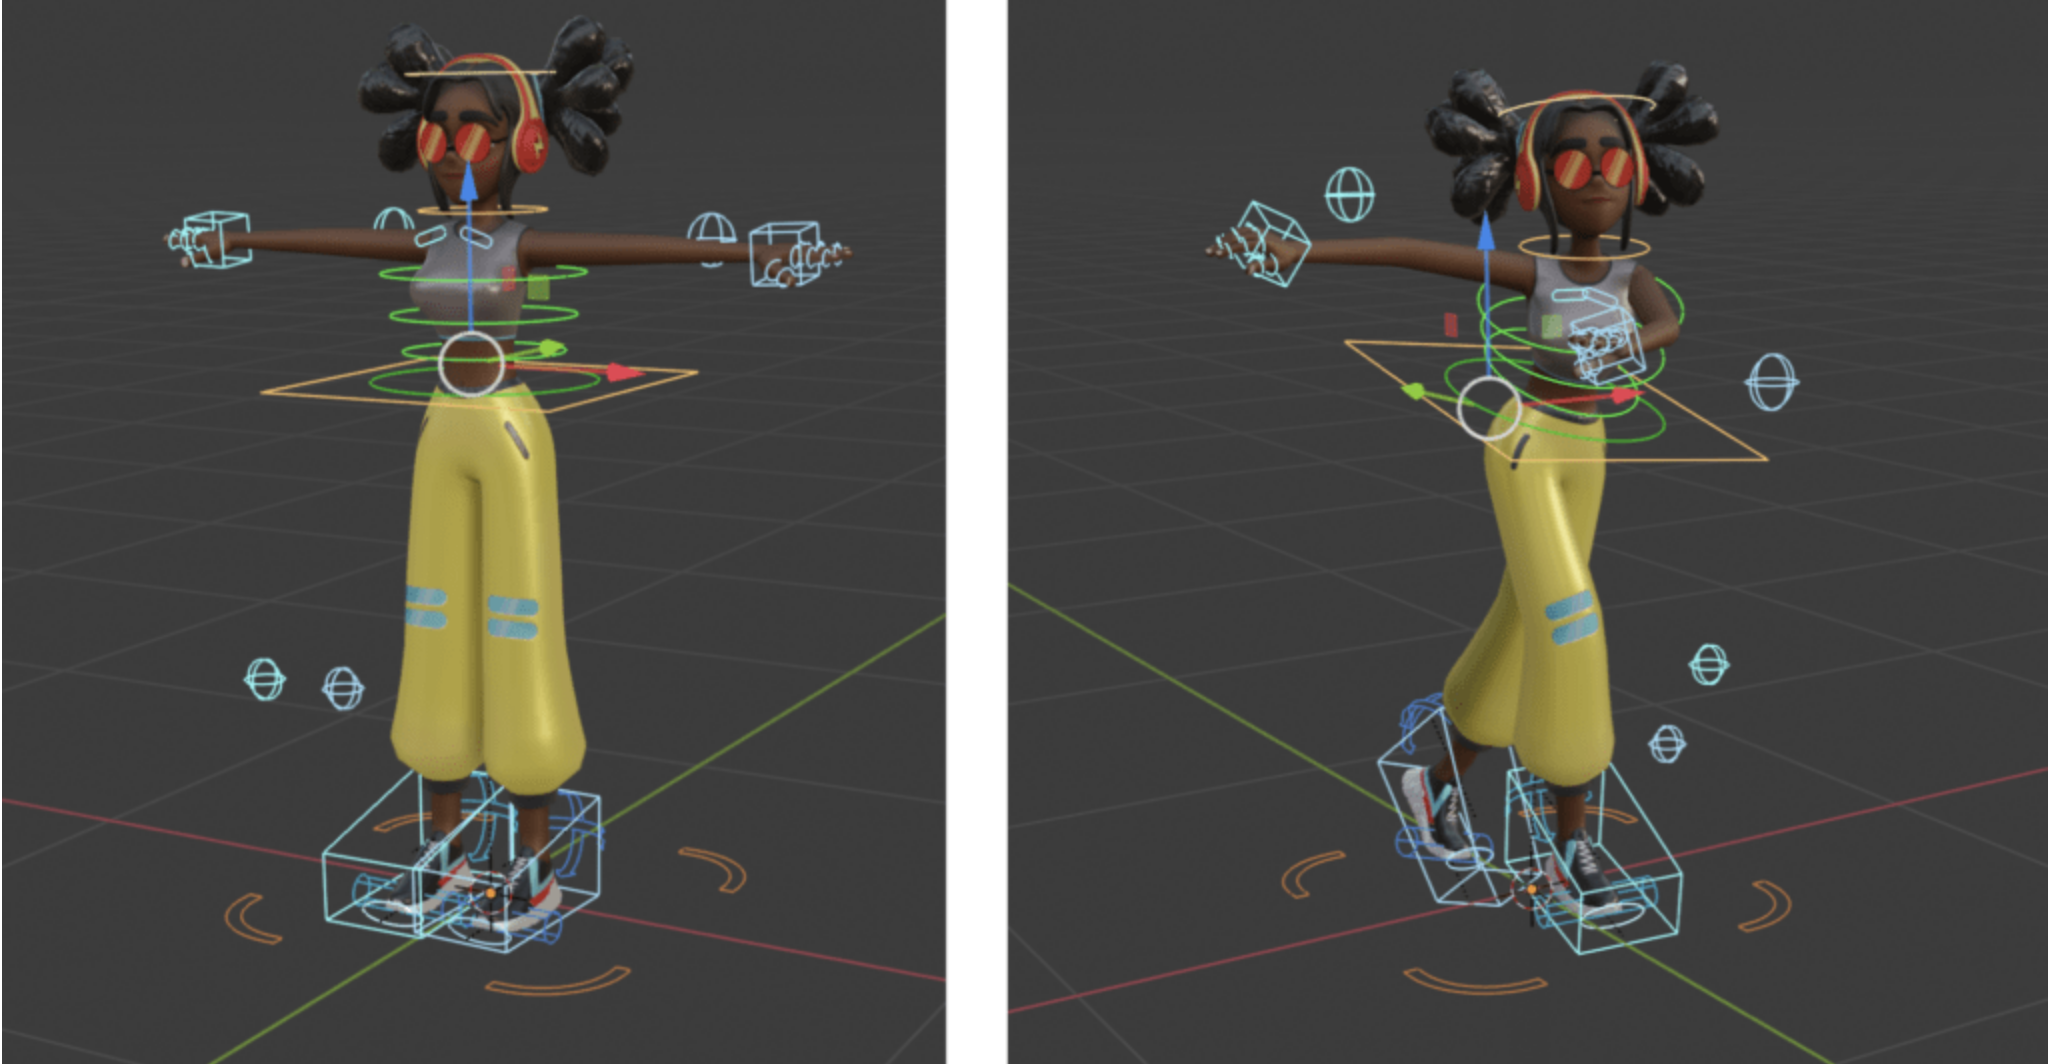
(From Mixamo in Blender - Substance 3D)
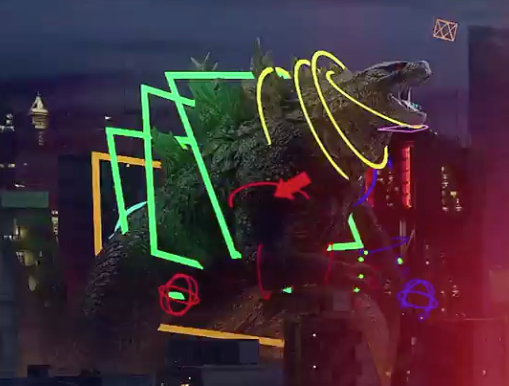
(Reference) Make Your Own Godzilla Cinematic With This Free UE5 Film Masterclass
2. Content of This Exercise
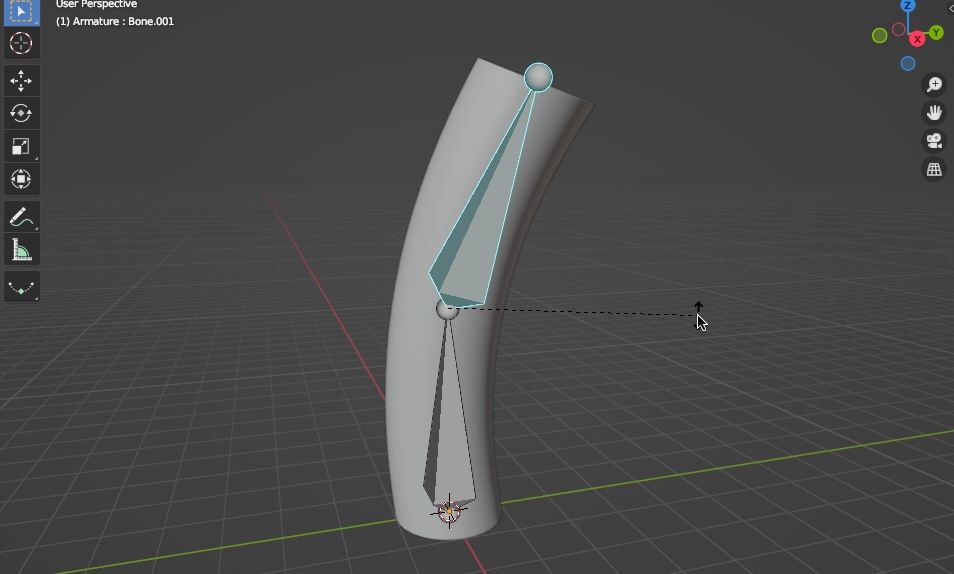
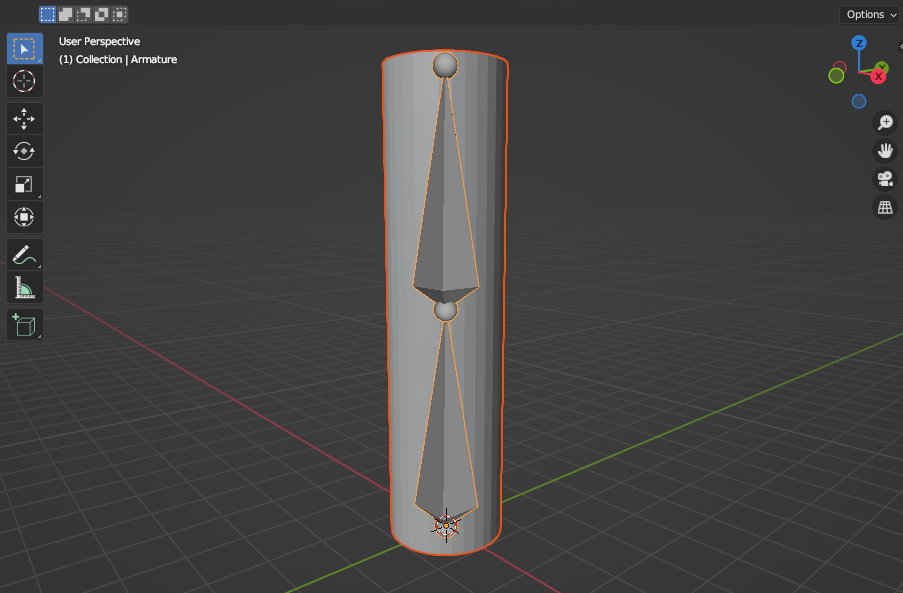
This guide explains how to parent a Cylinder to two bones, as shown in the figure below.
It does not cover weight painting, IK setup, or controller creation, which are part of standard rigging work.
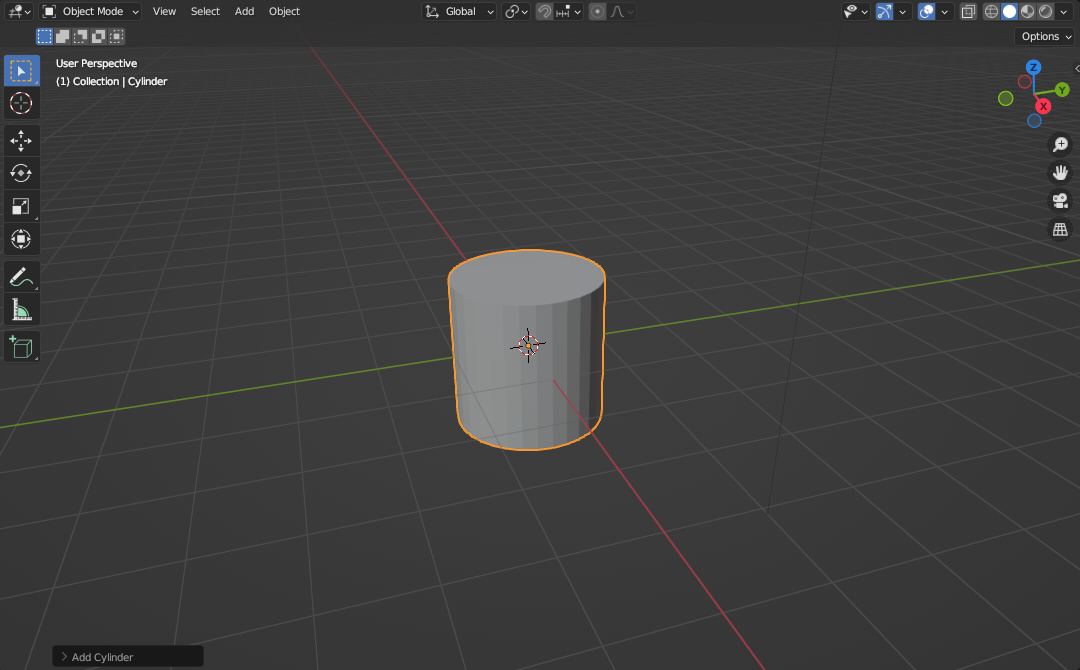
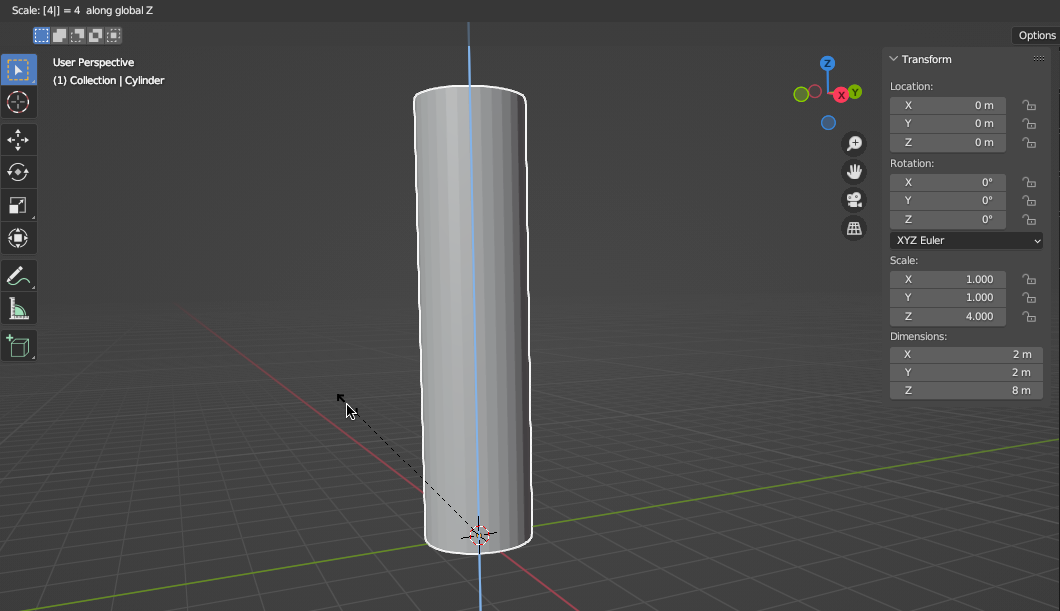
3. Creating a Cylinder
Select Add > Mesh > Cylinder.
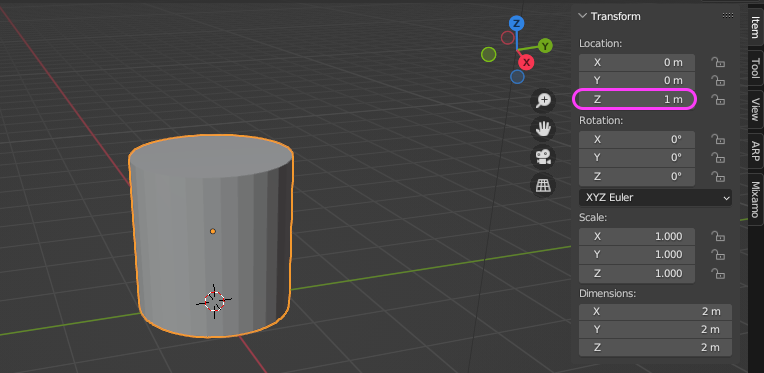
Move 1 unit in the Z direction (press G, then Z, then type 1; or use the sidebar (N) to set Z to 1m)
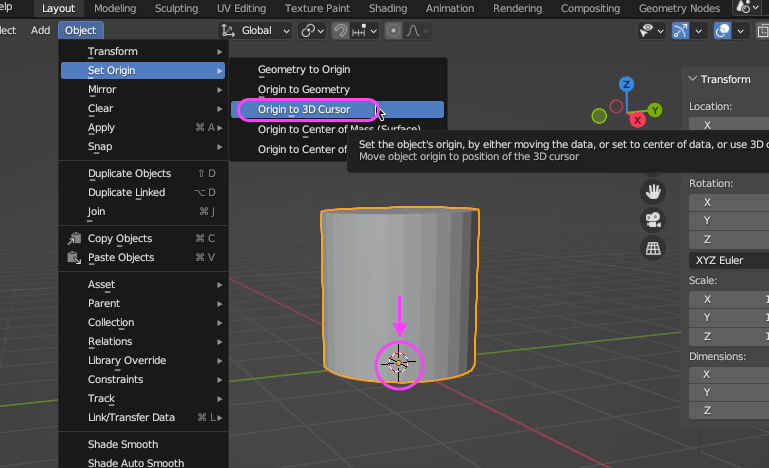
Align the object’s origin with the 3D Cursor at the World coordinate origin.
Press S, then Z, then type 4 to scale in the Z direction.
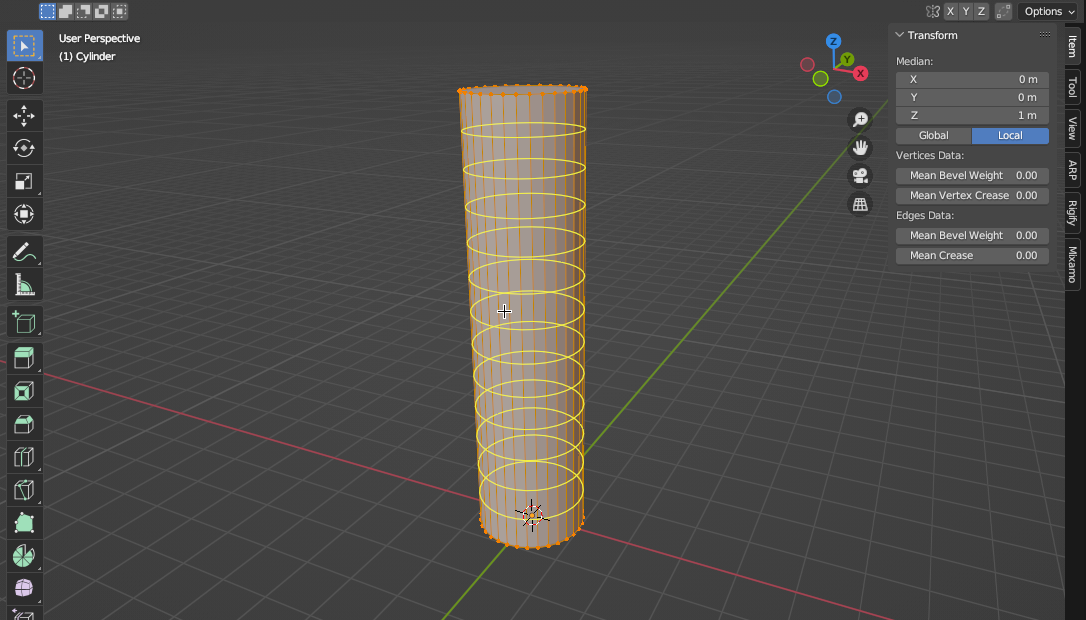
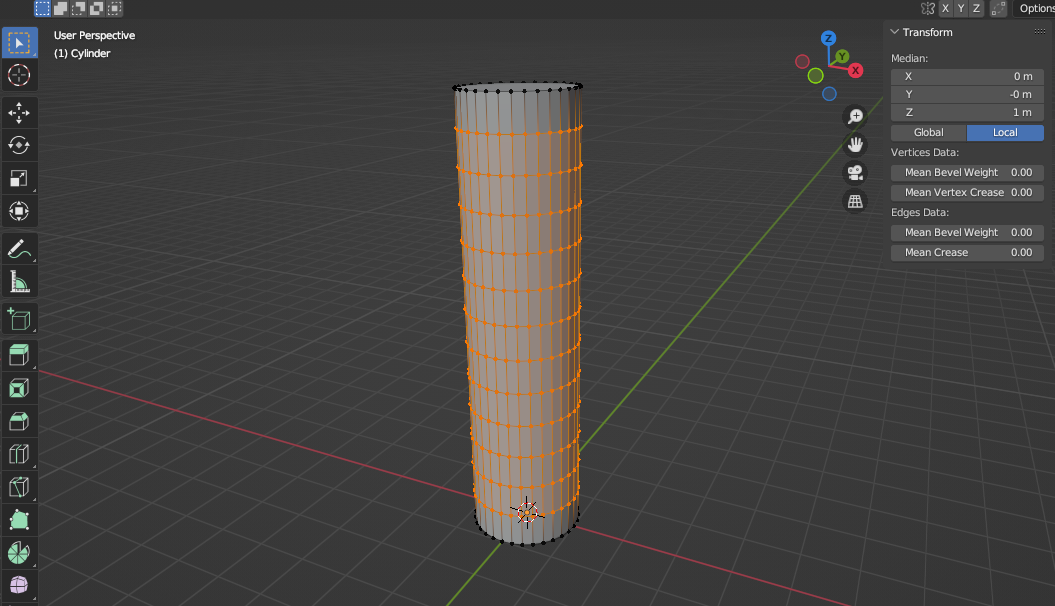
Switch to Edit Mode.
Press Cmd+R to enter Loop Cut mode.
Use the mouse wheel to increase the number of segments to about 12, then left-click to confirm. Right-click to confirm without changing the position.
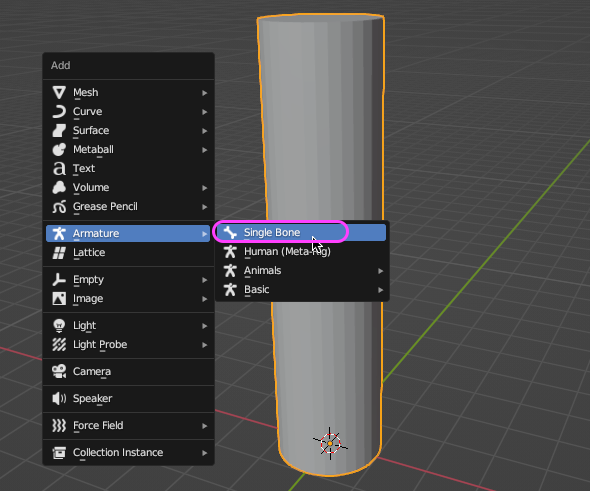
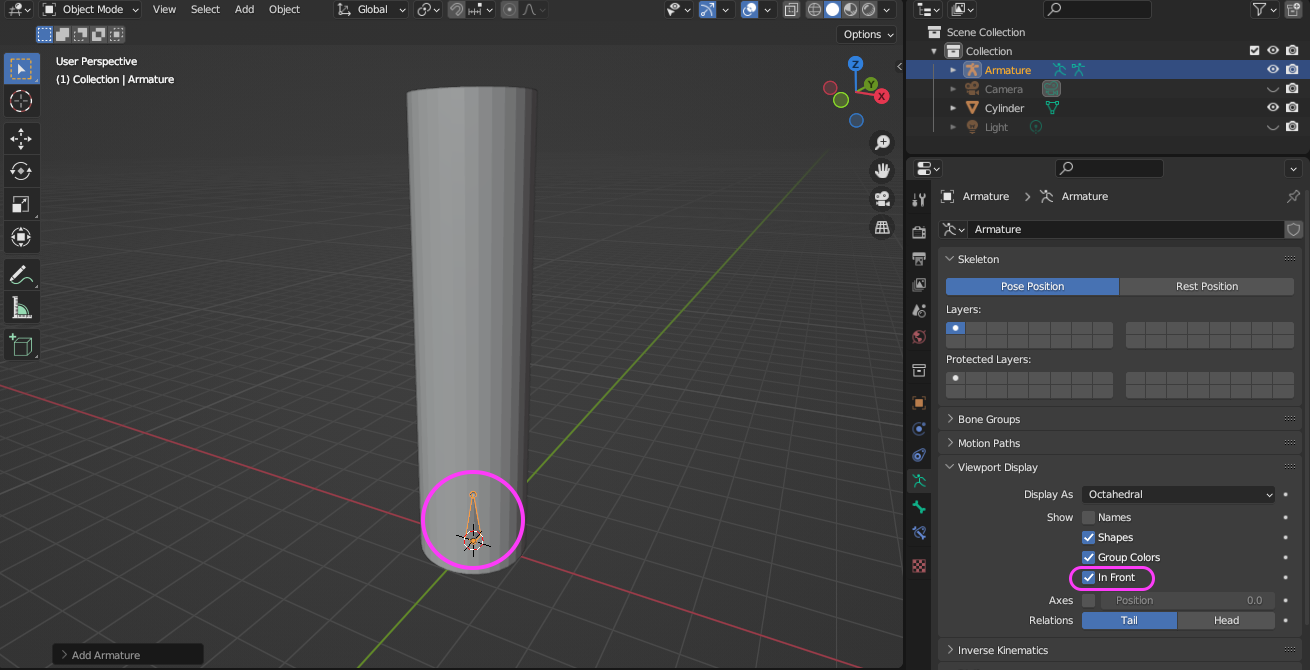
4. Creating Bones
Switch to Object Mode.
Add > Armature > Single Bone.*Only if the Rigify Add-on is enabled
Add > Armature.
The figure below is incorrect
In the Object Data Properties panel, check the “Viewport Display > In Front” box.
The bone inside the cylinder will always be displayed in front.
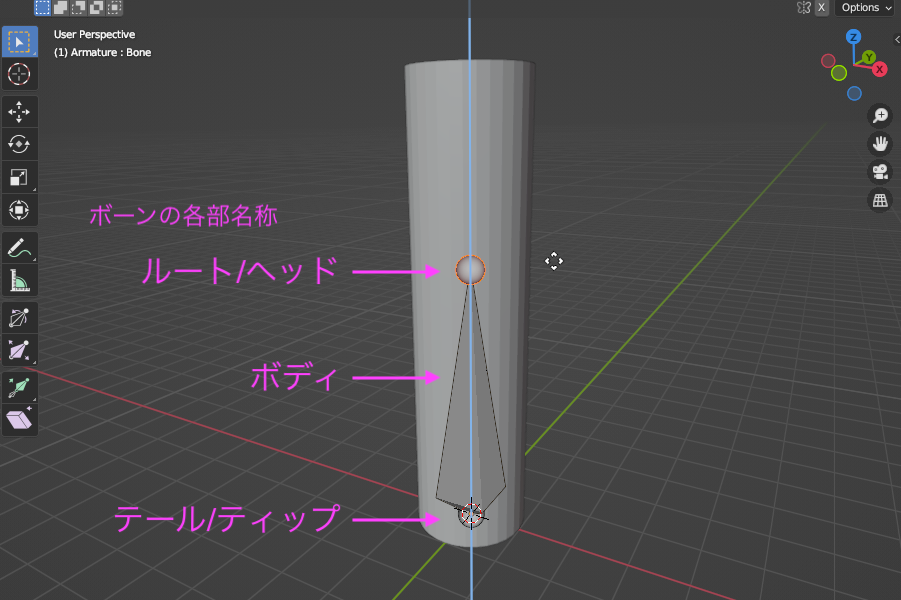
With the bone selected, switch to Edit Mode.
With the bone’s root selected, press the G key and then the Z key to move it to a position about halfway up the cylinder.
The bone view will automatically zoom in.
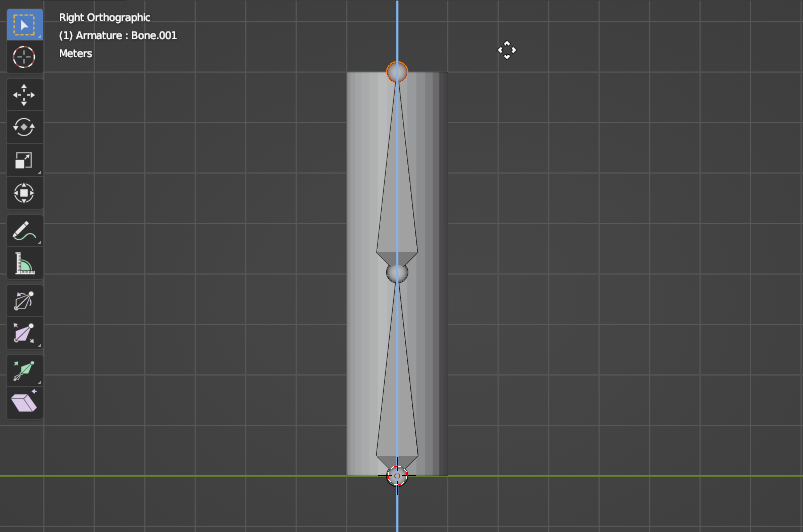
With the root of the first bone selected, press the E key (Extrude mode) and the Z key to add the second bone constrained to the Z-axis.
Press the G key and the Z key to adjust the root of the second bone so that it aligns with the top surface of the cylinder, as shown in the figure below.
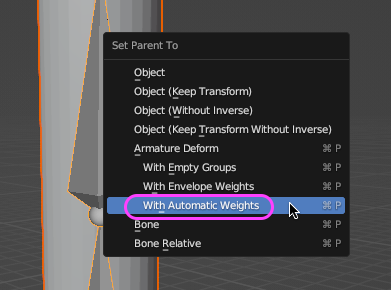
5. Parent (Automatic Weights)
Switch to Object Mode.
After selecting the Cylinder, hold down the SHIFT key and select the Armature (bone set).
From the menu that appears when you press Cmd+P, select Armature Deform > With Automatic Weights.
Alternatively, go to the Object menu > Parent > Deform > With Automatic Weights.
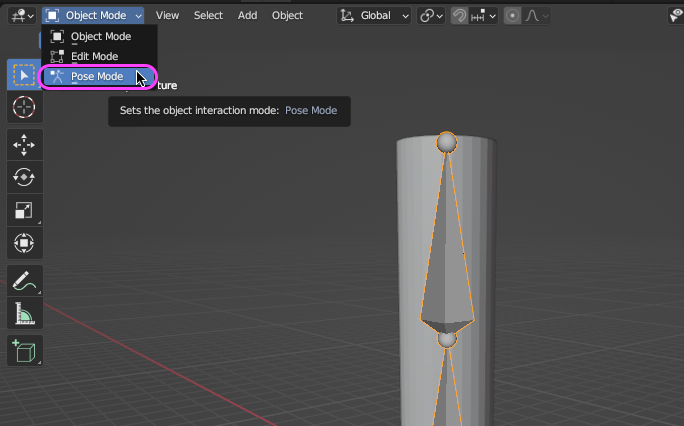
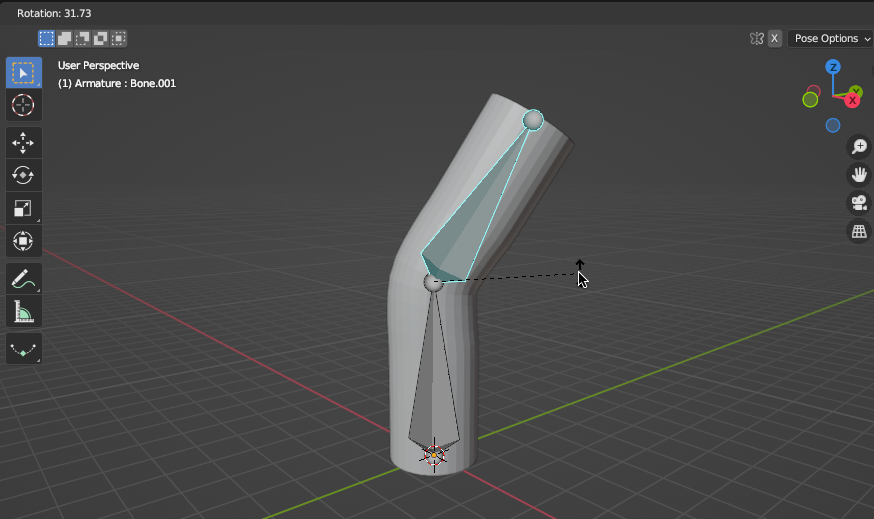
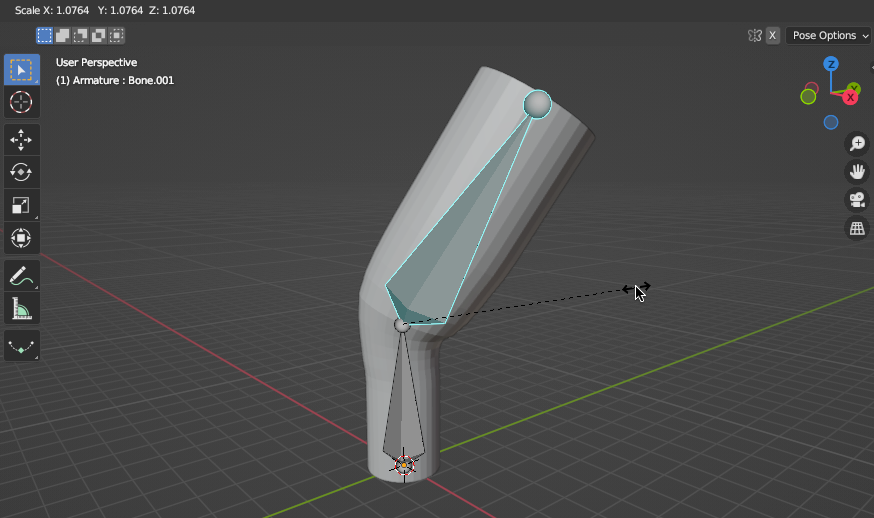
6. Animation in Pose Mode
With the armature selected, switch to Pose Mode.
Shortcut for switching between Pose Mode and Object Mode: Control+TAB (Mac)
Left-click to select a bone, then use the R, G, and S keys to manipulate it.
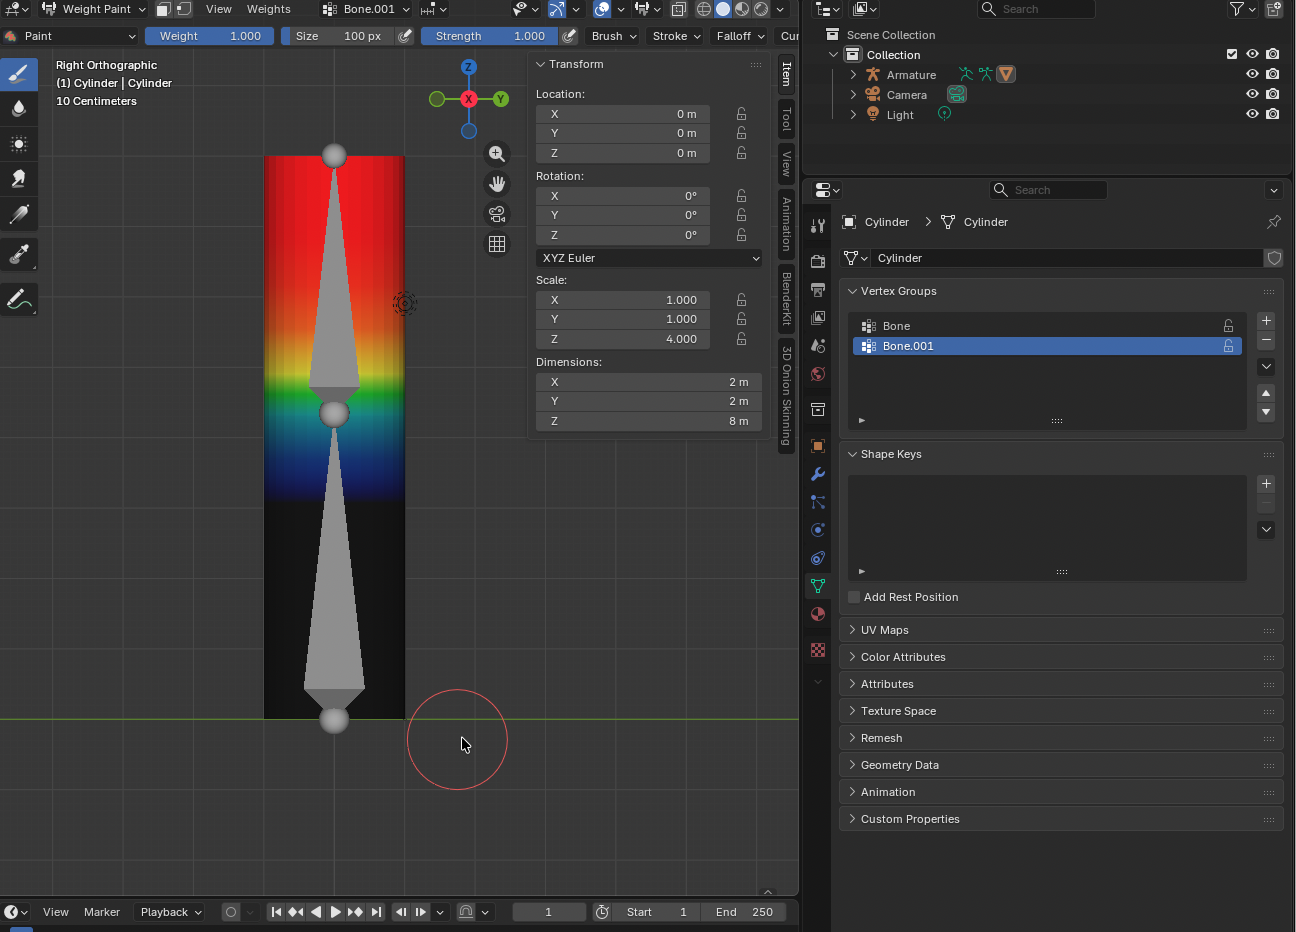
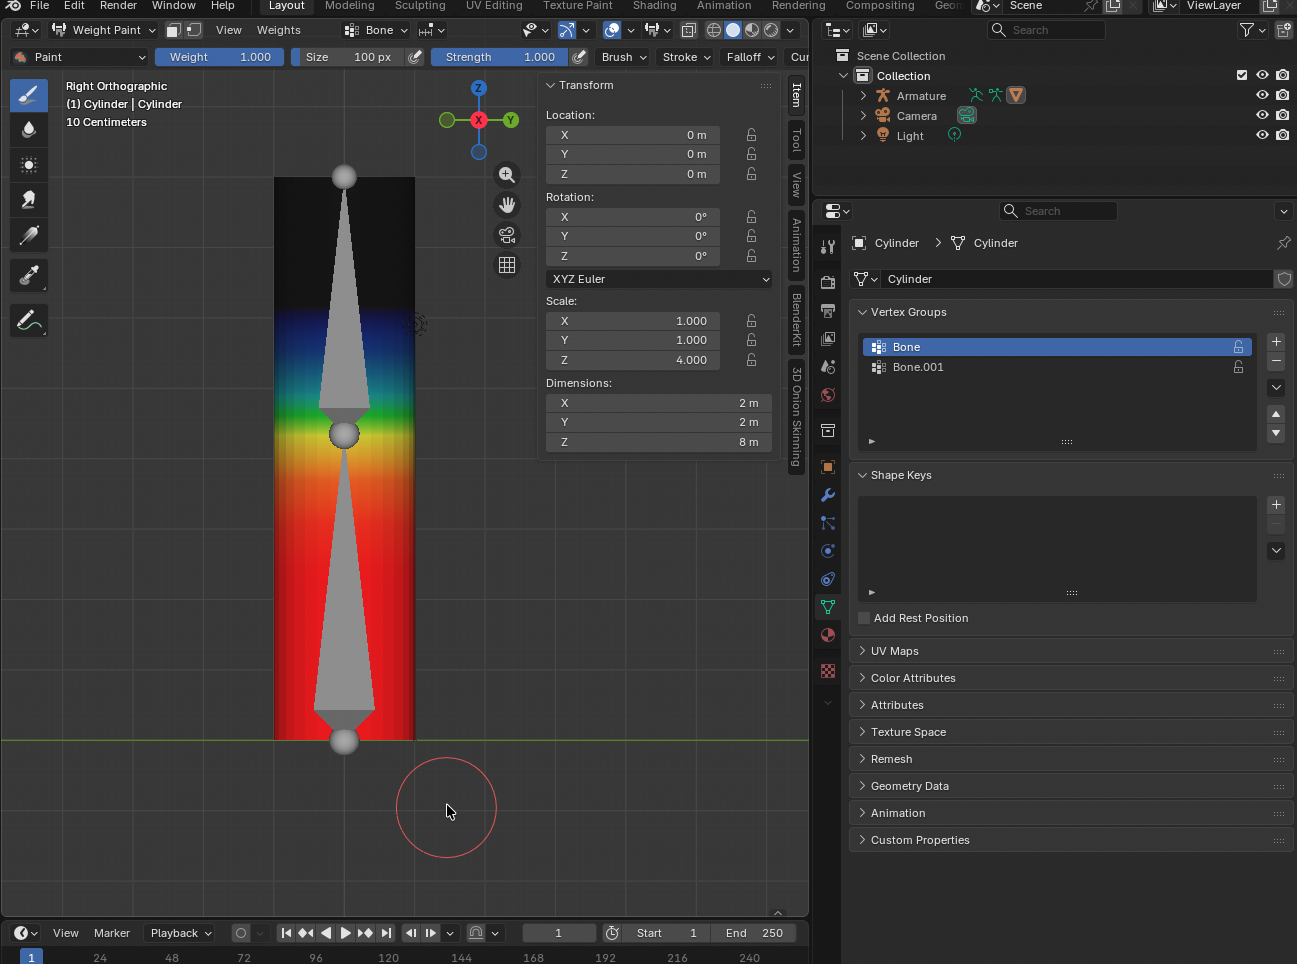
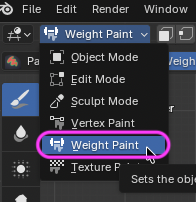
7. Checking Weight Paint
With a mesh selected in Object Mode, switch to Weight Paint mode.
Selecting “Vertex Groups” under “Object Data Properties” displays the deformation weight settings for each bone.