Fusion 360 Exercise 1
Updated: 2026-05*
This article was written before 2020. It is kept here as an archive — the content is outdated and some links may no longer work.
Creating a Mug
In this exercise, we will create a mug.
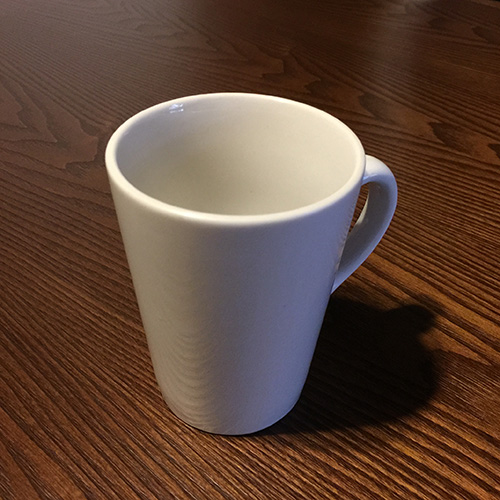
The photo below shows the mug I used as a reference. The base has a diameter of 60 mm and a height of 100 mm. I’ll proceed using the other dimensions as a rough guide.
This document was written in October 2017. Functionality has been verified in Fusion 360 version 2.037.
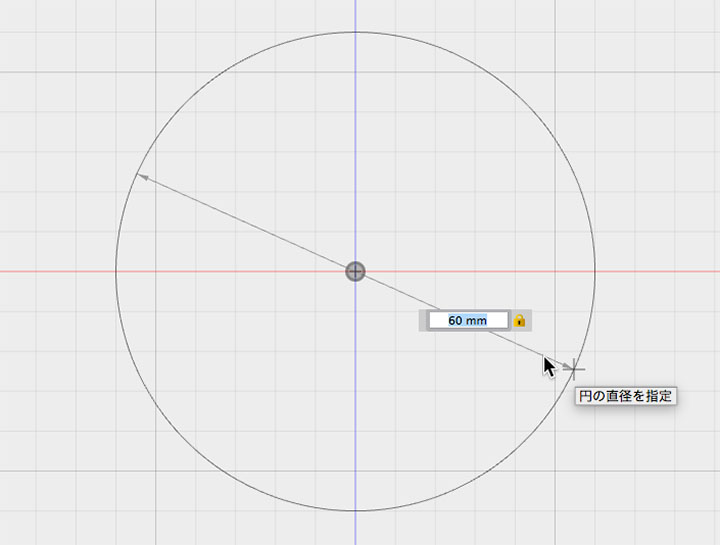
Creating a Sketch (Circle)
Create a circle with a diameter of 60 mm in the sketch (specifying the center and diameter). After creating the circle, stop the sketch.
Extrusion and Taper
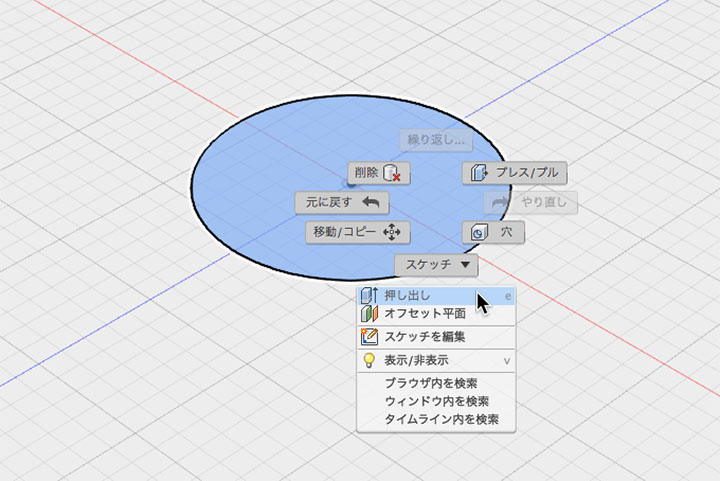
Right-click the sketch and select “Extrude” from the menu. You can also go to Create > Extrude or press the E key.
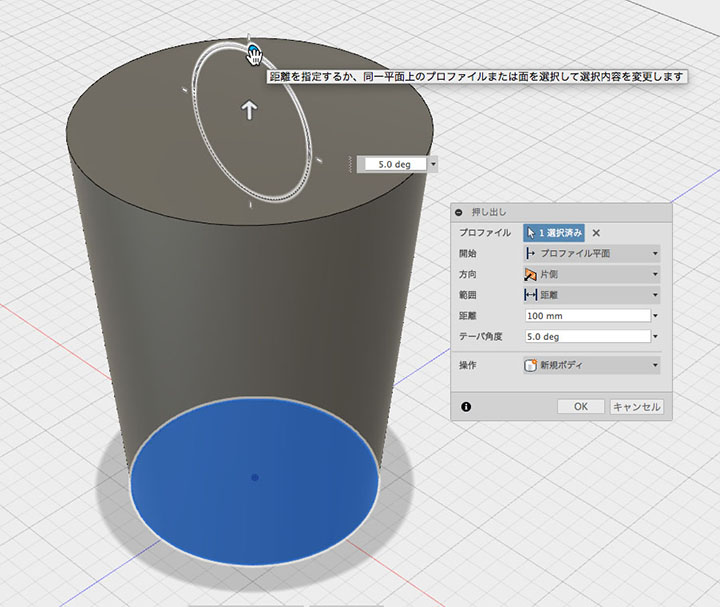
Set the extrusion distance (height) to 100 mm.

Set the taper angle to 5.0 degrees and click the OK button.
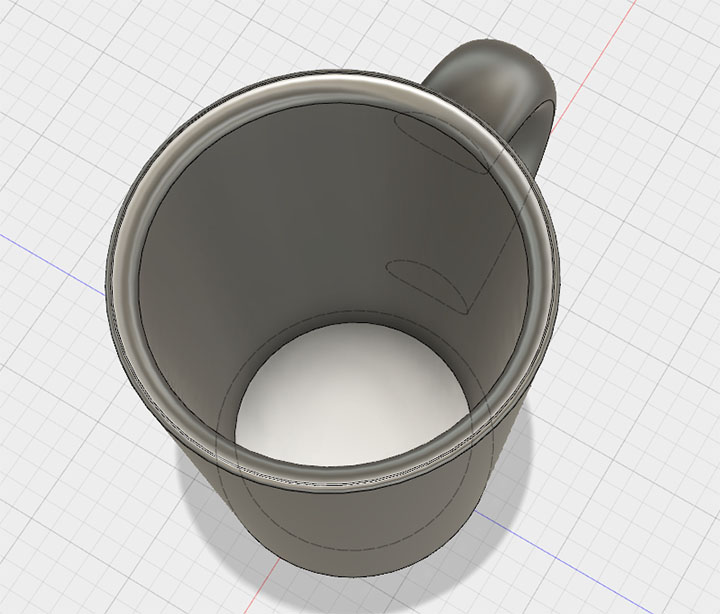
Shell and Fillet
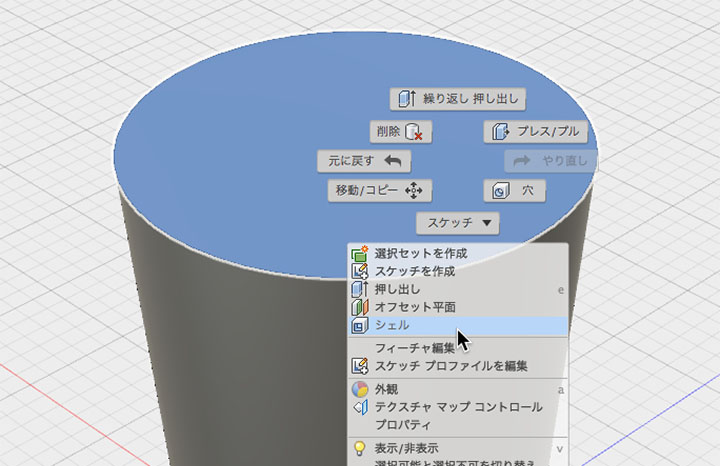
Right-click on the top bar and select “Shell” from the menu.
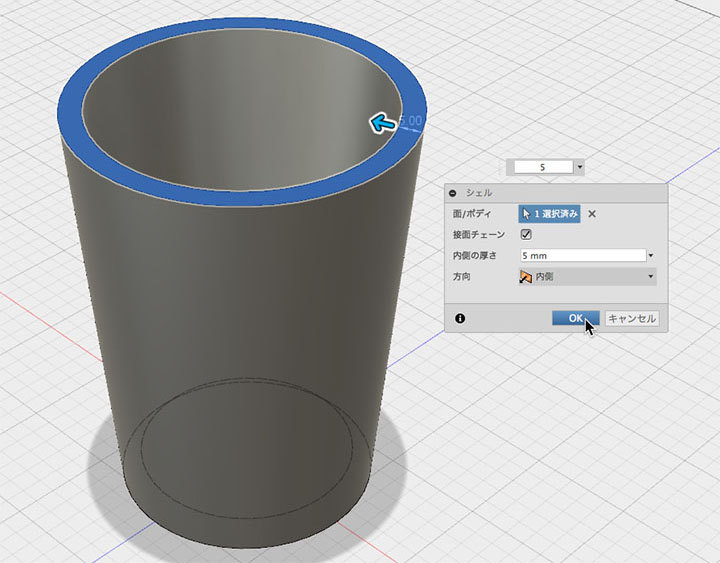
Specify an inner thickness of 5 mm, then click the OK button.
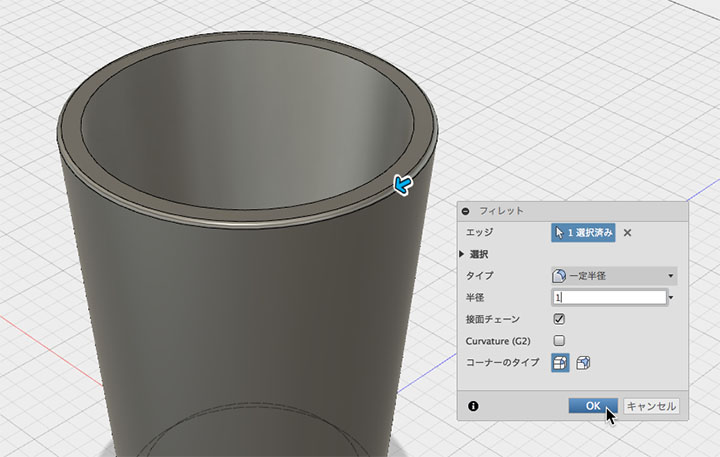
Apply a 1 mm radius fillet to the outer edge.
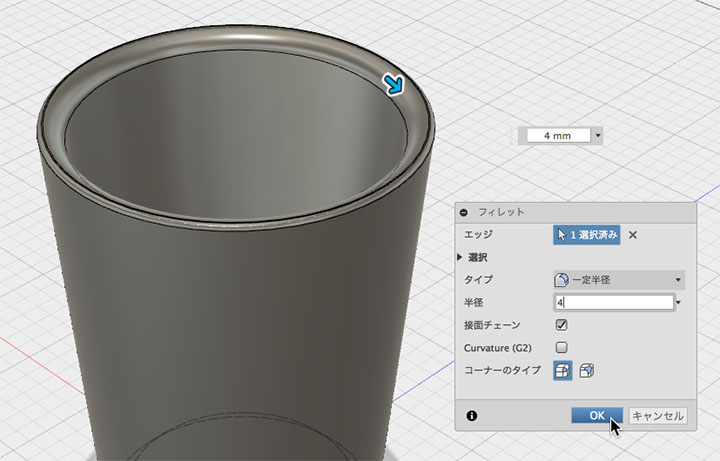
Apply a 4 mm fillet to the inner edge.
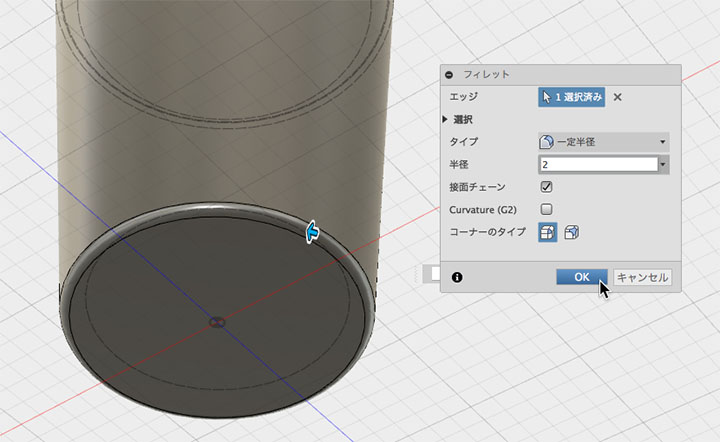
Apply a 2 mm fillet to the bottom edge.
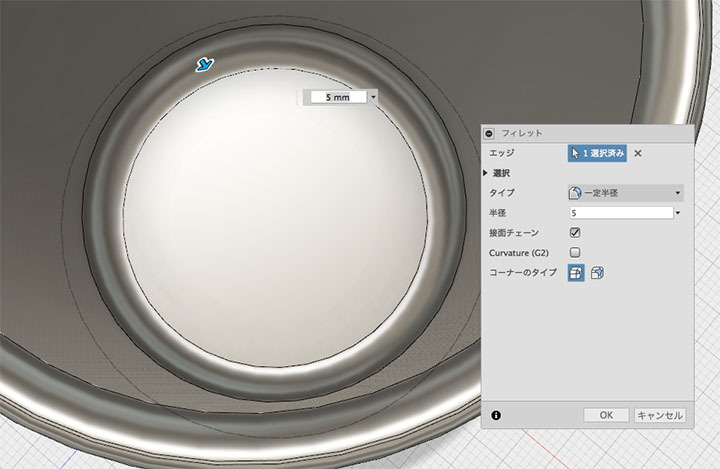
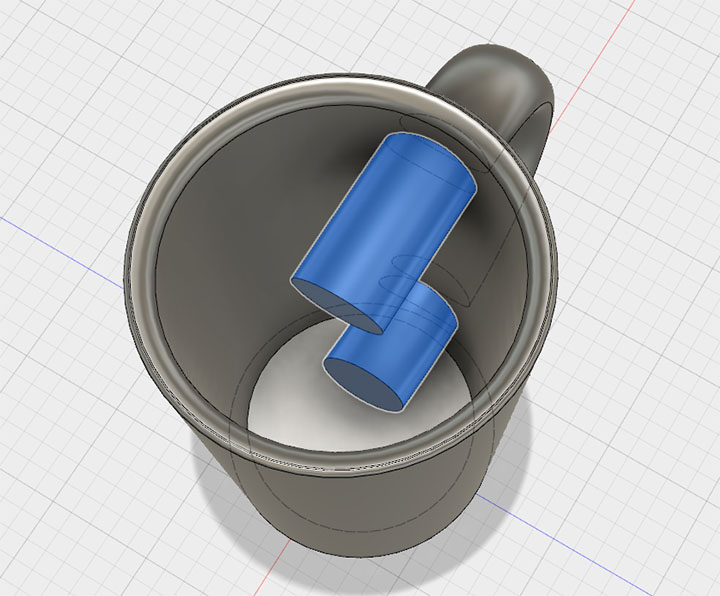
Apply a 5mm fillet to the edge of the inner cup bottom.
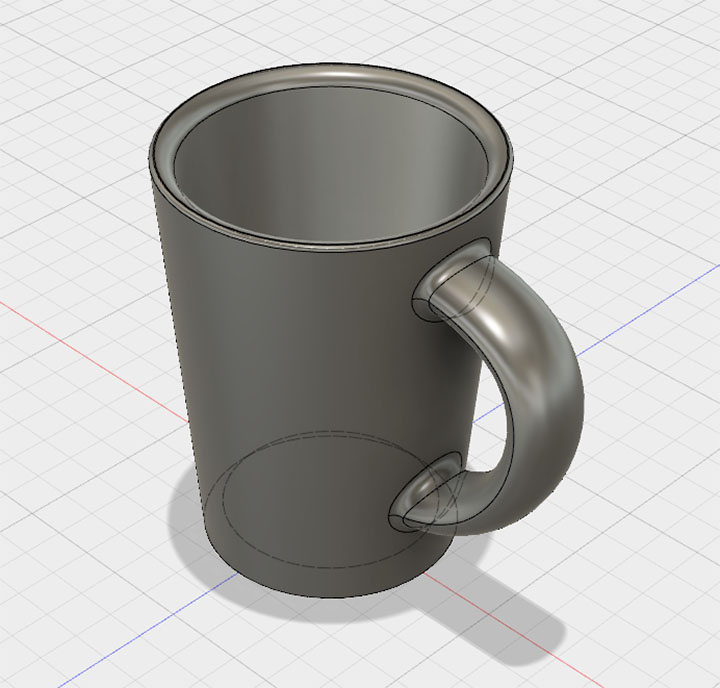
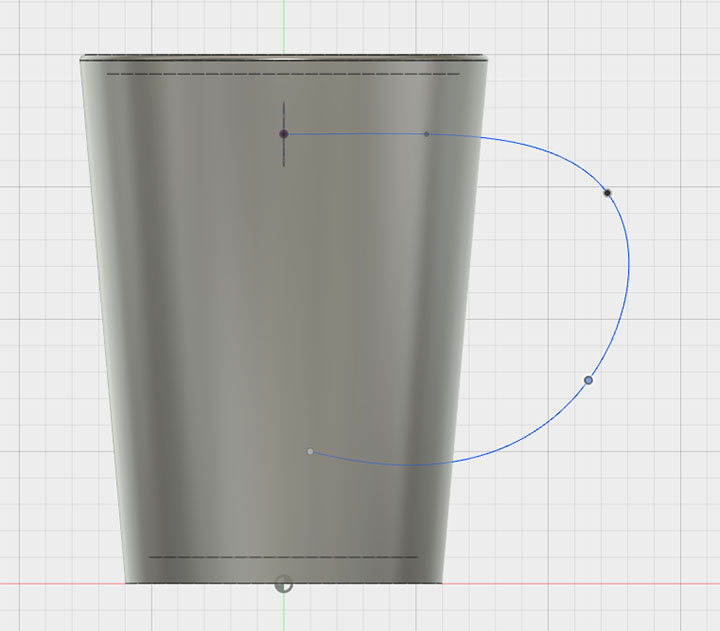
Creating Sketches (Ellipses and Splines)
Draw an ellipse in the XY-plane.

Draw a spline on the YZ plane. Align the starting point of the spline with the center of the ellipse.
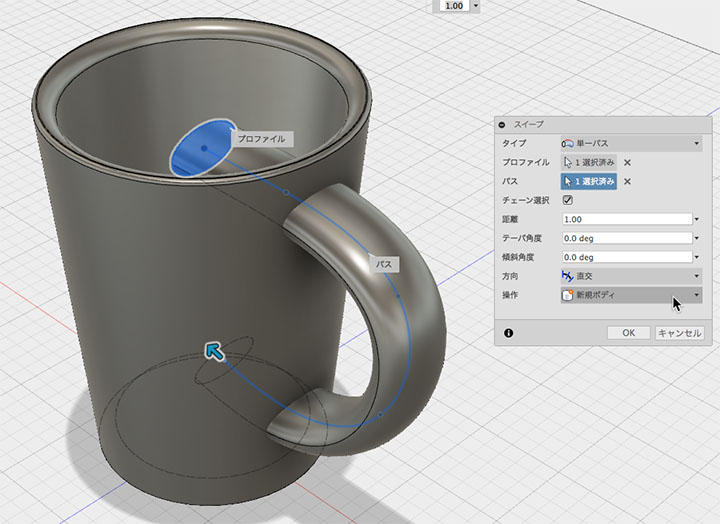
Sweep
Click Create > Sweep. Specify an ellipse for the profile. Specify a spline for the path. Set the operation to “New Body.”
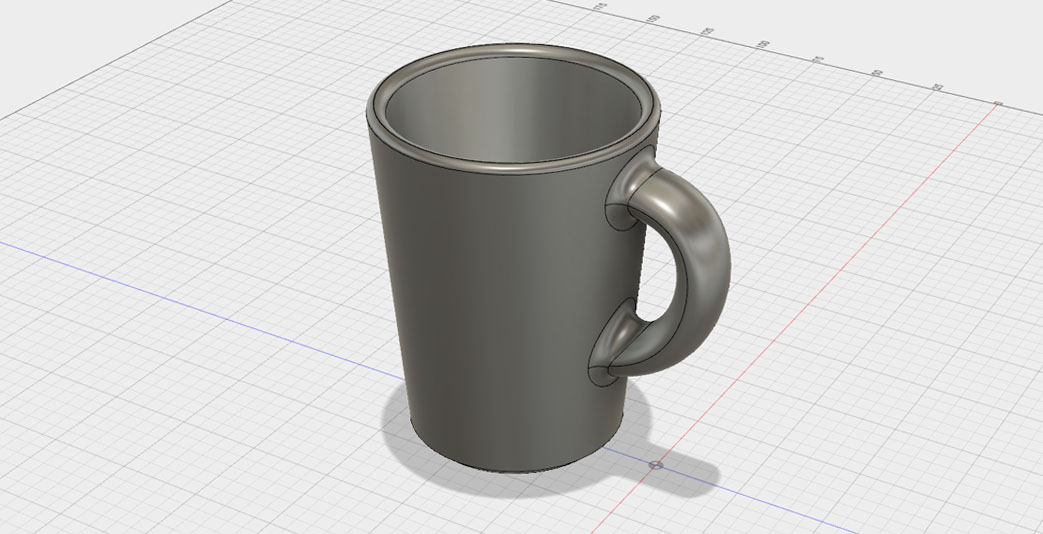
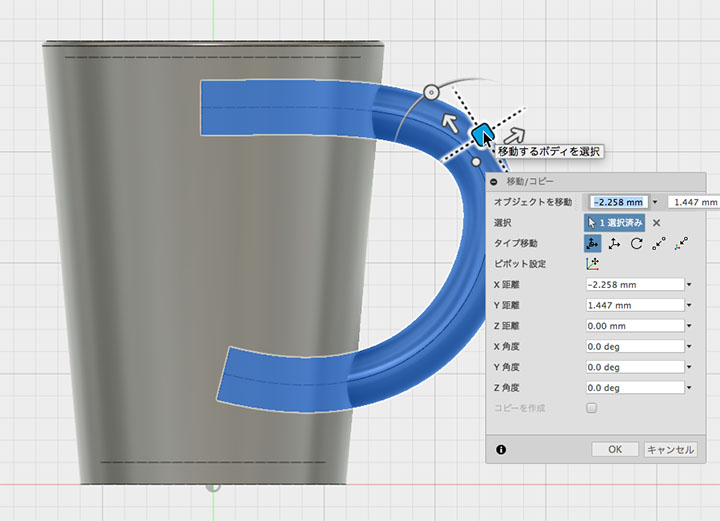
If necessary, adjust the position or size of the handle. To modify the shape of the handle, use the history function.
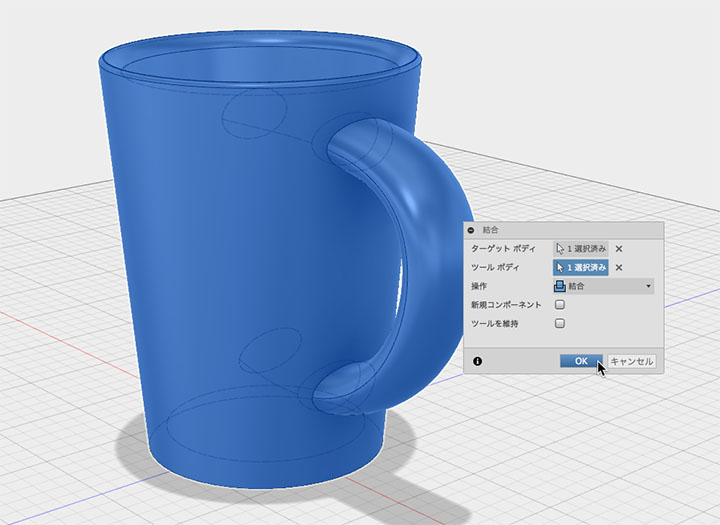
Attaching the Cup to the Handle
Click “Modify > Union.” Select the target body and the tool body. Specify “Union” as the operation. Make sure the “Keep tool” checkbox is unchecked.
Select and delete the unwanted parts inside.
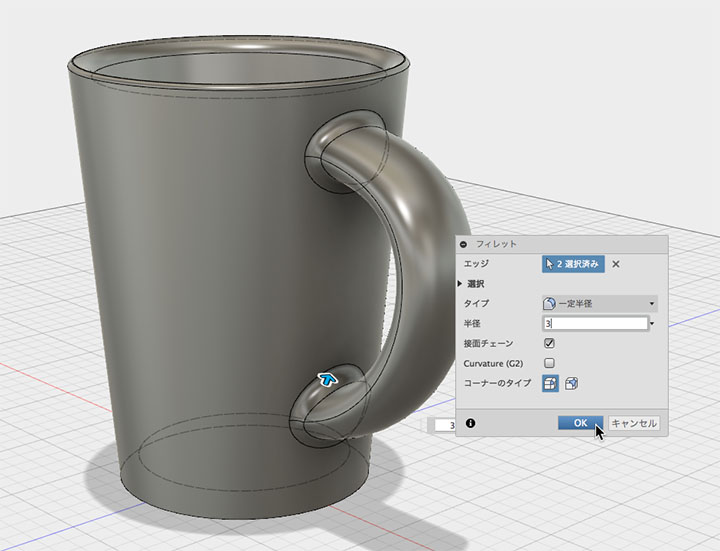
Apply a 3mm fillet to the edge where the cup and handle meet.
Done.