MadMapper Basics 2
Updated: 2026-05

This article was written before 2020. It is kept here as an archive — the content is outdated and some links may no longer work.
Course Content
This section explains how to map between rectangular and cylindrical coordinates.
Download Resources
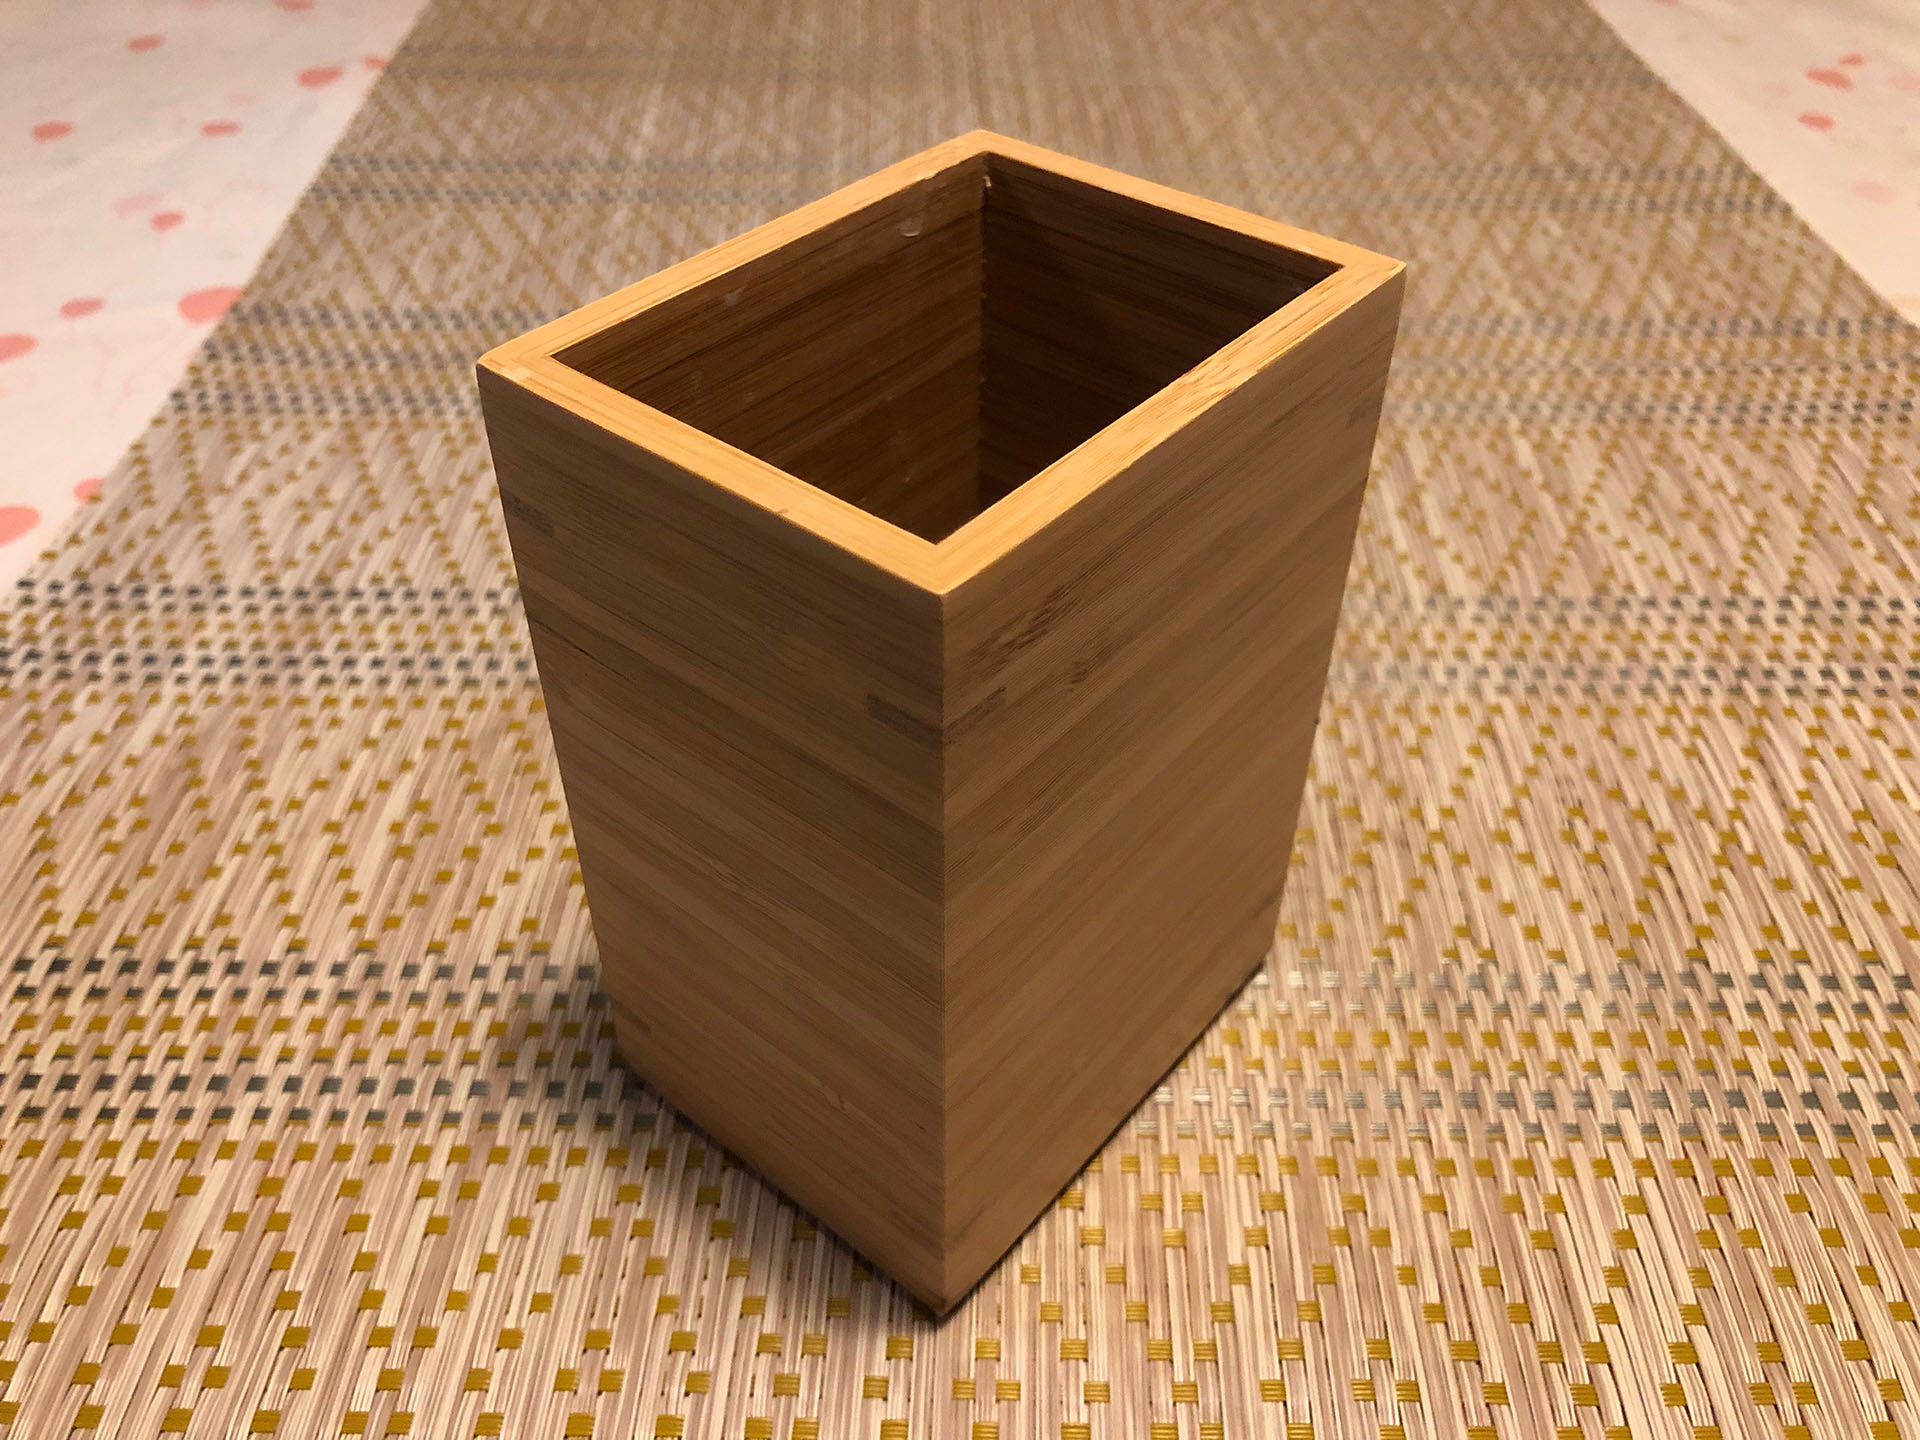
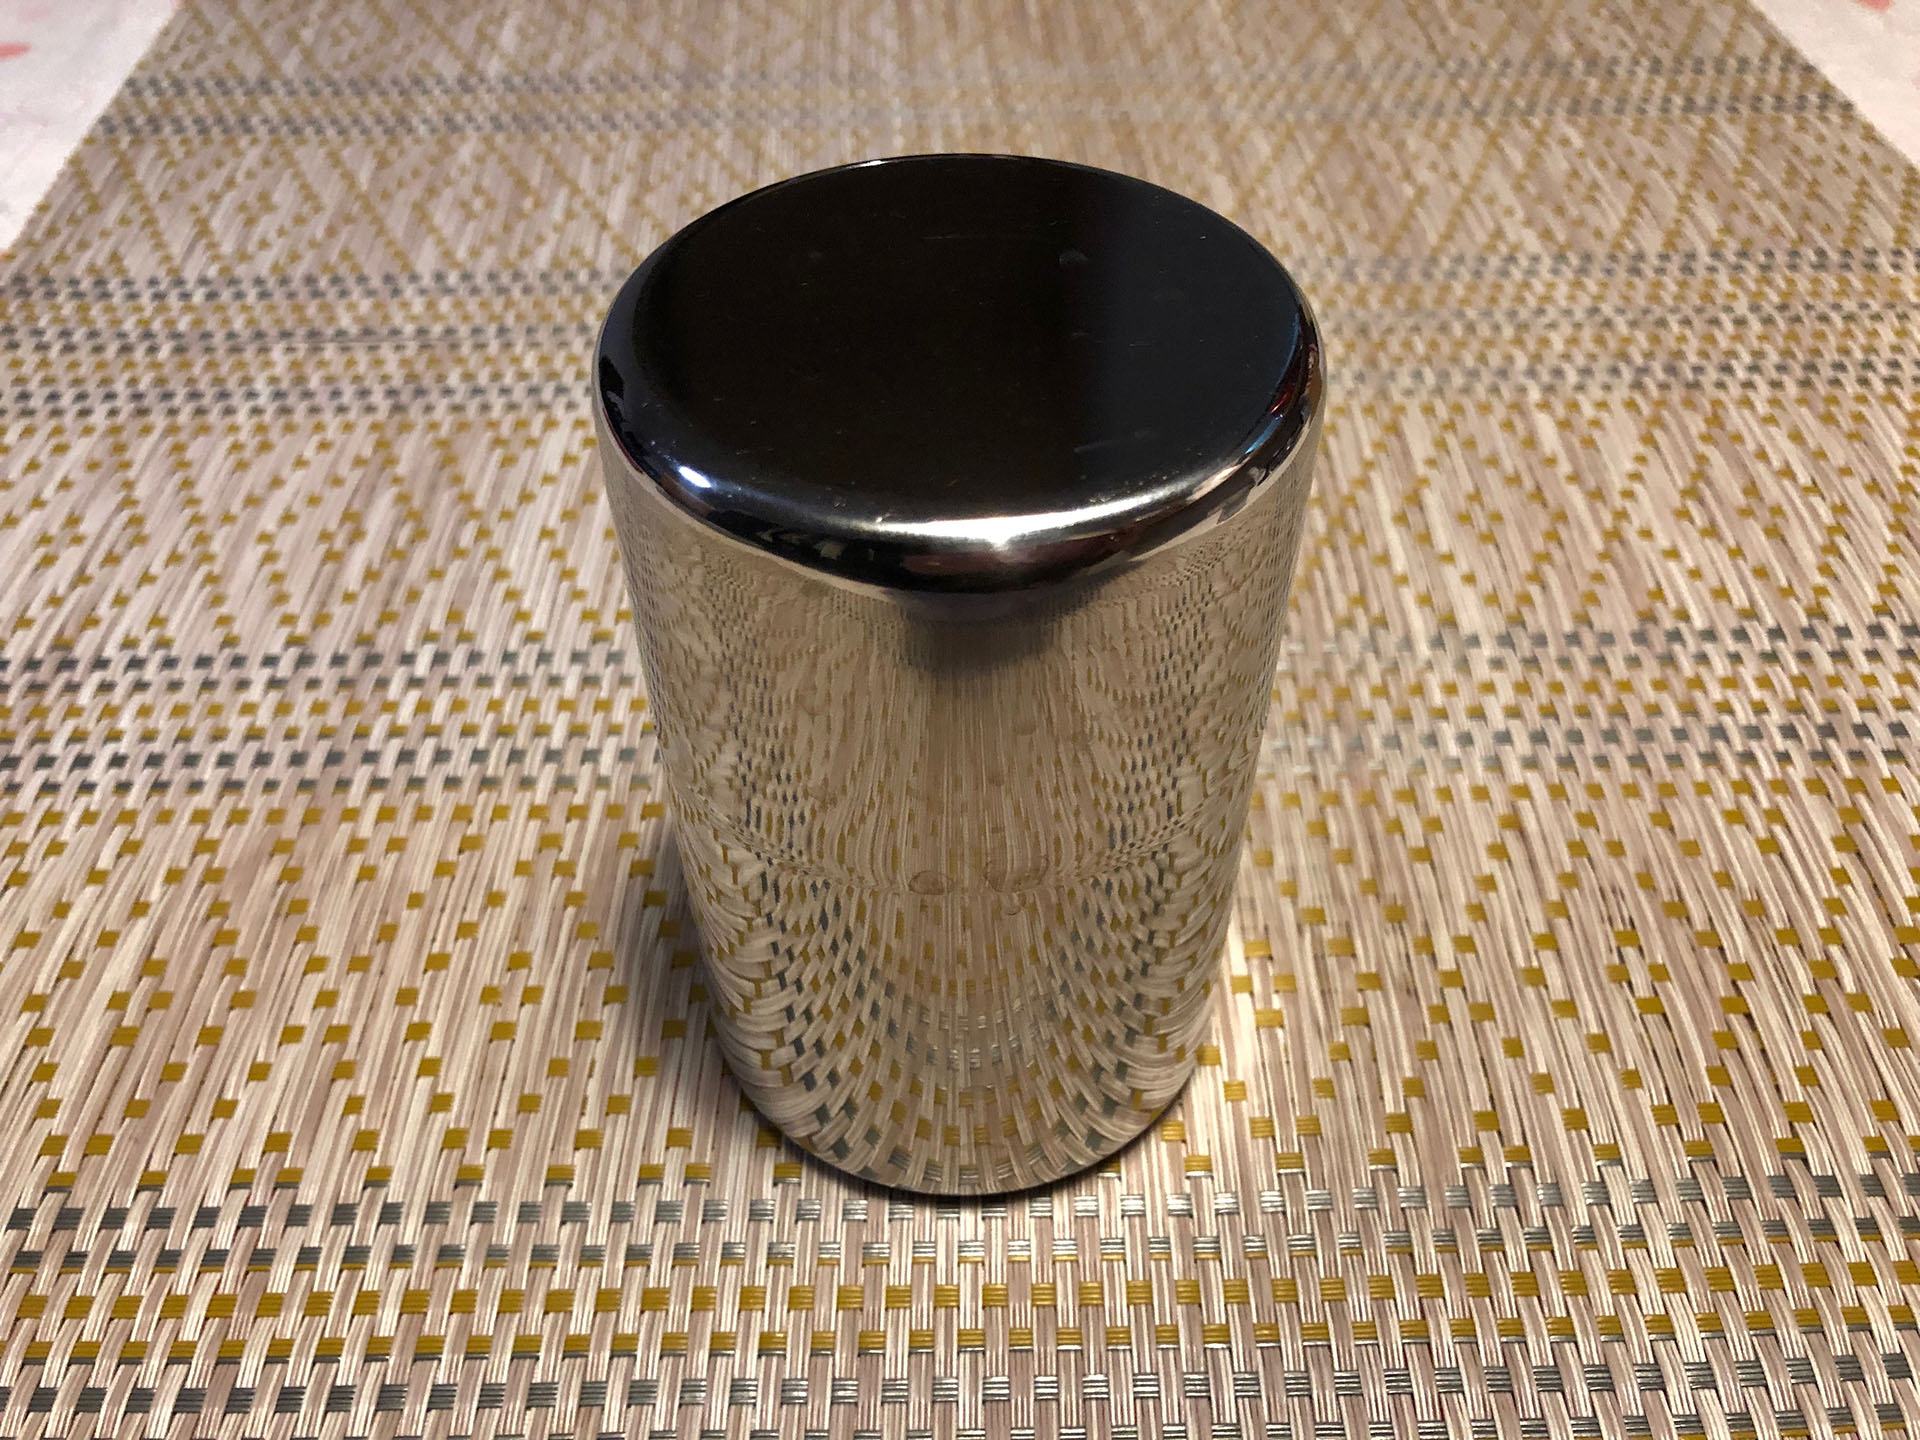
Drag and drop the image below to download it.
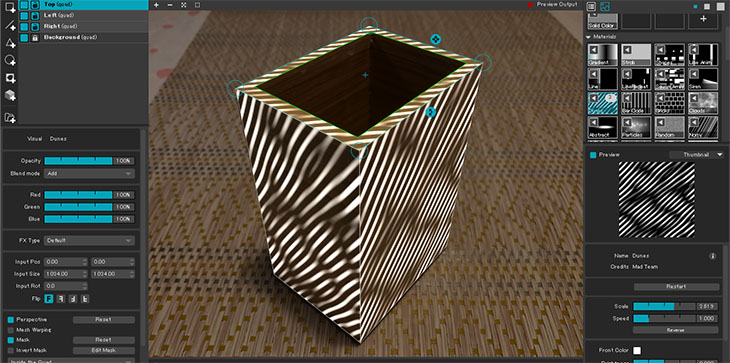
Workshop Flow (Box-shape)
- Download assets
- Load assets
- Set background image, adjust brightness, and lock
- Create a Quad Surface (TestCard)
- Lower the Surface’s opacity and map it to the right side
- Rename it to “Right”
- Map it to the left side in the same way
- Rename it to “Left”
- Map it to the top in the same way
- Rename it to “Top”
- Use the Top Surface’s Mask function to create a hole
- Apply other media
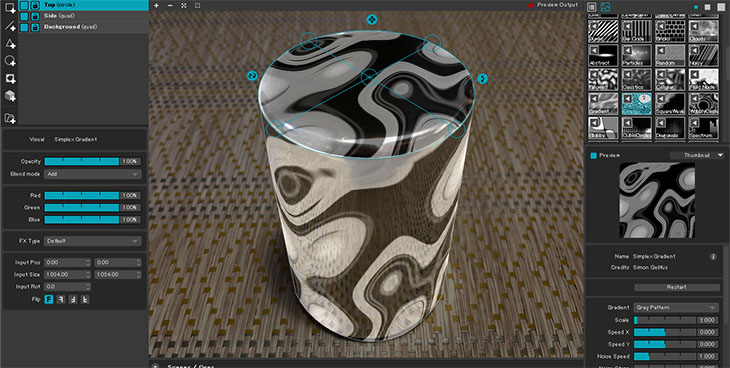
Workshop Flow (Cylinder)
- Download assets
- Load assets
- Set background image, adjust brightness, and lock
- Create a Circle Surface (TestCard)
- Lower the Surface’s opacity and map it to the top face
- Rename it to “Top”
- Create a Quad Surface (TestCard)
- Lower the Surface’s opacity and map it to the side face using the Mesh Warp feature
- Rename it to “Side”
- Apply other media