Fusion 360 Rendering
Updated: 2026-05*
This article was written before 2020. It is kept here as an archive — the content is outdated and some links may no longer work.
Materials and Rendering
In this exercise, we will explain rendering—the process of generating realistic images by applying material settings and lighting effects.
This document was written in October 2017. Functionality has been verified in Fusion 360 version 2.037.
Creating the Base
Go to Create > Rectangular Prism Tool to create the base body. Since you will be placing objects on top of it, extrude it downward.

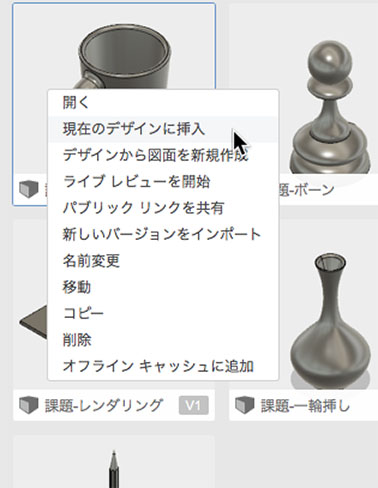
Inserting an Existing Design
After saving the design you created, right-click the icon for the existing design in the Data Panel and click “Insert into Current Design.”
Since inserted objects are placed at the origin, move them as needed.
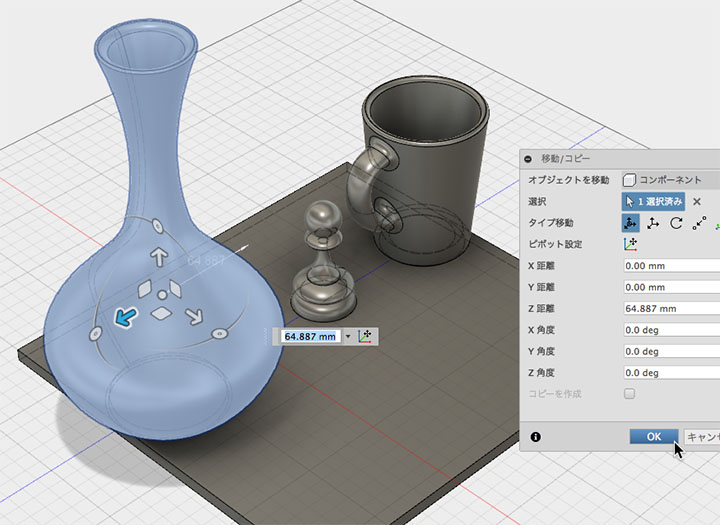
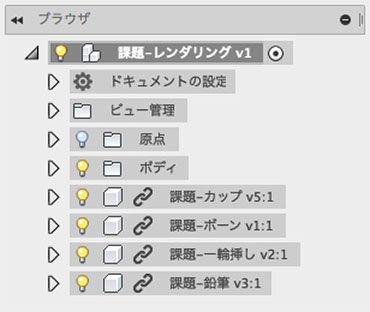
The inserted design is loaded as a linked component.
Adjust using alignment tools, move, and scale.
Use the Press/Pull tool to resize the base.
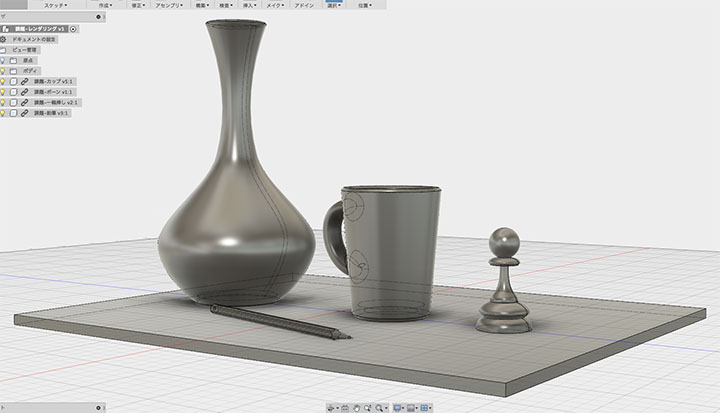
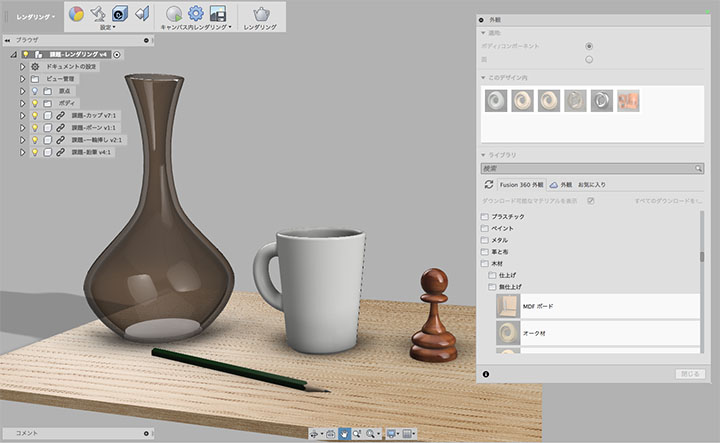
Materials (Link Components)
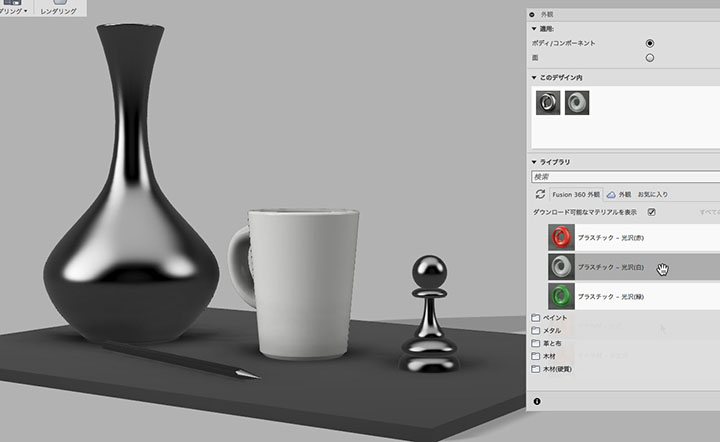
Enter Rendering Mode and click the Appearance tool.
Set the cup material to Plastic > Opaque > Plastic - Glossy (White).
You can apply material icons by dragging and dropping them onto the cup.
Apply “Wood > Finish > Cherry Wood - Glossy” as the material for the bone.
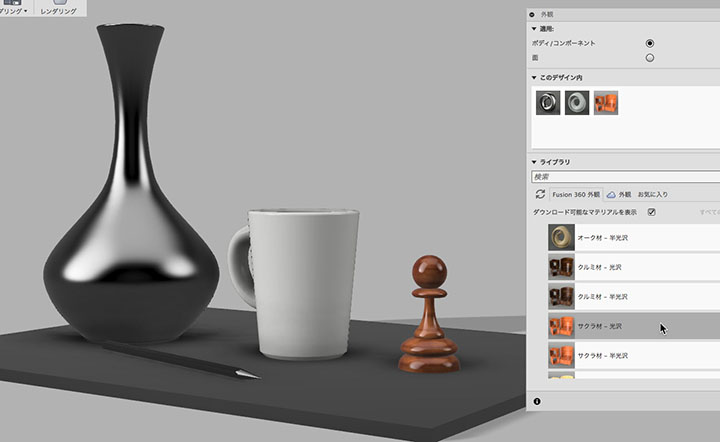
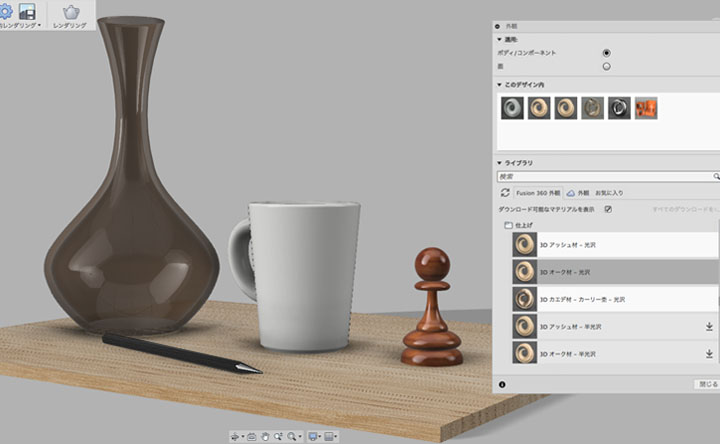
For the single-flower vase, use the following materials: glass > soft > glass (bronze).

For the base material, apply Wood (Hardwood) > Finish > 3D Oak - Gloss.
Materials (within the source design)
As mentioned in the previous section, while you can assign materials to linked components, you cannot assign materials to individual faces. Therefore, for the pencil, you must assign the material within the original design.
*In Fusion 360, components are defined as parts required for an assembly. While a single component typically consists of a single body, we will use them with multiple bodies here for design verification purposes.
Open the pencil design you have already created.
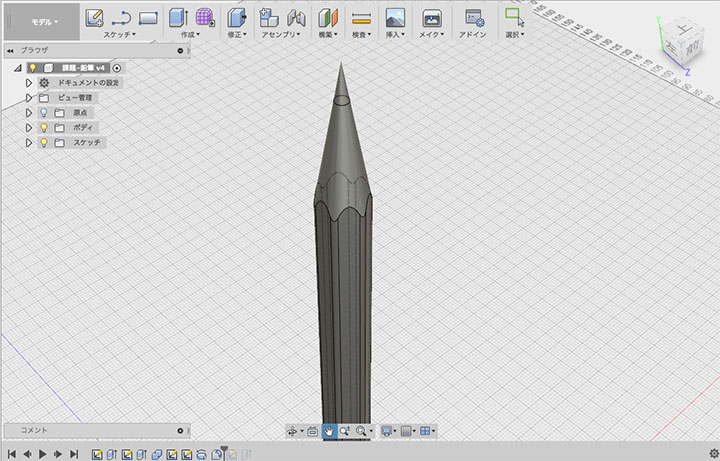
Apply “Hardwood > Unfinished > 3D Maple - Unfinished” to the shaft body.
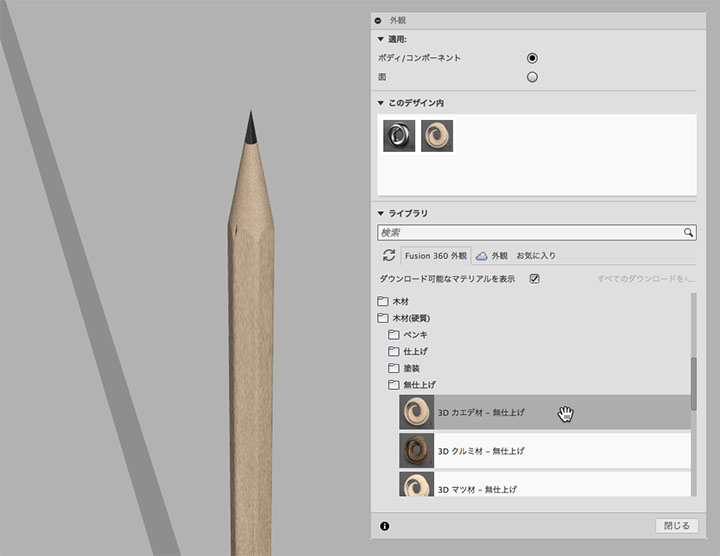
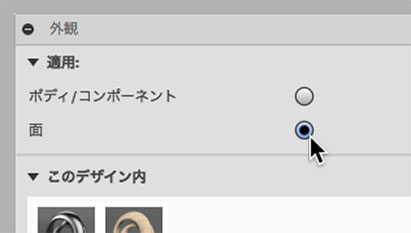
To assign a material to the side of an axis, change the “Apply to” option in the Appearance dialog to “Face.”
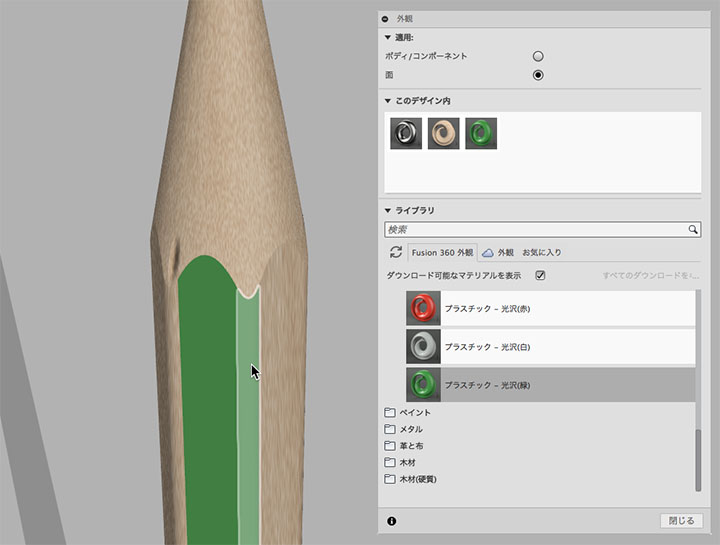
Apply “Plastic > Opaque > Plastic - Glossy (Green)” to all surfaces, including the filleted areas.
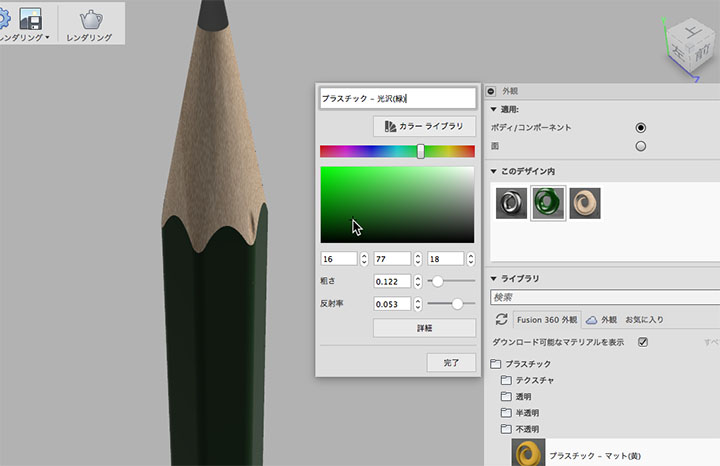
Double-click the material icon in this design to change the green color to a darker shade.
When you save the pencil design, a warning icon like the one shown below appears on the base design screen.
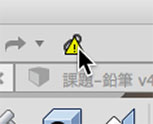
Click the icon to apply the changes.
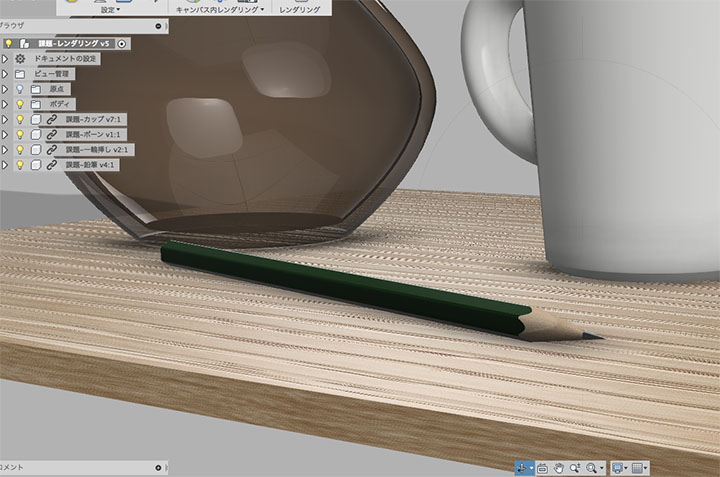
Rendering within the canvas
In-canvas rendering is an interactive rendering feature that allows you to render images directly within the editing window, helping you efficiently determine your composition while getting a feel for the scene. The image is re-rendered each time you zoom or rotate the view.
Click the “Render in Canvas” button (left in the figure below) to enter interactive rendering mode. To stop, click the same button (right in the figure below).
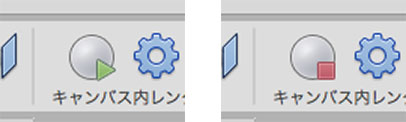
The rendering status is displayed in the lower-right corner of the window. You can pause or resume the process as needed.

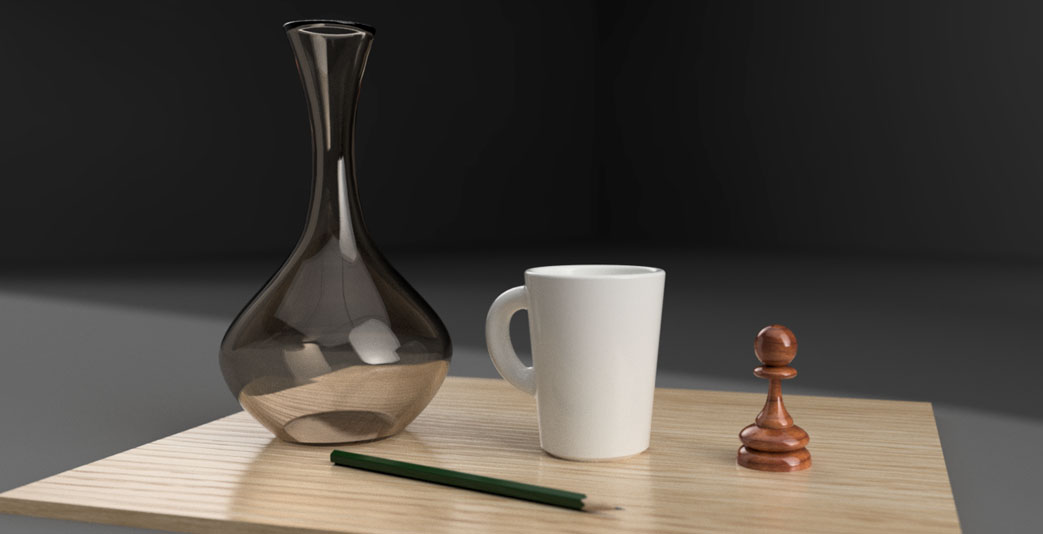
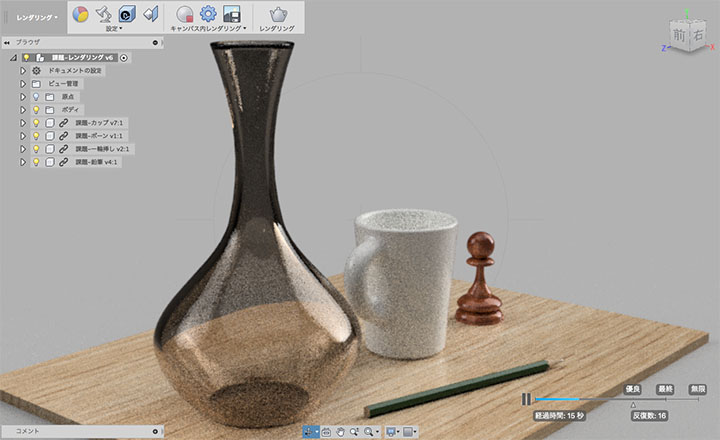
Local Rendering
Local rendering is processed by the computer you are using. Since it runs in the background, you can perform other editing tasks while rendering.
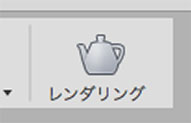
Click the Render button.

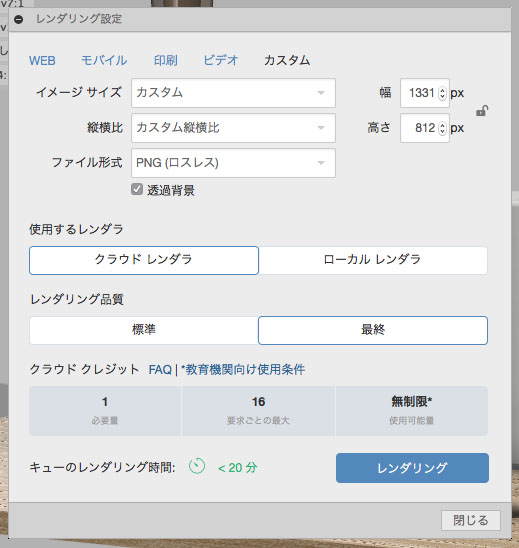
Make sure the renderer you are using is the local renderer. Adjust the settings as needed and click the Render button.
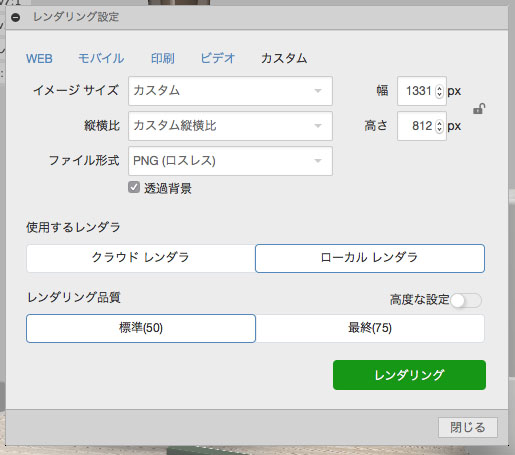
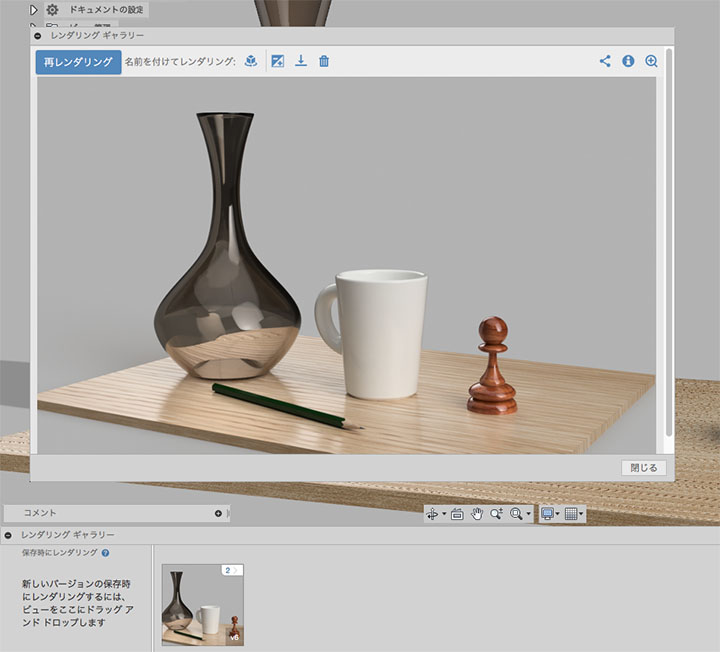
Rendered images are saved in the rendering gallery at the bottom of the window. You can download them from the rendering gallery window that appears when you click the icon.
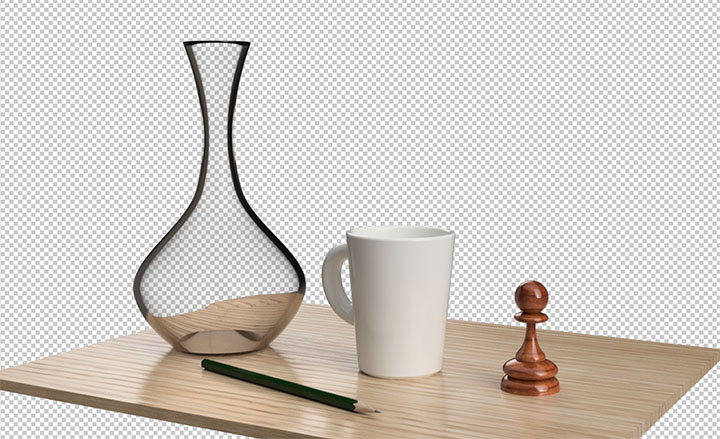
If you check the “Transparent Background” option in the Rendering Settings window and set the file format to PNG, you can also composite the background. In particular, when using transparent materials such as glass, the texture may appear grainy, so set the rendering quality to “Final.”
Cloud Rendering
Cloud rendering is performed on Autodesk servers, regardless of your PC’s performance. You can continue editing while rendering. While the paid version of Fusion 360 requires the purchase of cloud credits, the free version currently allows for unlimited cloud rendering.
Click the Render button.
Make sure the renderer you are using is a cloud renderer. Adjust the settings as needed and click the Render button.
After rendering, it will be added to the rendering gallery, just as with local rendering.
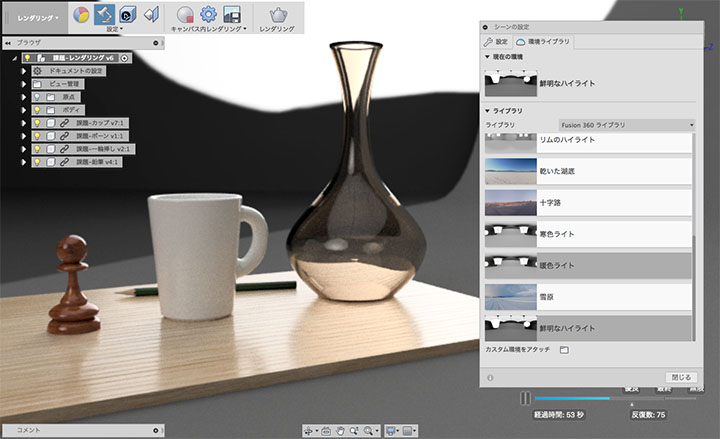
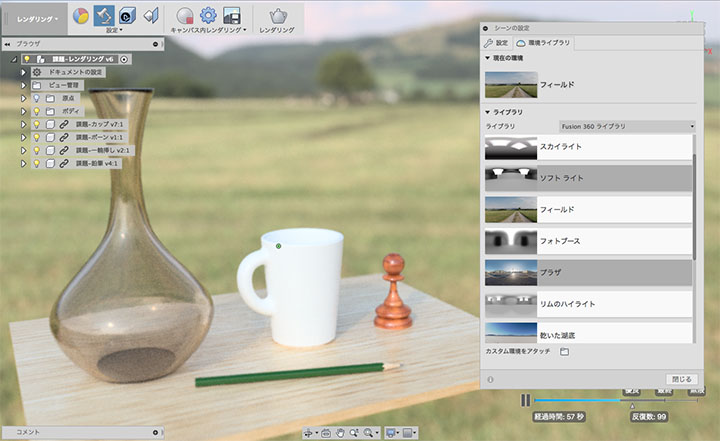
Setting the Scene
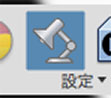
Press the Scene Settings button.
In the scene settings dialog, you can configure settings such as the environment map, camera focal length, and depth of field.
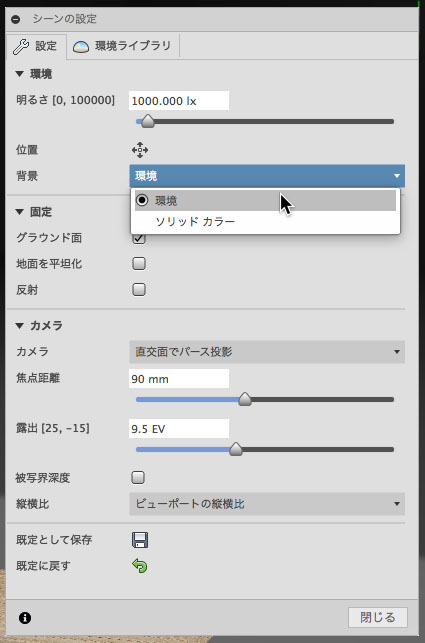
If you change the background in the Settings tab from a solid color to an environment, you can use the various lighting effects and environment maps available in the environment library. You can also set up your own environment map using a panoramic HDRI image.