MadMapper Exercise 1
Updated: 2026-05
This article was written before 2020. It is kept here as an archive — the content is outdated and some links may no longer work.
Exercise Content
This guide explains how to use masks to map onto a building.

Download Resources
Drag and drop the image below (exterior view of Building 6 at Kobe Design University) to download it.
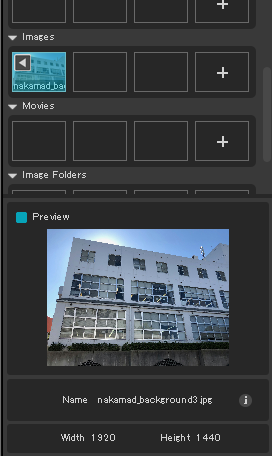
nakamad_background3.jpg 1920 x 1440 pixels

Project data for this exercise (including background images)
Loading Assets
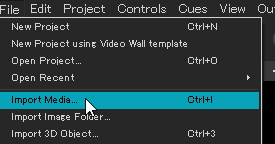
Go to the File menu > Import Media (Ctrl+I) or click the “+” button under Images on the Media tab to import nakamad_background3.jpg.
It will be listed in the “Images” category under the “Media” tab.
Setting the Background Image and Adjusting Brightness
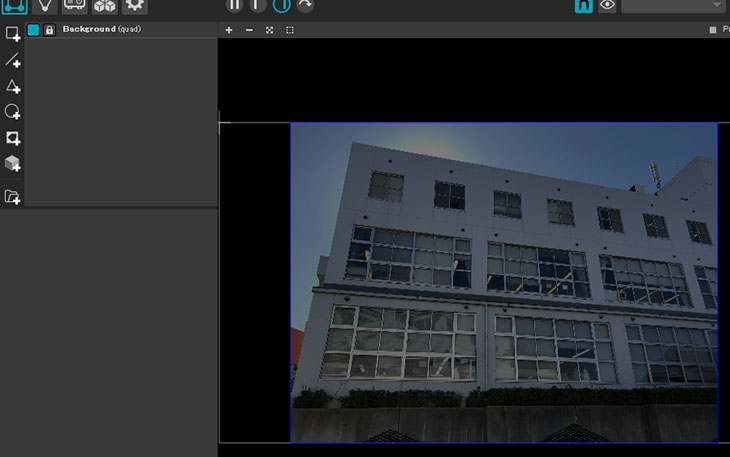
With “nakamad_background3.jpg” selected in the Media tab, click “Add a quad” in the Manage Surfaces tab.
The figure below shows the Preview output view.
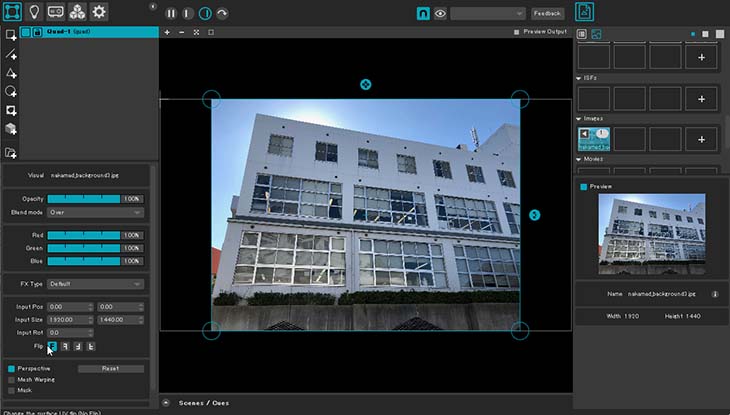
Double-click the Surface name (Quad-1) and change it to “Background.”
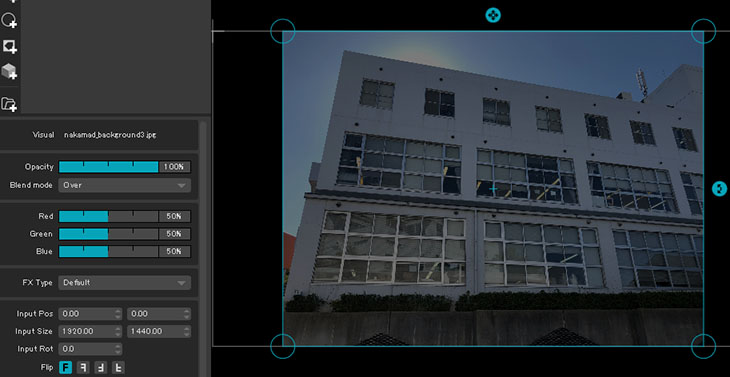
If the photo is too bright, adjust the RGB parameters to darken the image.
In the figure below, each RGB channel is set to 50%.
*In the “Background” section of “Outputs,” you can adjust the transparency but not the brightness.
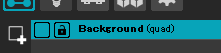
Click the lock icon to lock your Surface.
A locked Surface is displayed with a dark blue border in the Preview output view.
Creating a Grid Surface
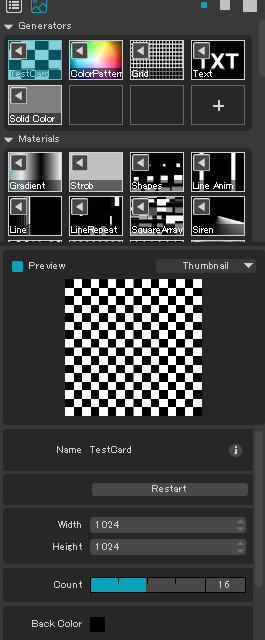
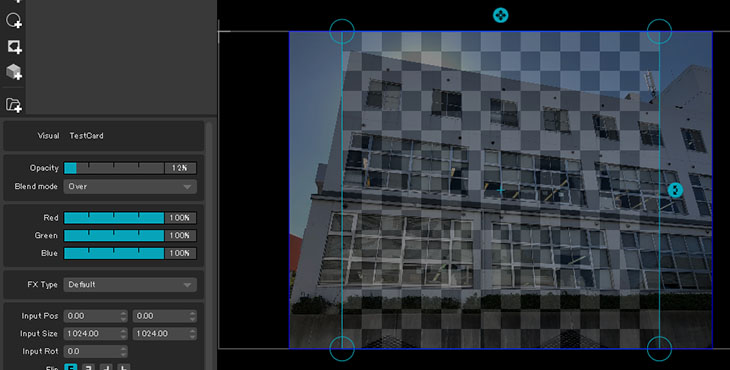
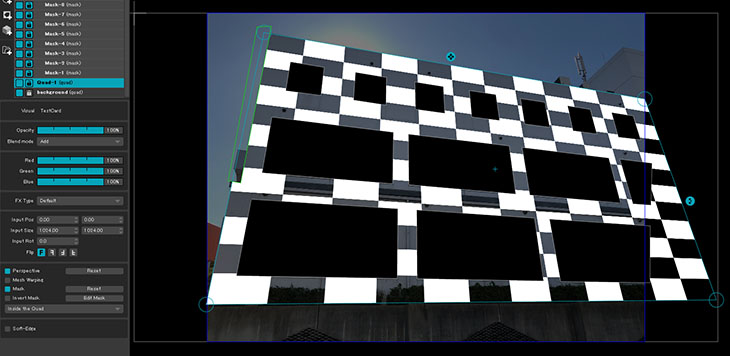
Select “TestCard” in the “Generators” category on the “Media” tab.
Increase the “Count” value to adjust the grid density. In the figure below, the “Count” is set to 16.
Click the “Add a quad” icon to add a surface.
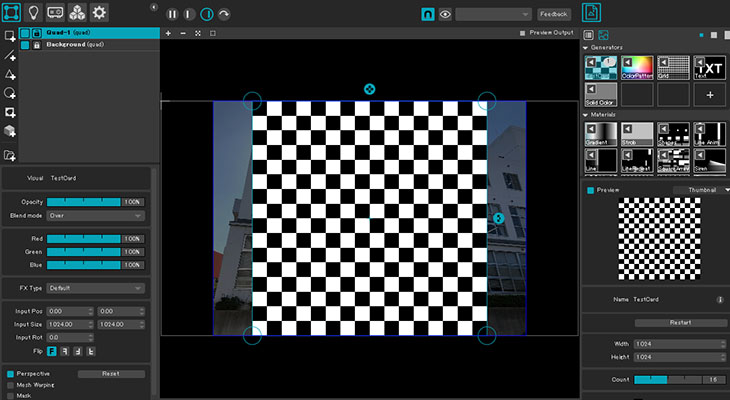
Set the opacity to about 10%.
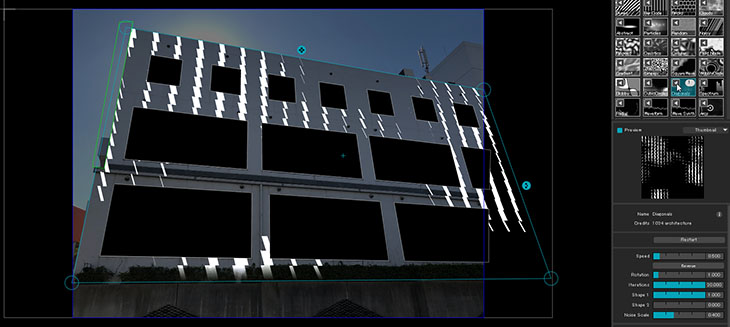
Wall Projection
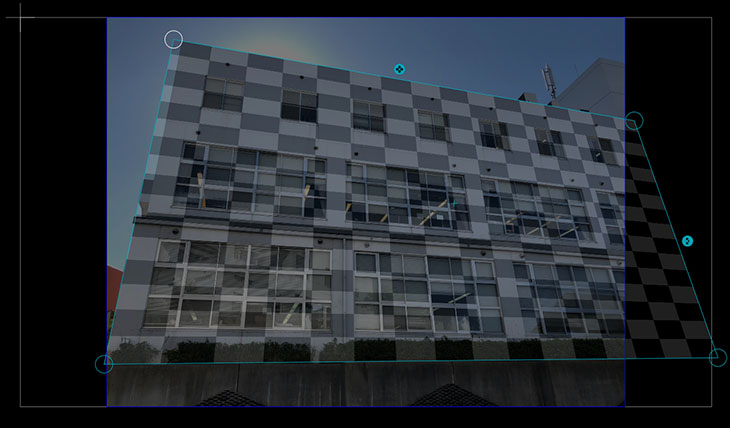
Drag the control points at the four corners to map the shape onto the wall.
Assuming that unnecessary elements will be hidden by the mask later, align the perspective of the grid with that of the wall surface.
Surface’s Masking Feature
Use the masking feature in Surface to hide the unnecessary areas caused by the difference in height between the first floor and the second and third floors.
*Note: The masking feature in Surface allows you to create only one shape.
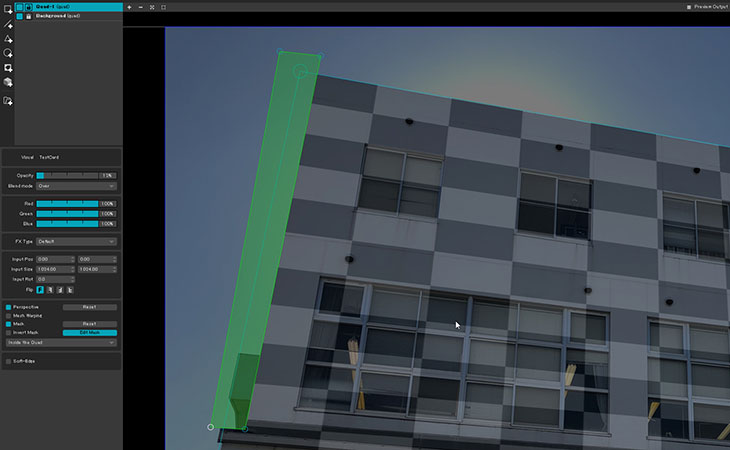
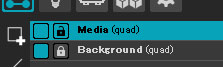
Rename the Surface Quad-1 to “Media.”
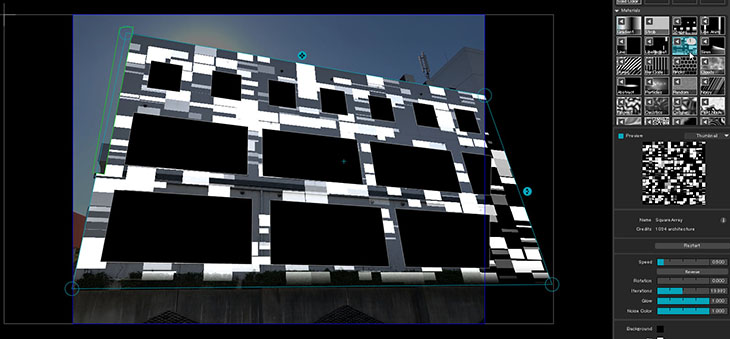
Creating a Mask Surface
Create a Mask Surface as shown below.
Hide the Media panel as needed.
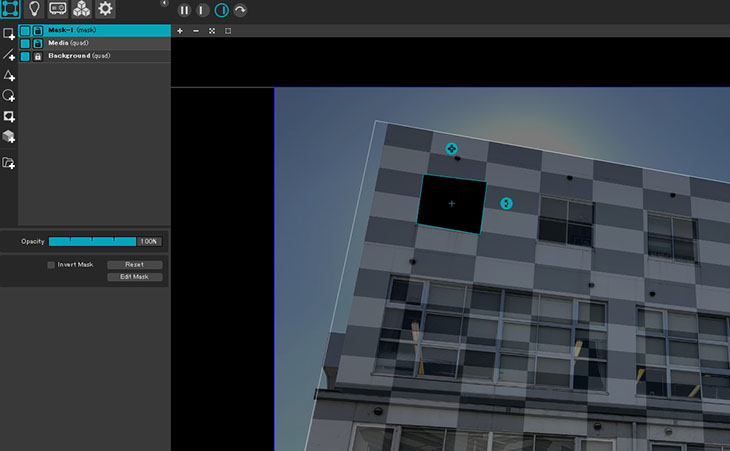
Click Edit > Duplicate Selected Surface (Ctrl+D) to duplicate the surface.
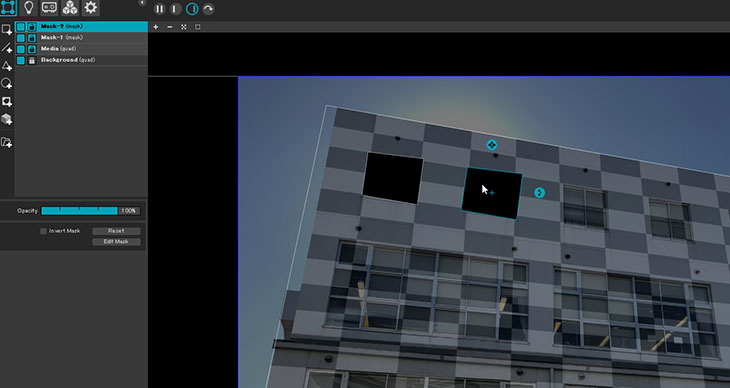
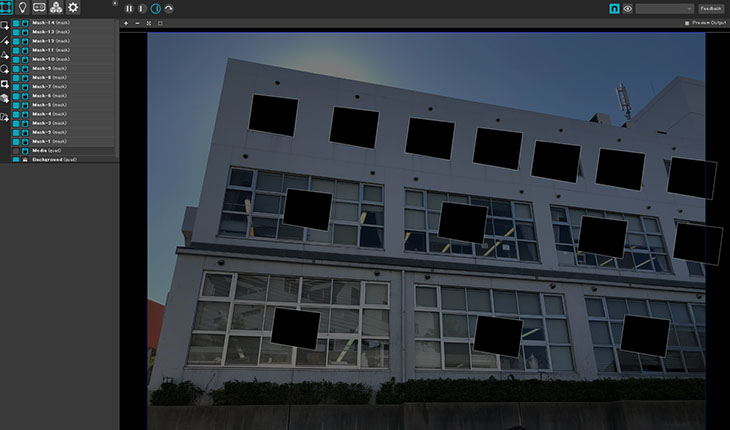
Since we’ll make fine adjustments later, first duplicate the object as many times as there are windows and move them to their approximate positions.
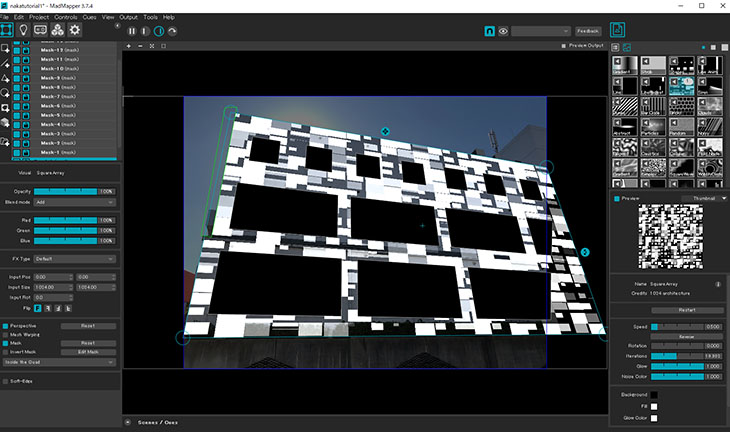
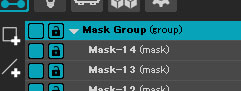
Select all “Mask Surface” objects and right-click. G
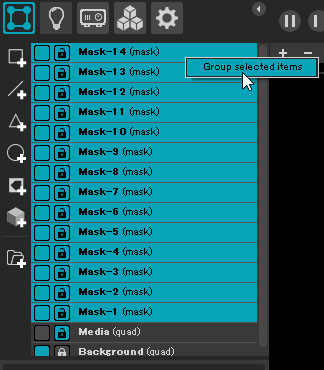
Change the group name to “Mask Group.”
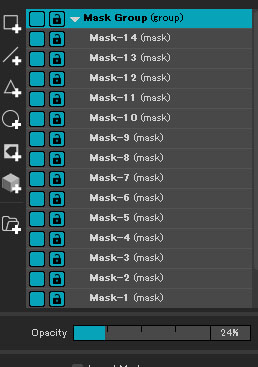
With the Mask Group selected, change the Opacity to approximately 20% for all objects.
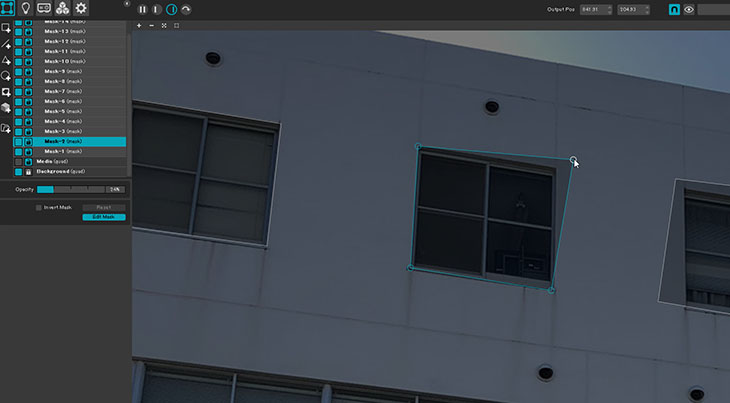
Click “Edit Mask” for each individual mask and adjust it to fit the respective window.
Reset the Opacity of the Mask Group and Media to 100%.
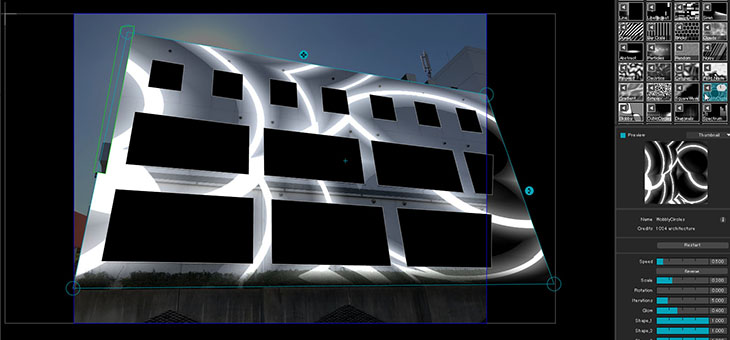
Applying Soft-Edge
Since there are plants at the base of the building, I’ll add a slight blur.
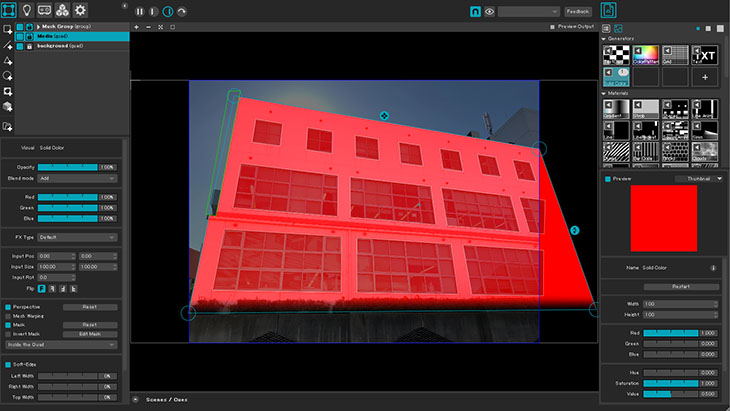
Apply “Solid Color” in the Media tab, and then apply “Soft-Edge” to the Media Surface.
At this point, you can either lower the Opacity or change the Blend Mode to Add.
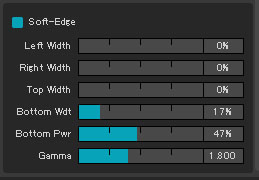
Soft-Edge settings.
Adjust the Bottom Wdt (blur width) to display Bottom Pwr and Gamma, then fine-tune the settings.
Pwr is applied to each edge, while Gamma is applied to all edges.
Changes to Media